The method of wall cladding with plasterboard panels is extremely popular. In this regard, the technology of wiring installation and its fittings has changed. You need to know how the plasterboard socket is mounted, as well as its dimensions, models and range of installations for electrical elements.
Features of plasterboard sockets
For leveling the surface of structures and arranging interior partitions, an inexpensive and easy-to-use drywall is used. The work is carried out on a 50 mm wide metal profile frame. Therefore, there is free space between the drywall and the wall for wiring. Plasterboard is a flammable material. Therefore, according to the PUE, the wiring is carried out in non-combustible pipes or with a cable that does not support combustion.
For the installation of hidden wiring, the installation of an electrical device on hollow walls, special socket outlets for gypsum boards are used. They are also called mounting or installation boxes. The fixture is a kind of spacer between the main wall and the appliance. The design allows you to reliably fix a socket and a switch, buttons, dimmer or motion sensor in a hollow wall.
The socket is an obligatory element when installing electrical equipment. It must comply with fire safety standards. Without a socket, the mount will loosen during operation, the drywall will deform over time, and the socket may fall out.
Forms and designs
The fixtures can be round, square or rectangular in various colors. Round models are more often used. They differ in diameter and planting depth. When heated, they give off heat to drywall, which is important in the event of a short circuit. Can be used with a maximum current of 16A and voltages up to 400 volts.
Main characteristics:
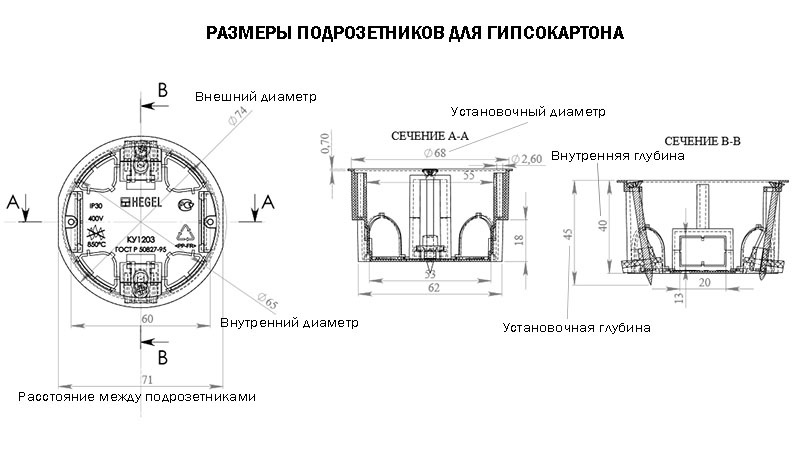
- The dimensions of the plasterboard socket vary - the planting depth is from 40 to 62 mm, the diameter is from 60 to 75 mm. When choosing, take into account the thickness of the sheet and the distance between them and the wall.
- For the box to fit snugly, the drill bit must be of the same diameter.
- Inner diameter maximum 65 mm.
- If several elements are installed under one frame at once, the distance between the centers should be kept within 71 mm.
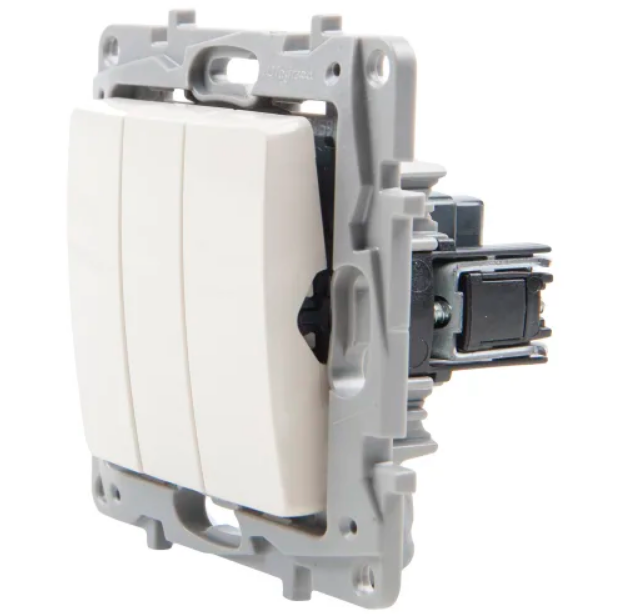
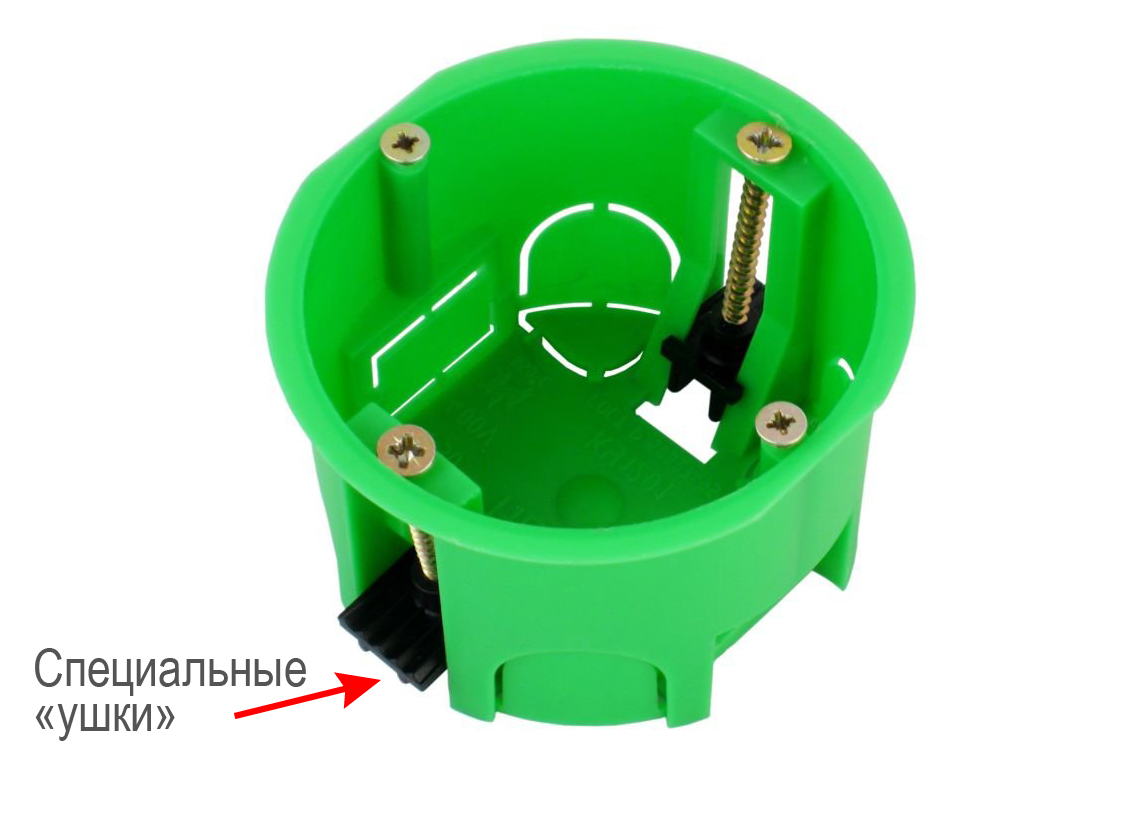
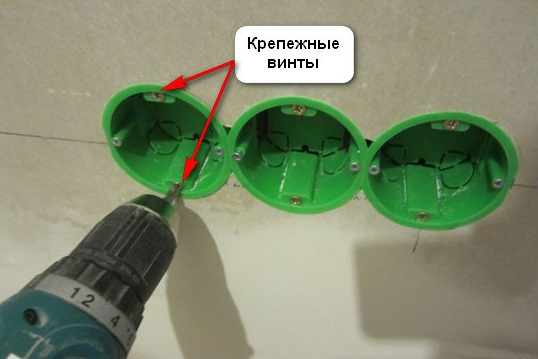
Made of metal or plastic, they are used to attach the entire structure to drywall. The ideal option is products made of self-extinguishing plastic. On their front part there are 4 fixing screws: a pair for fixing the socket frame, the other two screws are equipped with special presser feet that abut against the back of the sheet.
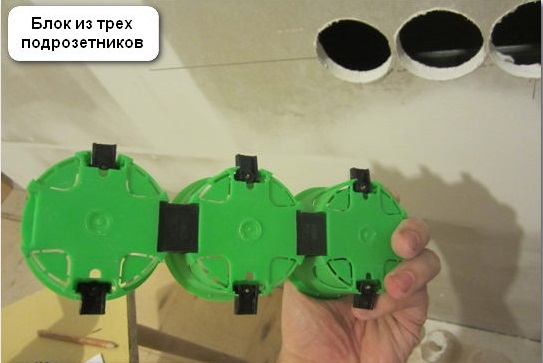
On the back there are markings for cable holes. The front part is not quite round. Two opposite sides are cut off, which helps to assemble a block from several boxes. If necessary, you can choose a double and triple socket outlet. They also produce special connectors for assembling the structure.
Wall marking and hole preparation

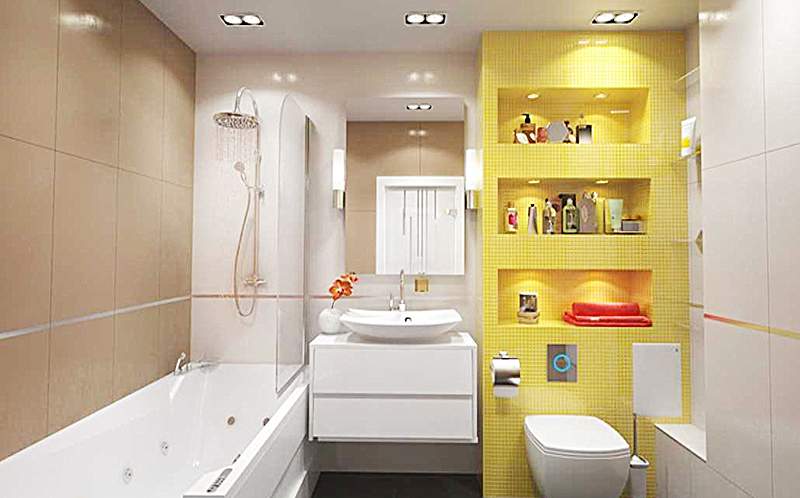
Installation work begins with marking out the space for the outlet. To do this, you need a level, tape measure and a pencil.It is necessary to take into account the number of connected consumers, the arrangement of furniture, the general design of the room. There are no special requirements, there are certain norms that can be followed. It is recommended to maintain the following distances from the floor:
- to the center of the outlet hole 30 cm;
- to the center of the switch 90 cm;
- for a washing machine one meter;
- for a kitchen table 1m 20 cm;
- no closer than 20 cm to the doorway;
- the distance to gas communications is at least 50 cm.
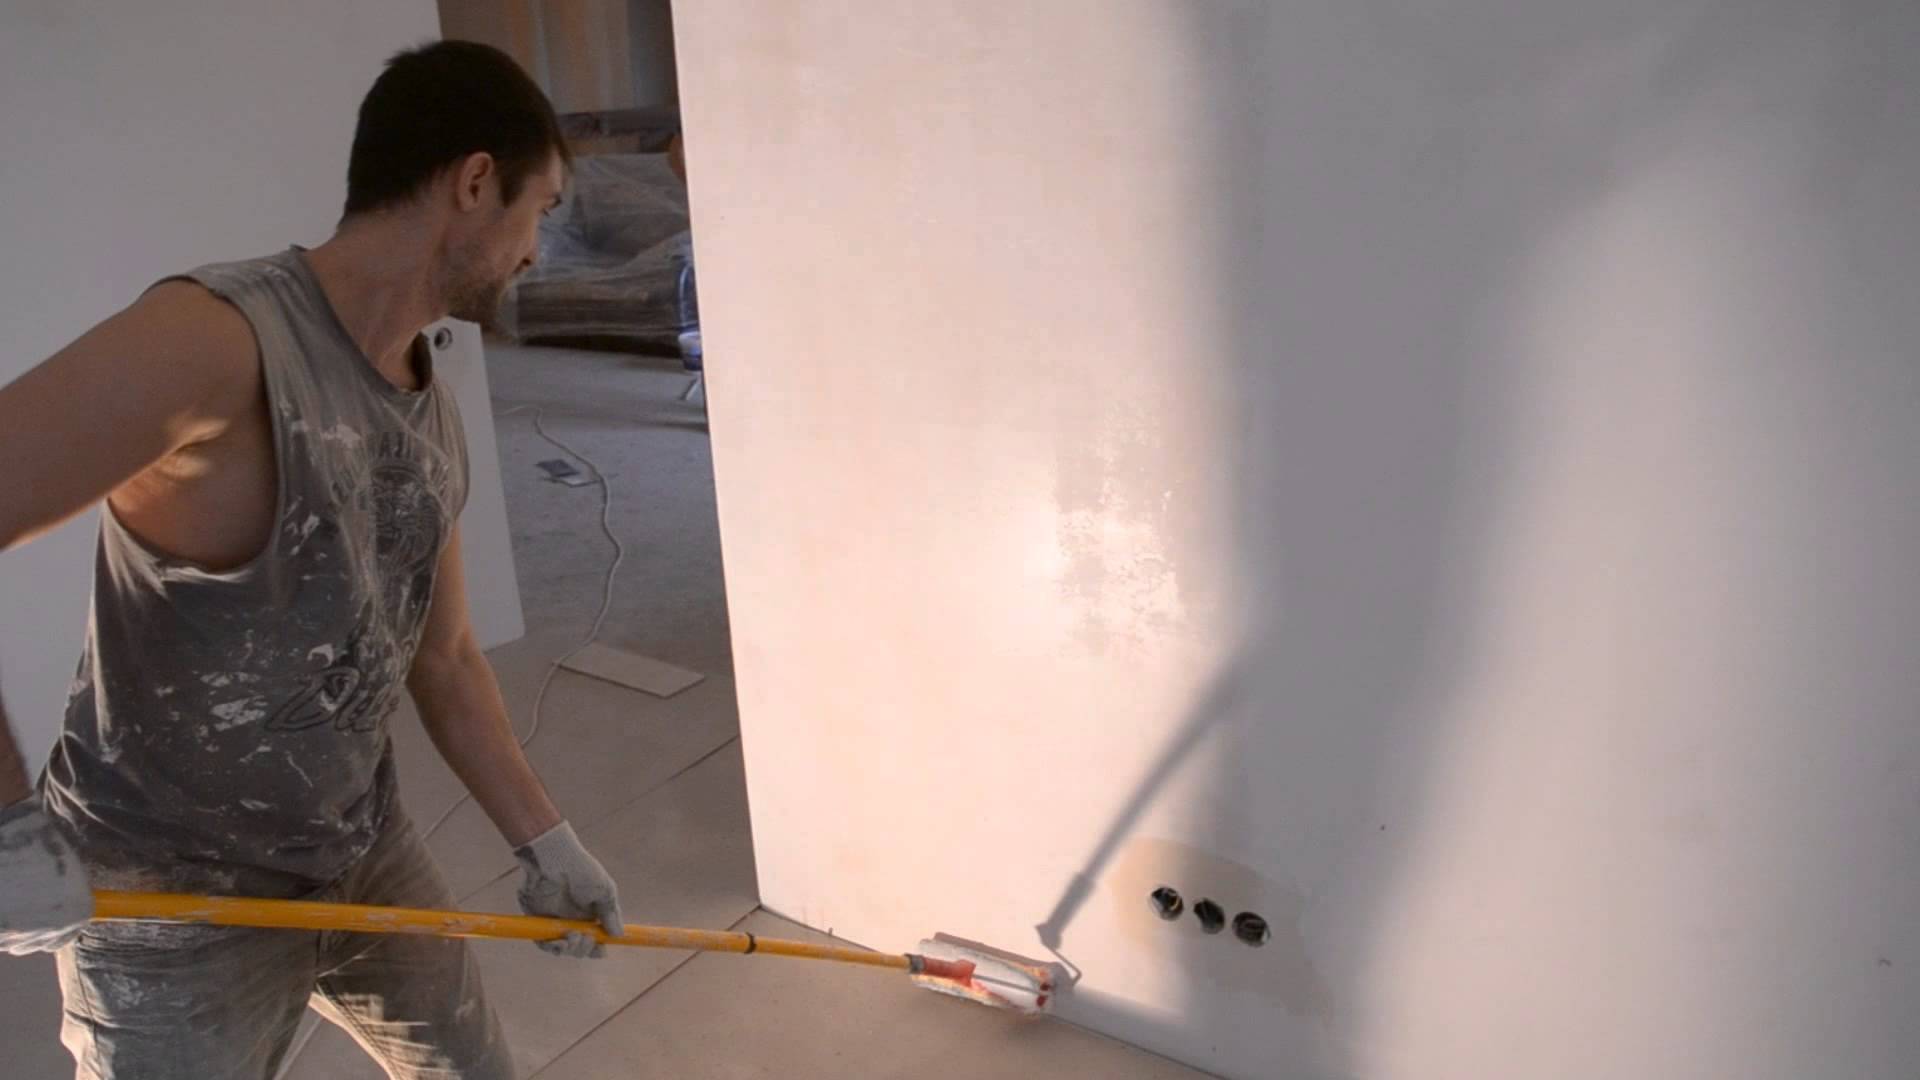
The selected section of the wall is impregnated with a primer. After drying, apply a thin layer of putty. This will make the drywall sheet stronger, it will not crumble during operation. Next, markup is performed. A hole is drilled in the marked area with a crown. This is a special drill bit with sharp teeth along the edge. You can use a regular drill and then cut the hole with a construction knife.
In order not to damage the sheet, work is carried out carefully with slight pressure. It is recommended to pre-drill a central hole with a small diameter, otherwise the crown may move to the side. The edges of the finished window are processed again, which prolongs the service life.
If the drywall is mounted on wooden blocks, or the house itself is wooden, not plastic, but metal sockets with a certain level of protection are used.
Installation of a single socket
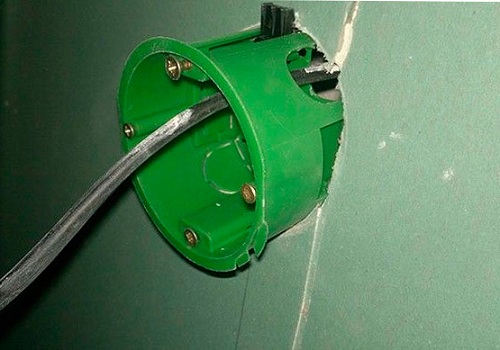
After preparing the hole, a cable is run into it and the box is installed. The main stages of installation:
- In the socket with a construction knife, the holes for the wire are cut and brought out.
- Insert the box into the drywall window.
- Check the free play of the cable so that it does not jam.
- Fix the socket on the wall, checking the horizontal position with the level.
Fix the box tightly to the wall surface with screws. In this case, the fastening of the mounting lugs should not protrude beyond the socket. After the box is installed in the desired position, tighten the mounting screws until the tabs fit to the back of the sheet. In order not to spoil the skin, the fasteners are tightened until resistance appears. Then another half-turn is done. Now you can install the socket or switch.
Features of block mounting
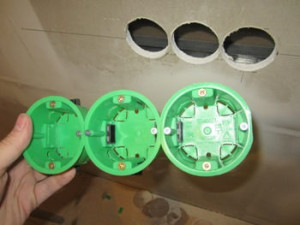
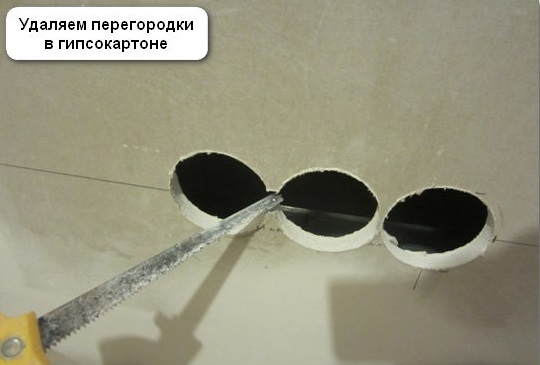
The installation of several socket outlets in one unit has some peculiarities. The installation of a group of boxes is carried out in the same way. The plasterboard is pre-treated with putty, the markings are applied to the wall. The distance between the centers of the socket boxes should be 71 mm without errors. Then the required number of holes is drilled. The partition between them is removed with a knife or saw. The cable is led only into the first window.
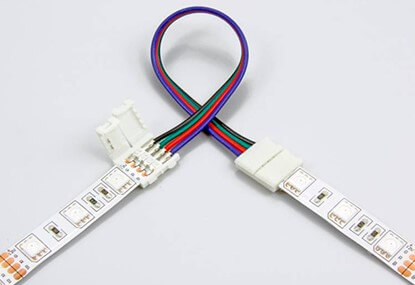
Conventional models are designed to be joined by protrusions on the box. The block for gypsum board is assembled using special connectors. They have a standard diameter. In the first and last boxes, one side plug is removed, in the others, two. The adapter is installed in the seat and snapped into place. A second box is attached to it. Thus, the socket boxes are collected in one common line. In the first box, a plug is removed, a supply wire is fed through it. Next, you need to install the assembled block.
In some cases, the fastening lugs do not allow the structure to be freely installed in the groove. They usually protrude somewhat beyond the diameter of the box. You can try to wind it diagonally. Another option is to cut small eyelets in the drywall on one side.
The main thing is that the size of the hole should not be larger than the outer diameter of the socket. If everything is done correctly, the block should snap into place without any problems. The last step is to tighten the fastening screws. This should be done gradually with care so as not to damage the drywall.
At first glance, installing electrical appliances seems straightforward. But there are some nuances and difficulties. It is better to purchase sockets and socket outlets at the same time as drywall.So you can relate the characteristics of materials, models and sizes, fastening methods. Not only the appearance, but also safe long-term operation depends on how correctly the work is done.