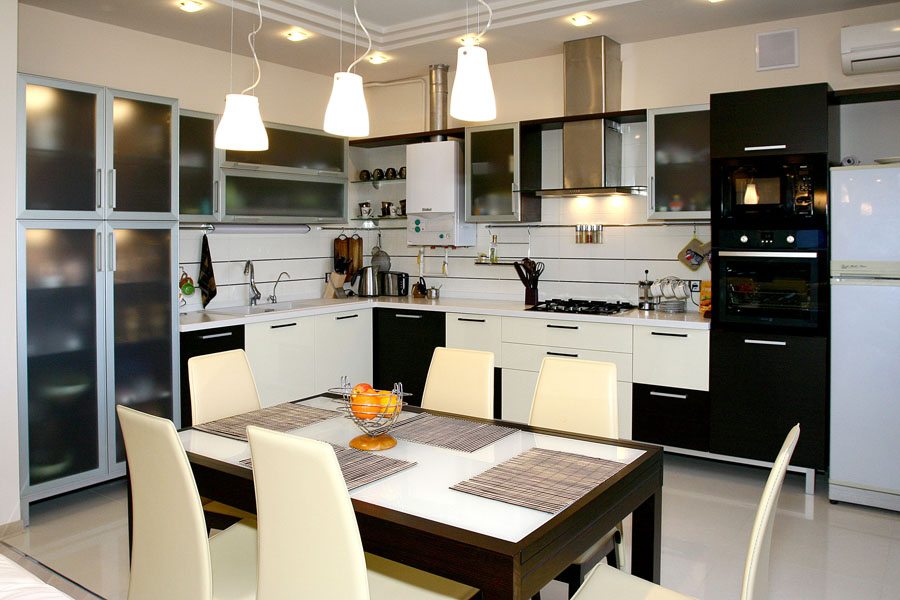
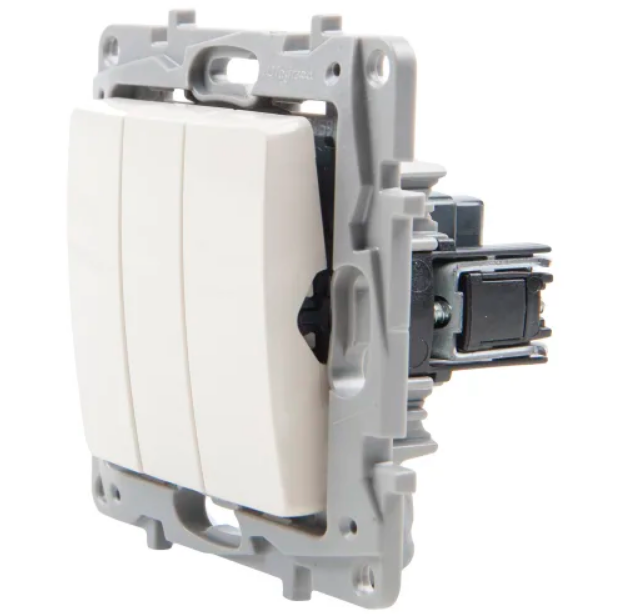
Drywall is actively used in interior decoration. This is due to its advantages - the material is environmentally friendly, heat-resistant, and has sound insulation. Also, drywall favorably distinguishes the cost. The rules for installation in drywall are similar to the requirements for installation in a concrete wall. But during work, you need to take into account a number of nuances.
Material features
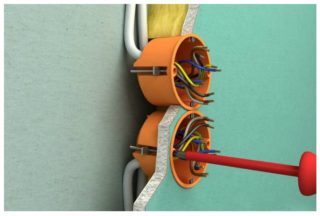
Installation of outlets in drywall (GKL) does not cause any particular difficulties. It is easier than mounting in other material, but drywall has its drawbacks. The main disadvantage is crumbling during work. For this reason, the use of classic self-tapping screws and percussion tools is not allowed. Repair work is carried out only using a drill and specialized tools for gypsum board.
During installation, special installation boxes are used - socket boxes. They look like a plastic cup with four screws. They are specially secured with two upper screws. The two lower ones are needed to mount the socket itself. On the lower part there are clamping mechanisms that improve the reliability of installation.
Usually, the installation of electrical wiring and sockets is done in two ways - at the construction stage or during finishing work.
Choice of sockets and tools
When buying, you need to pay attention to the diameter and other dimensions of the socket. They must match the dimensions of the hole made in the wall. You should also make sure that the socket fits comfortably into the glass.
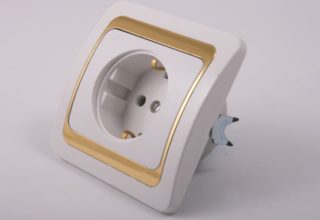
Sockets are divided into overhead and internal. This is also worth considering when choosing. Overheads are easy to install, do not require punching and can be installed in different places. But they are unaesthetic and large in size.
If a socket in a plasterboard wall will be mounted in a kitchen or bathroom, you need to choose products with an appropriate degree of moisture and dust resistance.
Less important factors in product selection are color, design, number of connectors (double, triple). They do not affect the technical characteristics, they only determine the appearance.
Before starting the installation, you need to take care of the equipment in advance. The main working tool is a drill with a crown. Its standard size is 68 mm. You will also need a tape measure, a builder's level, a pencil or marker, a Phillips screwdriver, and an indicator.
Safety engineering
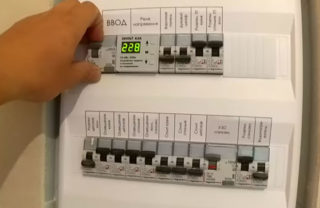
Any work with electrical wiring must be carried out in accordance with safety precautions. The current flowing in the outlet is dangerous to humans and can be fatal. For this reason, the following rules must be followed:
- Disconnect power supply before carrying out installation.
- Use professional tools with insulated handles.
- Check the absence of voltage on the wires using the indicator.
- Do not install old broken sockets or wires. All materials used must be new and of high quality.
- Choose the right cable cross-section.
If the listed requirements are met, work will be safe.
Locating
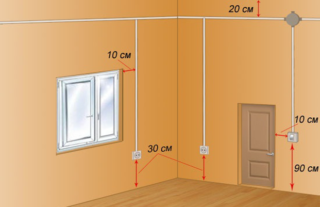
The choice of where to install the outlet depends on several factors. There are building technical requirements that need to be met, but the purpose of the outlets is also important. According to modern European standards, electrical outlets are installed at the following height:
- At a height of 30 cm from floor level in any room.
- In the kitchen above the work area at a height of 120 cm
- For connecting a washing machine and dishwasher - 100 cm.
- Sockets for switches are mounted at a height of 80 cm.
Also, the power point should be installed at least 10 cm from door and window openings.
It is important that the outlet is easily accessible. In the kitchen, food points are often placed above the countertop. For an aquarium, a high mounting is also used to connect multiple electrical appliances.
Installing the socket
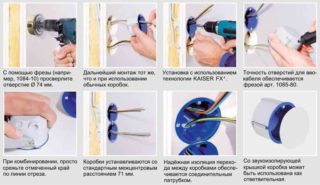
Installation of sockets in drywall is carried out according to the following algorithm:
- Punching a hole for an outlet or block of electrical outlets and socket. Pencil markings are preliminarily made at the place of fixation. Then, using a drill, the desired hole is drilled.
- Further, the sequence of actions depends on the installation technique. If the cable is already fixed in the wall, you need to connect the socket to the wires and install it in the wall. If the wires have not yet been laid, grooves must be made in drywall. In them, a wire is laid in a corrugated tube or cable channel and fixed with a special building compound (for example, alabaster). The ends of the wiring are led out to the installation site of the outlet.
- Installation of a socket box. A hole for wires is cut on the back of the glass. Wires are taken out of the hole made and laid through the glass. Then the socket must be placed and secured in the drywall using the clamping feet. The feet are adjusted with the two lower screws.
- Primary finishing. You need to putty the wall and wait for the layer to dry.
- Installation of the socket. De-energized wires are connected to the power point. First, using the indicator, you need to make sure that there is no voltage on the veins. Then the phase (black, red, brown wire), zero (blue wire) and ground (yellow-green) are connected to the corresponding contacts. The cores are stripped, inserted into the terminals and secured with screws. The wires must be tightened firmly so that the contact does not loosen. After that, the socket must be placed in a glass and secured with the upper screws.
Overhead models are easier to install. They do not need to cut through the wall - you just need to fix the device with clamps to the drywall surface. The use of overhead models can disrupt the aesthetic appearance of the room. The devices are massive, the wires are laid right along the wall. But even with such outlets, you can create an original interior - for example, in a loft, retro or steam-punk room. But then fire-resistant wires in non-combustible insulation must be used. The cables are fixed with special clips, and the socket is screwed on with screws. An important advantage of such electrical outlets is their mobility. They can be fixed anywhere.
Specialist recommendations

Correct installation of sockets is the key to stable and reliable operation of the power point. Before installing sockets and switches in drywall, you need to read the following tips:
- Take into account that there is a space of at least 4.5 cm between the drywall sheet and the wall. The socket should be freely placed at the base. Using a punch, you can enlarge the base.
- The wires must be taken with a margin of 20-30 cm.
- The markings should be laid at the building level so that the installation is level.
- The wires must be laid in a protective corrugated sleeve.It will protect the cables from mechanical damage and prolong their operation.
- It is recommended to run a powerful magnet along the wall before making the holes. This will allow you to find the metal profiles and not hit them when making holes.
When carrying out installation work, it is recommended to fix the wiring diagram. It will be required in case of a new installation of the switch in a plasterboard partition.


