LED lighting is the most profitable and promising lighting method. LEDs have good technical characteristics. The only drawback of such devices is their high cost, so users are trying to find a way to make a lamp from an LED strip on their own.
Benefits and Applications
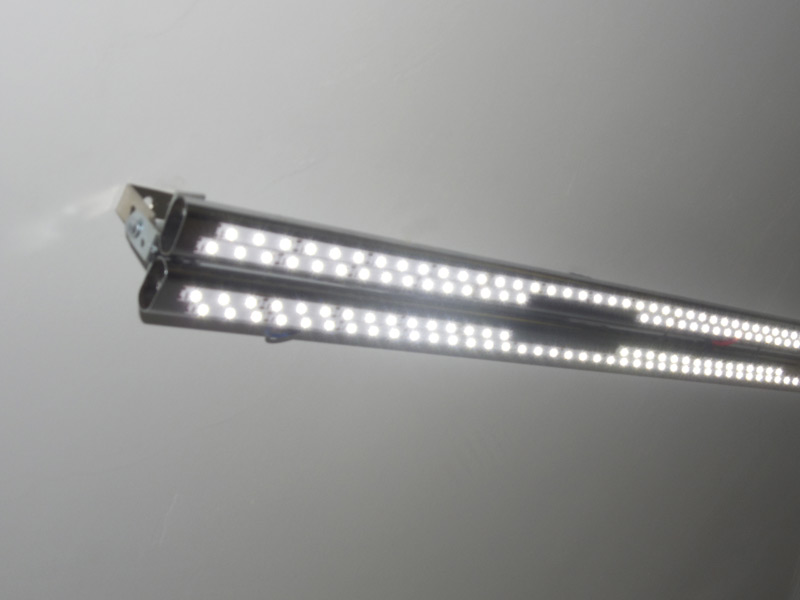
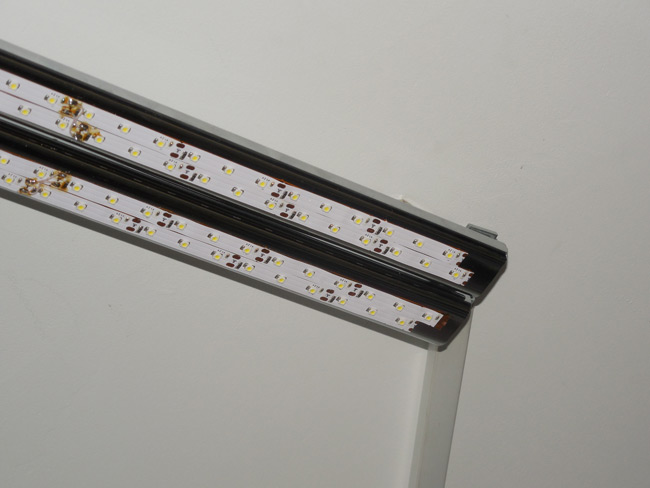
LED strip is a flexible rubberized board on which diodes and resistors are installed. With such a simple design, you can create a lighting device yourself and put it in any convenient place. The tape has special white notches, along which it can be cut into small pieces. It is impossible to cut the board not along the lines, otherwise it will be impossible to use the device due to the breakdown of the contact between the LEDs. The tape has a special adhesive layer for easy fixing.
Compared to conventional incandescent lamps, LED devices have the following advantages:
- profitability;
- long service life;
- variety of forms;
- safety including fire;
- flexibility;
- lack of pulsations - the bulbs will not blink;
- environmental friendliness;
- efficiency.
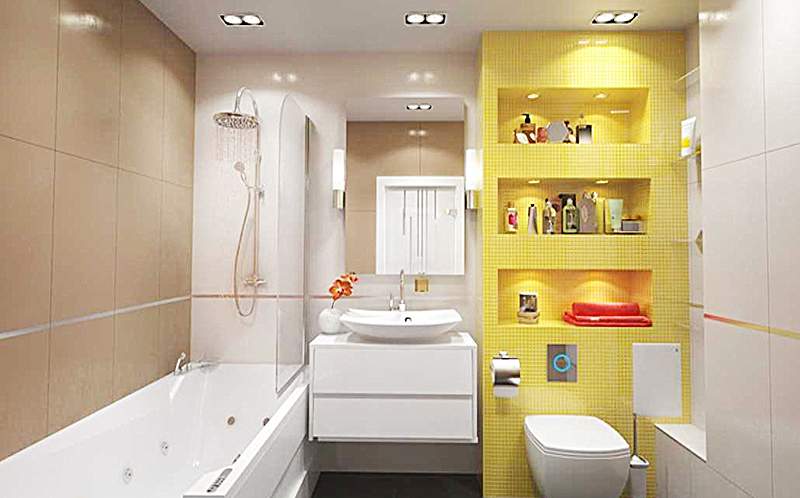
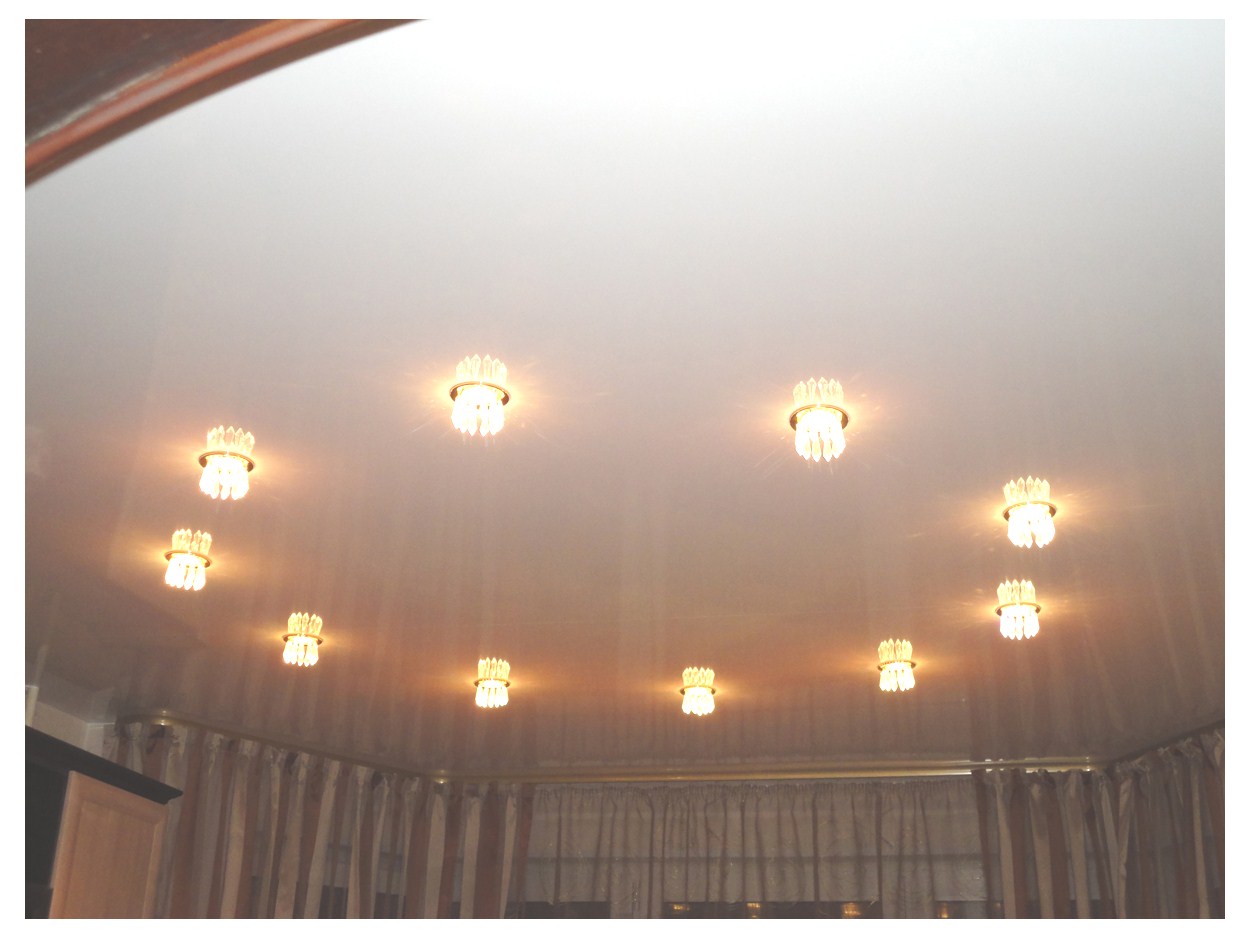
Due to all their advantages, ice tapes have a wide range of applications. They can be used to illuminate aquariums, suspended ceilings, furniture, shop windows, work areas, greenhouses and when growing seedlings. Most often, tape lamps are used for additional illumination.
Depending on the tasks, you need to be able to choose the right product. You can make a lamp from an LED strip with your own hands from any materials at hand.
Types and parameters
The lineup of LED strips is represented by budgetary and expensive counterparts. They differ in power, diode brightness, luminous flux and other characteristics.
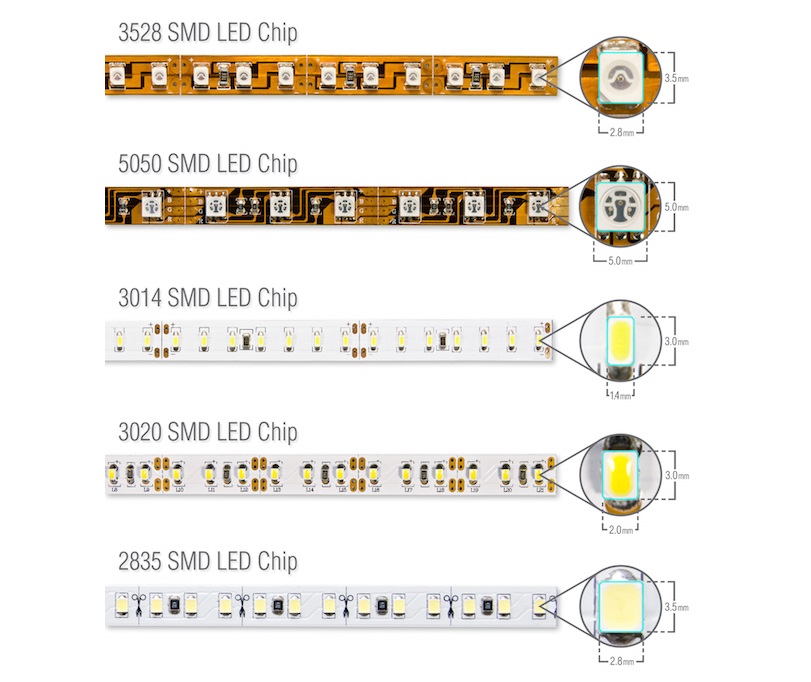
The most demanded are the designs of the following series:
- Smd3528. The power depends on the number of diodes per running meter. There can be 60 and 240 of them. Power - from 5 to 16 W, luminous flux - from 5 to 9 lm.
- Smd2835 premium. It is one of the best cheap ribbons with excellent performance and high brightness. 60-120 diodes are placed on 1 m. The luminous flux is 20-23 lm. The tape can be cut into 5 cm pieces. Can be used for spot lighting.
- Smd3014. Similar to the previous model. There are 60-120 LEDs per 1 m. The power depends on the number - 36-72 W and the luminous flux of 6-11 lm.
If a project requires a more powerful tape, it is recommended to pay attention to the following products:
- Smd5050. There are 30-120 diodes per running meter. Light flux 50-60 lm, power 7.2 - 25 W.
- The smd5630 and smd5730 series have similar characteristics. They have increased power and high brightness of 50-60 lumens. They are used in LED lamps.
More original designs can be found on sale. For example, there are high-voltage flexible boards for direct connection to a 220 V power grid. There are also low-voltage products for 12 and 24 V, operating through a rectifier. For use in difficult climatic conditions, a model in a waterproof case is selected.
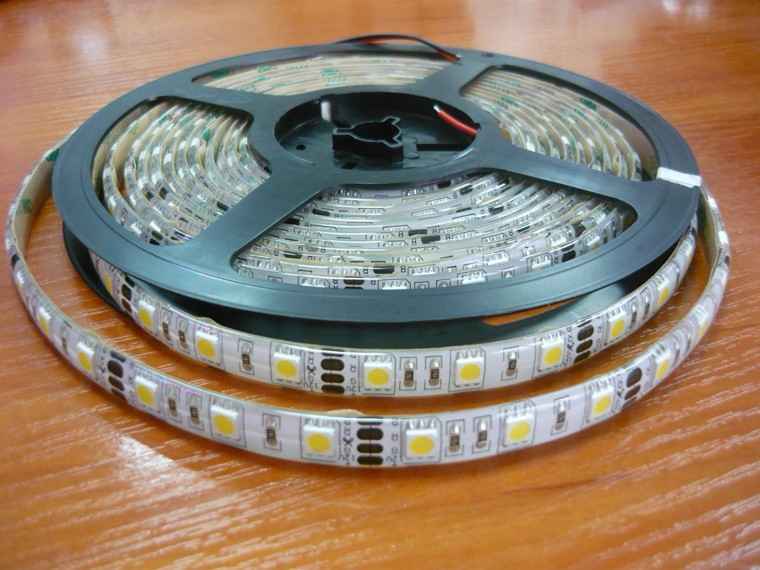
The tapes are sold in reels of 5-10 meters. If necessary, they can be cut into small pieces along special lines. High voltage products are sold in lengths of 100 m.
Controller and power supply
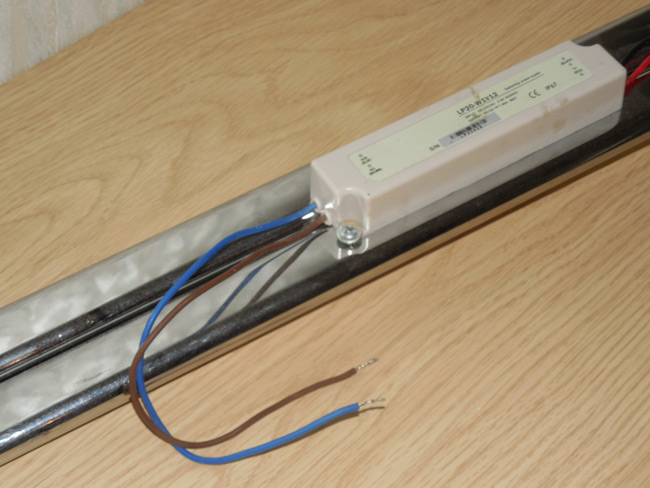
To create a lamp on your own, you need to install a rectifier (power supply) that will convert the voltage in the 220 V outlet to the working 12 V. The power supply is selected based on the number of diodes per running meter and power.
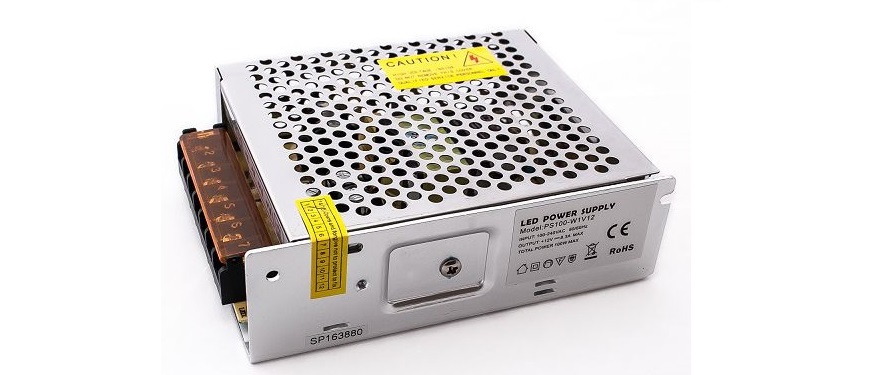
For example, for a smd5050 with 60 LEDs 5m long, the total load will be 5 * 15 = 75W. It is necessary to add a load of 30%, then the resulting value will be approximately equal to 95 watts. This number selects the closest power supply in terms of load.
How to assemble an LED strip lamp yourself
A homemade light source from a led strip can be made in different formats. When working, you need to adhere to the assembly recommendations and take into account all the features of the tape.
First you need to decide on the number of LEDs per running meter. The power depends on it. When buying components that depend on the load (drivers, wires), you need to add a margin of 30% to the power.
Materials (edit)

First of all, you need to stock up on the necessary components for the lamp.
The parameters of the LED strip must be calculated in advance. If the luminaire is to be used outdoors, there must be appropriate characteristics that are resistant to negative environmental influences. Also, for humid rooms, you should choose products with a degree of IP4 and higher. If the device will work in water, then it must be completely waterproof - with a class of IP66 or IP67.
Also, the master will need:
- screws;
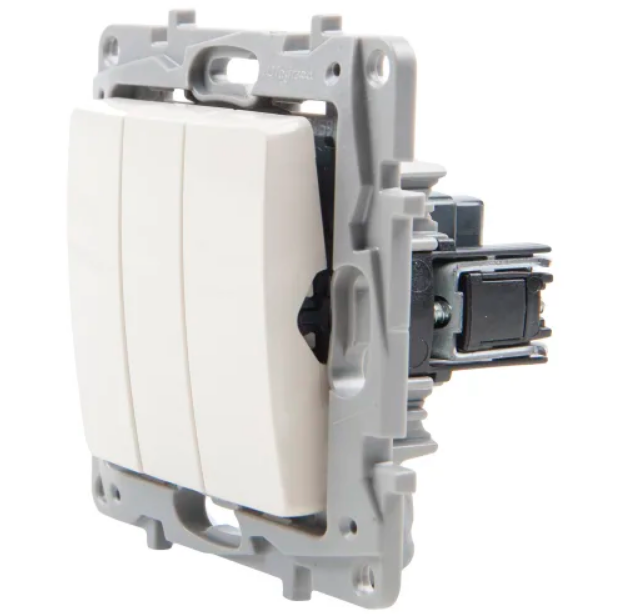
- switch;
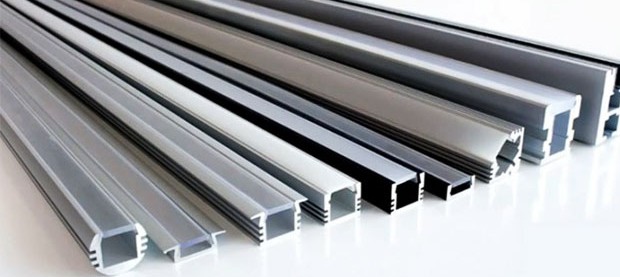
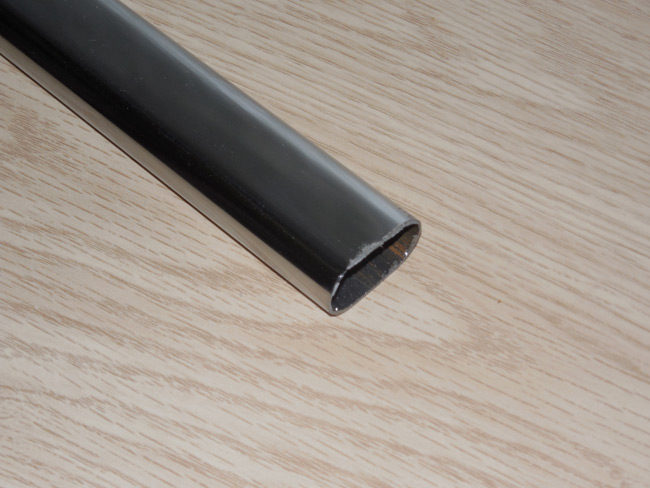
- aluminum corner;
- drill;
- pencil;
- ruler;
- jigsaw;
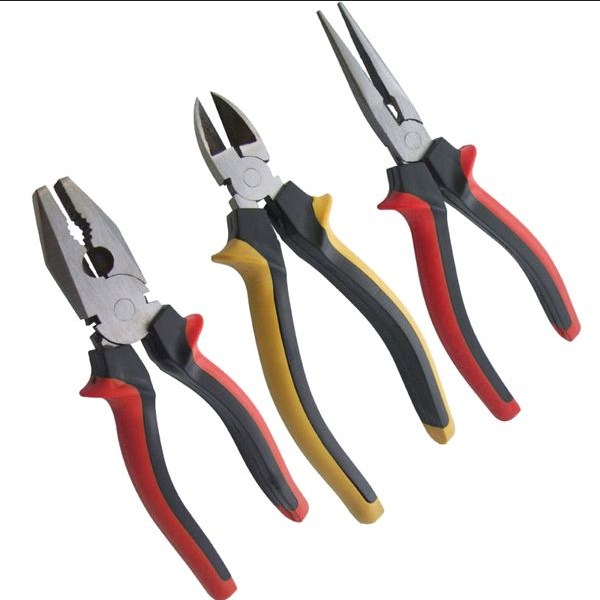
- pliers.
After collecting all the necessary materials, you can start creating a lantern.
Installation
There are different schemes for creating a lamp from an LED strip. The choice of the desired option depends on what kind of product the user wants to get as a result. There are the following varieties:
- Horizontal.
- Vertical.
- With legs.
The assembly algorithm does not depend on the chosen variation, so all steps will be the same.
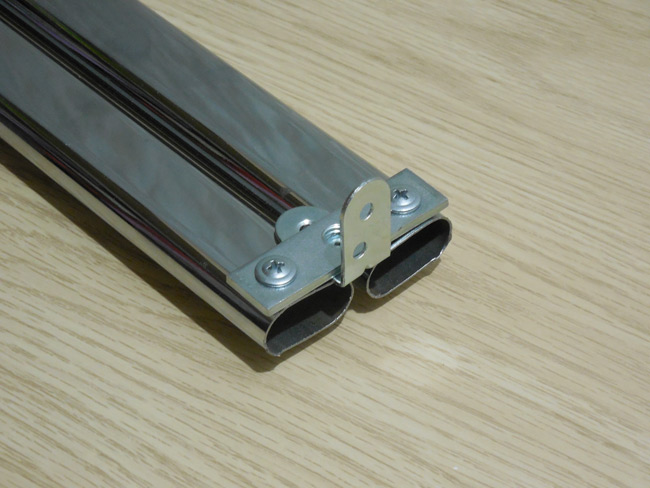
- First you need to mark the length of the corner.
- Drill a hole of the required length in it. This hole will be used to fix the luminaire to the screws.
- Installation of the corner at the selected location.
- Installing the switch in place of the hole. Also, in place with a cut, you need to solder the wires.
- Treatment of the tape with acetone. The surface must be degreased.
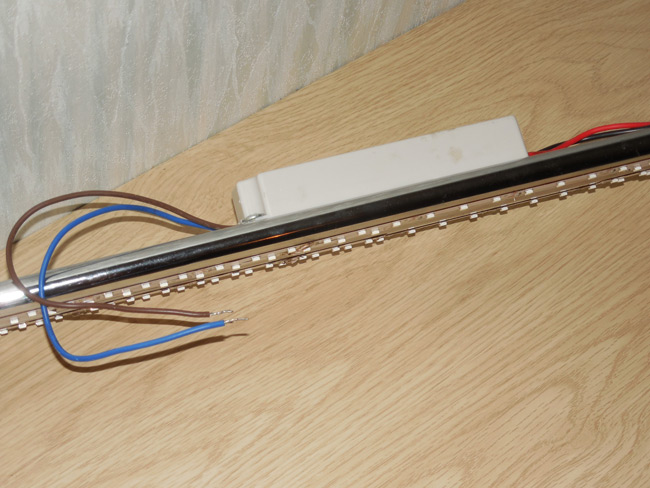
- Fastening the tape to the aluminum profile. At first, it is recommended to glue the tape lightly so that you can correct any inaccuracies. After the user is convinced that everything is glued correctly and evenly, you can level the LED strip over the entire surface and connect the wires.

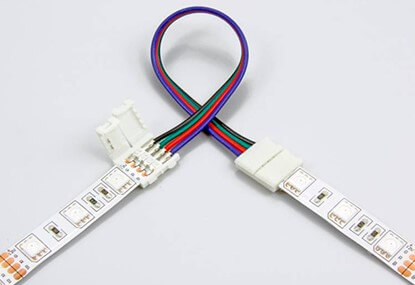
Usually the power is chosen 12 V. In the case of using a single color, identical contacts are soldered. For RGB, the marking must be observed. Also, when installing a multi-color tape, you need to take care of the controller in advance. It allows you to adjust the backlight color and lighting brightness.
Usually control is carried out using a remote control. The connection must be made using a stranded wire. Tips are used at the ends. Then they are installed in the block and fixed with screws.
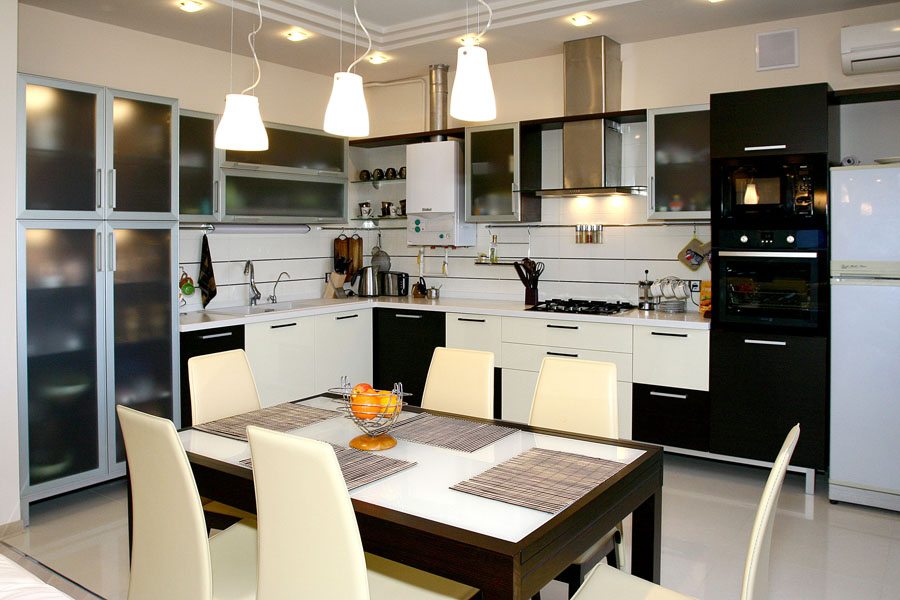
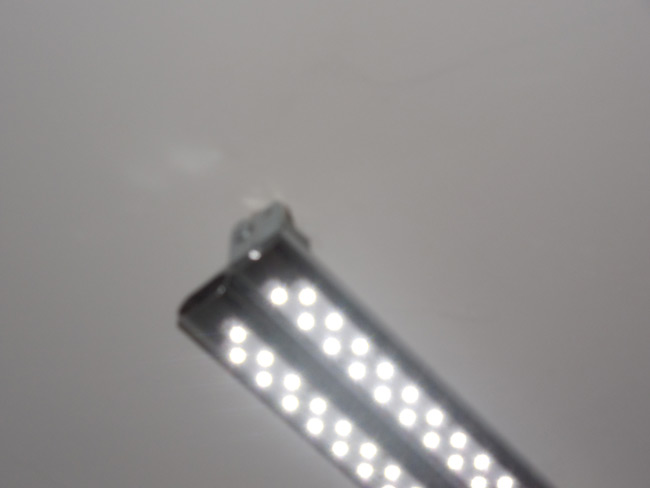
DIY LED strip chandelier can be placed horizontally. This table lamp is perfect for installation on a work surface in the kitchen or in the nursery.