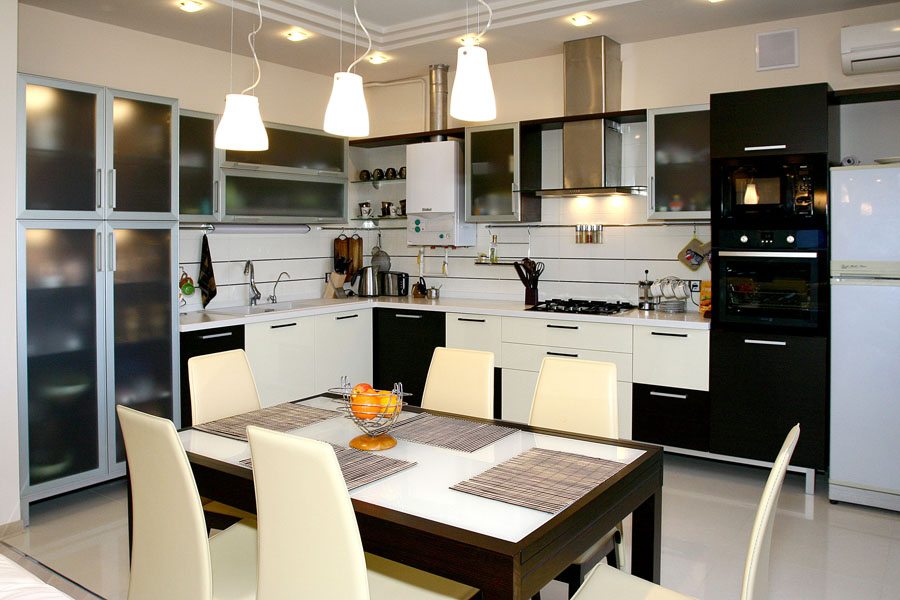
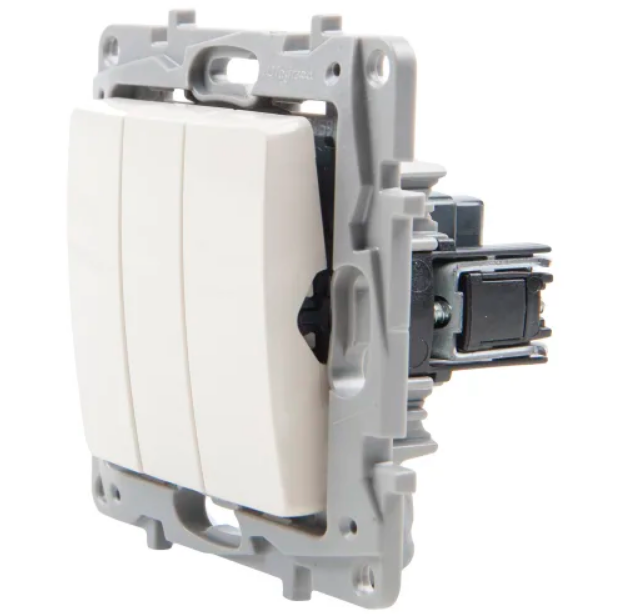
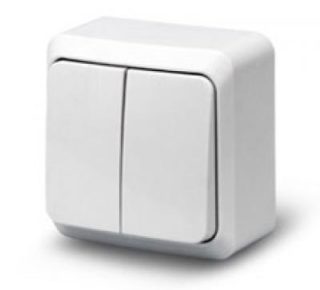
Two-button switches are used when you need to connect a lighting fixture equipped with several bulbs. They allow you to control them from one point, they also help to adjust the brightness of the lighting.
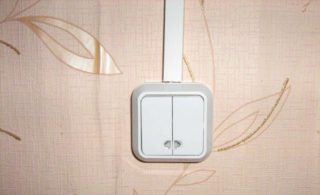
Switch device with two buttons
Design features are not fundamentally different from single-key electrical devices. The only difference is that there are two output terminals instead of one. The device also includes the following parts:
- two keys;
- decorative panel and mechanism;
- two output terminals;
- one input terminal.
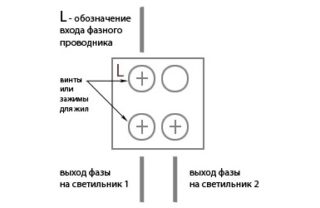
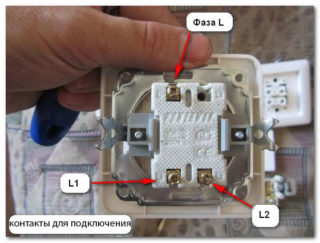
The terminals are special clamping mechanisms to ensure reliable contact. To switch the wire, you must first strip it and insert it into the terminal block, clamp it with a clothespin or screw (depending on the modification of the switch). The common or input terminal is usually separate and marked with an L.
On the opposite side there are two output terminals. They are labeled 1,2 or L1, L2. Some models may be equipped with screw terminals instead of terminal blocks. It is not recommended to give preference to them, since the fastening is regularly loosened and it becomes necessary to regularly disassemble the structures and tighten the contacts.
It is necessary to mount an electrical device in such a way that when the lighting is turned on, it is required to press the upper half of the button.
The top and bottom of the element can be determined using a special indicator screwdriver that works to close. To do this, take a piece of wire or a nail and touch one contact with it, attach an indicator to the other, holding the thumb up on the contact pad. If at the same time the light inside does not light up, then the contacts are open. When at least one of the keys is on, it should light up.
Advantages and Disadvantages of Dual Connection
It is necessary to start electrical installation activities with the optimization of the operation of all electrical devices, which are combined in one chain.
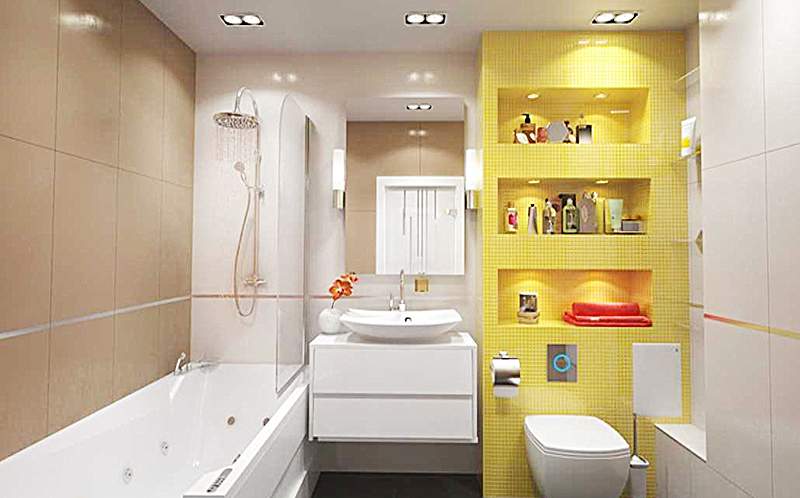
A good example of an optimized outline is the traditional arrangement of unit lighting in a toilet and bathroom. In the corridor, as a rule, a switch is mounted, equipped with two buttons. One key controls the lighting in the bathroom, and the second in the toilet.
Mounting a common switch on several rooms is advisable if they are adjacent or located close. For rooms that are remote from each other, it is recommended to install separate electrical installations.
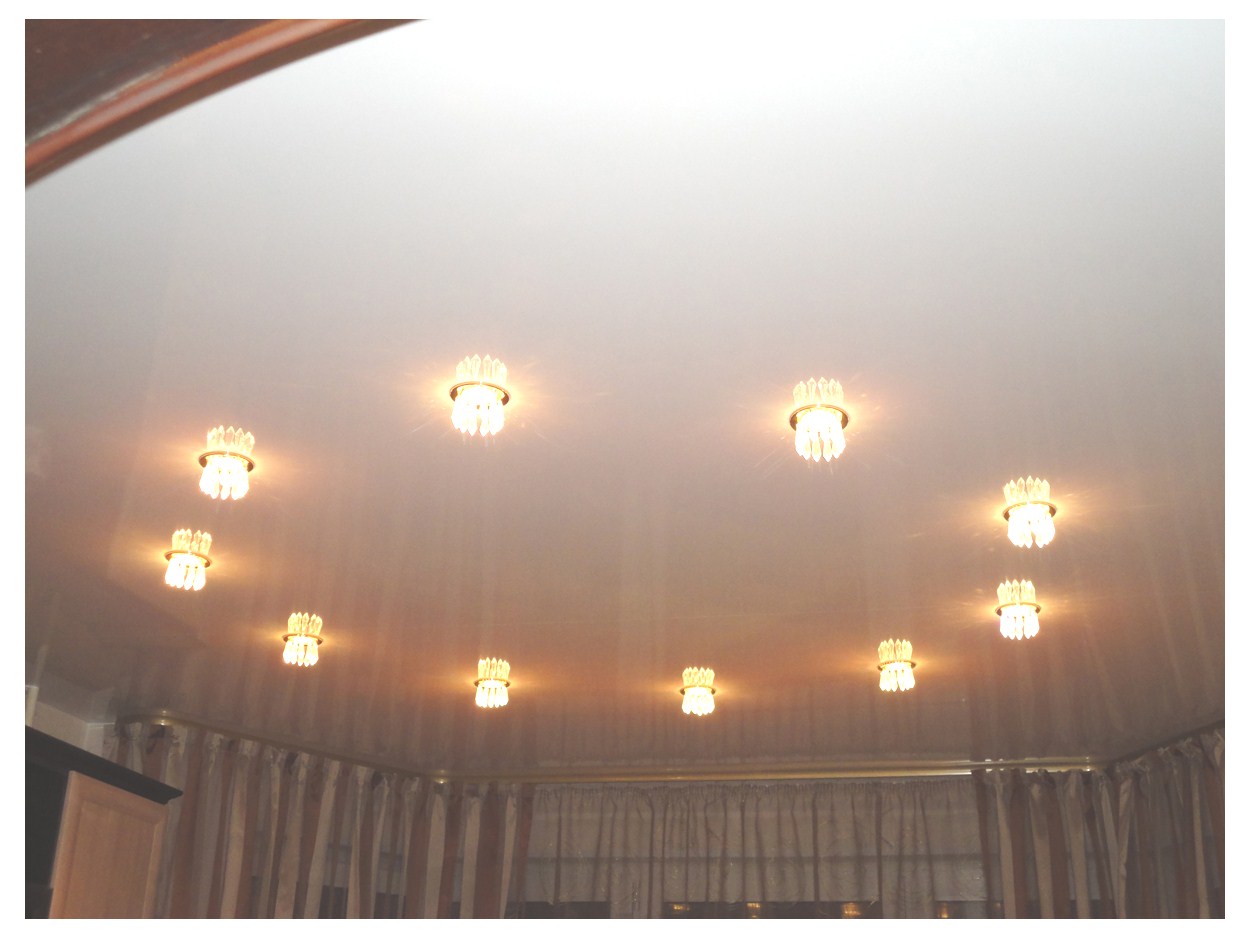
It is also recommended to install a double switch if the room has a sconce or a chandelier equipped with several bulbs. Separate control from one point allows you to expand the functionality of the device and regulate the intensity of combustion.
Installing a two-button switch for lighting fixtures allows you to optimize control and adjust the brightness, as well as save energy consumption, installation materials.
Required tools and materials

Before connecting 2 switches for 2 lights, you need to prepare all the necessary tools and working materials. To do the job efficiently, you also need to study the connection diagram of the double switch. If you know the principle of operation of the device, you can draw up a diagram yourself.
When drawing up a diagram, it is important to take into account that only one phase wire should pass through the two-button switch. Therefore, the neutral and ground wire must be connected directly to the contacts of the lamps of the lighting device. It is important to carry out all connections and connections in junction boxes, this is a guarantee of safety in the future.
To carry out the work, you will need to have at hand electrical wires with the required cross-sectional area, as well as the switch itself.
From the tools you need to prepare a flat and Phillips screwdriver, side cutters, a mounting knife with a sharp blade and pliers with a level.
Electricians are advised to give preference to well-known manufacturers who are responsible for the quality of the assembly and the material used in the manufacture of tools.
How to connect a double switch for two lights
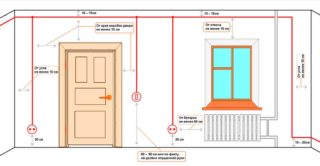
First, you need to find the most suitable location for the switch. There are no legal requirements for placement. Previously, the optimal height was about 2 meters, now the height of the lowered hand of an adult is more often chosen. This allows the switch to be used by almost all residents of the house.
Places where there are certain requirements for the placement of sockets and switches - a bathroom and a bath. The location of the open shower and washbasin is taken into account. The electrical device must not be exposed to drops of water, or it must have an appropriate degree of protection.
The next step is to complete all the preparatory work. The first step is to de-energize the network, since electricity is dangerous and poses a potential threat to human health and life.
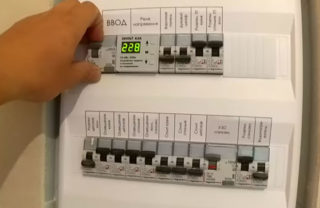
Safety rules when working with electricity:
- turn off the electricity, check for the voltage of the indicator screwdriver at the output;
- do not touch connected electrical appliances with wet or damp hands;
- do not use metal clips to secure electrical cables;
- do not overload the electrical network;
- it is recommended not to repair damaged wires, but to replace them with a new one;
- switch installation is required using tools with insulated handles.
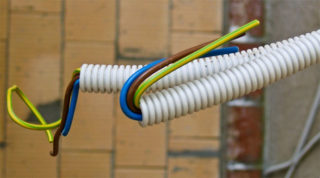
Getting started with the installation, you need to decide on the color coding of the electrical wires. It is used to reduce wasted time during installation work and to create a safe environment.
- phase - as a rule, has a red or brown color;
- protection always has one color - yellow-green;
- zero is always blue.
Alphanumeric markings can also be used.
If in the course of the work it turned out that there were no markings, it is required to mark the cable yourself using colored insulation or multi-colored heat shrink tubing.
Installation of switches in new buildings is limited to connecting an electrical element to a previously prepared electrical network. In old buildings, where the wiring needs to be modernized or completely replaced, it is additionally required to make new grooves and lay the cable. If the open installation method was used, each wire is led directly to the switch in special cable ducts or insulating corrugated pipes.
The modification of the switches and the installation method used depend on the wiring method.Surface-mounted units include an insulating decorative cover, an internal mechanism and a flat flush plate. The structure is located completely above the surface of the wall, and not in it.
Begin by installing a socket box. The procedure is carried out using special fasteners. To connect the wires, the switch mechanism is securely fixed and a decorative insulating cover is put on it. Most manufacturers have already thought of a conductor hole. The final stage - the cover is put on, hiding the entire internal mechanism, and securely fixed with latches.
To install a flush-mounted wiring switch, special mounting boxes are used. A small hole is made in the wall. During installation, you need to ensure that the electrical element is installed evenly and without distortions.
Common mistakes
The most common mistake that inexperienced electricians make is to set zero to the switch, and not the phase, as expected. The switch during operation must break the phase conductor, but in no case zero. If you neglect this rule, the base in the lighting device will always remain energized and an elementary replacement of the light bulb can cause serious injury.
Another common mistake is that inexperienced specialists start the phase conductor not on the common terminal block of the switch, but on one of the weekend. In this case, the circuit will be inoperative. The lights will only come on when both keys are on at the same time.
If people have moved into a rented apartment or purchased a new living space, and the lighting fixtures behave unpredictably, most likely, the power cables were incorrectly installed. It is necessary to disassemble the switch and check whether the wiring diagram of the two-button switch for two lamps is correctly implemented.
If you have any difficulties with self-installation, you can contact an electrician privately or visit the housing office / RES / management company and leave a request.


