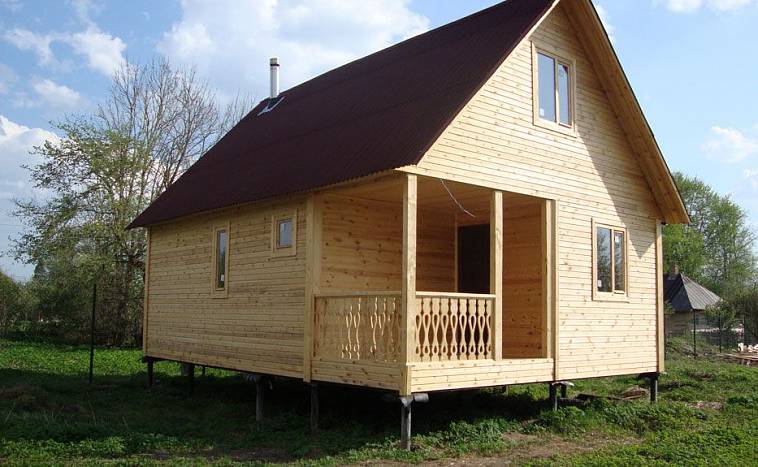
Correct installation of the screw foundation of the house means compliance with the design parameters, maintaining the horizontal level and verticals without deviations. Self-twisting of the piles is performed using special devices, while observing the distances between the supports and preventing changes in the linear dimensions of the foundation.
Soil analysis
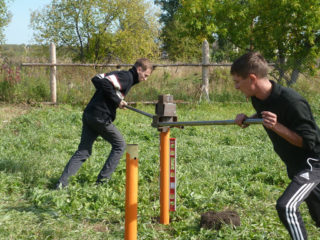
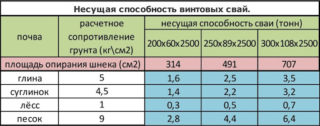
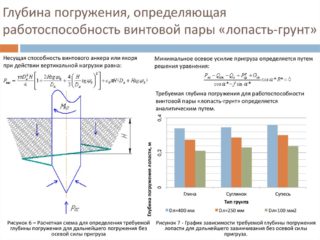
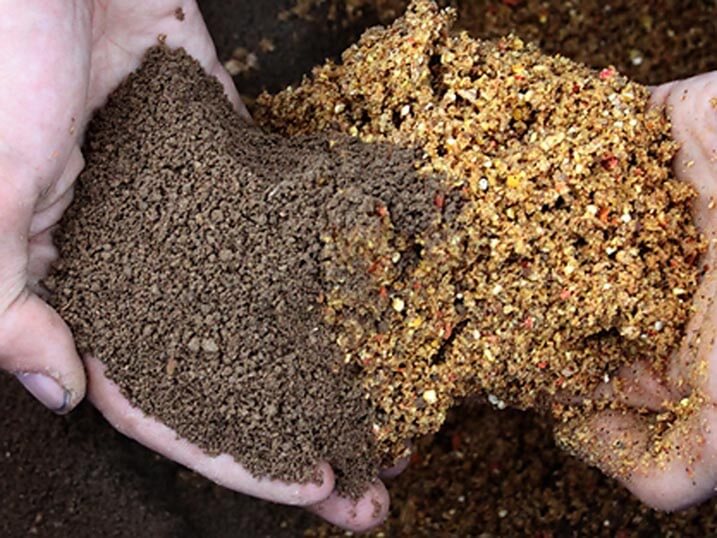
Comprehensive research includes drilling, sampling of land and underground fluids, study of soil formation processes at the site. A preliminary study of the soil helps to establish its characteristics and calculate the bearing capacity of the pile foundation. The laboratory analyzes water samples to determine the degree of aggressiveness.
The deepening mark is found by calculation and by the method of screwing in screw piles of the control group. Soil knowledge influences foundation design and determines cost. On the construction site, points for research are selected in order to screw in piles of different lengths and sections.
As a result of the research, it is determined:
- the thickness of the supporting layer of the soil;
- the presence of quicksands and caverns below the pile level;
- variety of layers and their height;
- the ability of soils to heave;
- the depth of freezing;
- the mark of the standing of the soil liquid.
Analyze the soil structure in order to select the installation elevation after finding the bedding. Geological research helps to find differences in layers and to establish the possibility of manually twisting the pile. Working on your own saves money that would have to be given to installers.
Selection and calculation of parameters
Finding parameters when selecting members:
- calculation of efforts from the load of the house and comparison with the bearing characteristic of the soil;
- finding the resistance of the layer to bending, torsion and punching;
- calculation of the settlement of the pile element, taking into account the permissible diameter of the trunk;
- finding the design deflection of the bar due to shear forces.
The extended pile foundation project includes a plan indicating where and how to tighten the screw pile with your own hands. Distances between supports, vertical marks and depth are given.
Savings are achieved by choosing the optimal type of material for piles and grillages.
Elements made of wood are installed for light structures, for example, sheds, baths, outbuildings, while reinforcement is not performed. For reinforced concrete rods, concrete is taken at least B20.
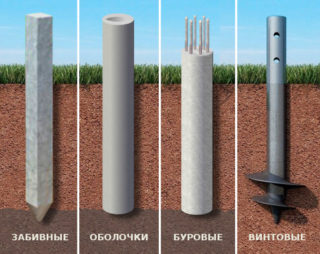
The calculation determines the type of piles: driven, twisted or bored.
Required tools and fixtures
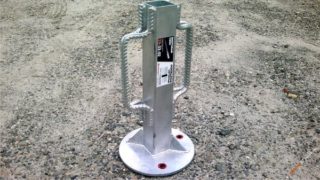
Before work, you must have a set of piles and heads made of the material provided by the project. The simplest head is put on the top of the rod and fixed with a pin in the holes. Brackets for levers are welded to it, or the wheel is inserted directly into the technological slots of the pile. An evenly distributed force is required to ensure that the tip does not collapse before it reaches a stable layer of earth.
There are two ways to screw in the elements without the involvement of specialists:
- manually using long metal levers;
- using mechanical means that are powered by an engine.
For the lever, take 2 pieces of thick metal pipe (from 5 mm) with a length of about 2 - 3 meters. There are svaykruts on sale, which are mechanized devices. In a private building, you can connect a gas drill or drill using a drive.
List of required tools:
- marking pegs;
- shovel, metal marker, tape measure;
- building level, level;
- scrap, grinder with circles for metal;
- welder.
For a monolithic filling, you need sand and cement, as well as a trough for mortar. Weld seams are treated with an anti-corrosion agent.
Marking
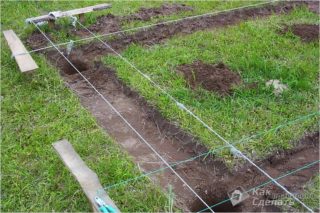
Twisting piles according to plan requires careful marking on the ground. The racks are placed at the desired distance, not exceeding 3 meters. An increase in the girder leads to sagging of the grillage strapping. A perimeter is marked on the site, diagonals are measured to check, the size of which must match.
First, the corner elements are marked and twisted in the center of the bar. If the extreme dimensions of the grillage are indicated, subtract 0.5 of the width of the bar on both sides. After installing the first rod, the position of the second support is determined, focusing on the dimensions of the foundation and the distance between the centers of the heads.
The house is placed parallel to the fence, the road, the red line of the street, therefore, the same distance is measured from this line with the first support and the second rod is placed. They dig a pit, insert a post, check the vertical and measure the gap between the axes. They begin to screw in if there are no deviations or the element is aligned to the design and planned position.
The place of the third support is found at the intersection of two linear distance indicators, the marking accuracy is checked by comparing the legs and the hypotenuse of the formed triangle. Pegs, nylon cords and tape measure are used. The work is carried out together. The permissible error for horizontal measurements is 5-10 mm, and for vertical measurements, no more than 2 °.
Diy pile screwing procedure
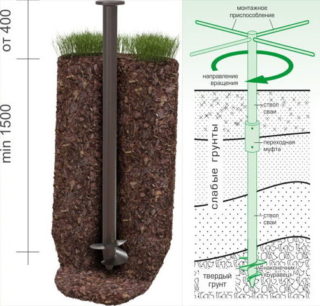
Before screwing the piles yourself, clean the area from construction debris and unnecessary items. The size of the pit is made no more than 0.5 meters, although the deep recess makes screwing easier. A large hole reduces the load-bearing capacity. the rod is not screwed into the soil, but installed with subsequent backfill.
The piles are treated with an anti-corrosion agent to protect against the aggressiveness of soil fluids. Factory products contain a protective coating. The complexity of the work increases with the immersion of the element, because you need to apply uniform force and do not deflect the rod vertically. One 360 ° turn deepens it by 10 - 20 cm (depends on the pitch of the blades on the barrel).
Installation of one element takes about half an hour. The deformation of the clamps at the point of action of the lever indicates that a solid ground has been reached. Early deformation indicates that the pile rod is stuck (buried in a solid layer or object). Such elements are removed and displaced along the line of location. Corner posts must not be rearranged.
After installation, the rods are aligned along the horizontal mark, the top is cut off with a saw or grinder.
It is not recommended to unscrew and re-screw the pile to fit it to the desired height.
Depth of immersion of supports
SNiP 24.13.330-2011 gives dive values for different regions:
- seismically hazardous areas - deepening of screw pillars not less than 4 meters;
- when relying on wet sandy soil - not less than 8 meters, the decrease in depth is justified by geological studies of a specific area;
- in other cases, the height of the piles is determined by calculation.
If the post has come up against a solid obstacle at a depth of more than 1.5 meters, it can be left in this position, and the top can be cut off to a level. The screw rod is twisted until it goes deep into the soil, after stopping the pile is considered correctly buried.
Final installation of the foundation
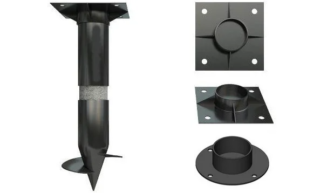
The pits made for installation are filled with concrete. The action does not increase the bearing capacity, but it protects against air ingress and prevents corrosion. At the next stage, the head is welded or put on with bolts to the tail of the support. The seams are freed from scale, painted or primed. Structural links are used for mounting a grillage or strapping a monolithic slab. The heads have holes for attaching a bar or beam.
Head types:
- square metal plates;
- sections of the channel, turned by the shelves downward, up to 150 mm long;
- Slingshot V-link for bars only.
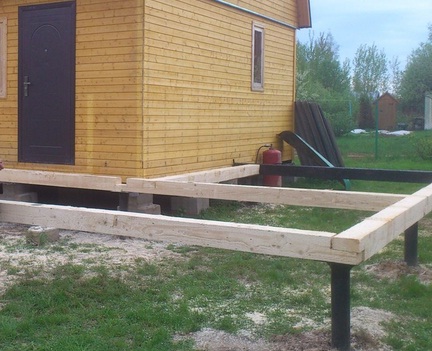
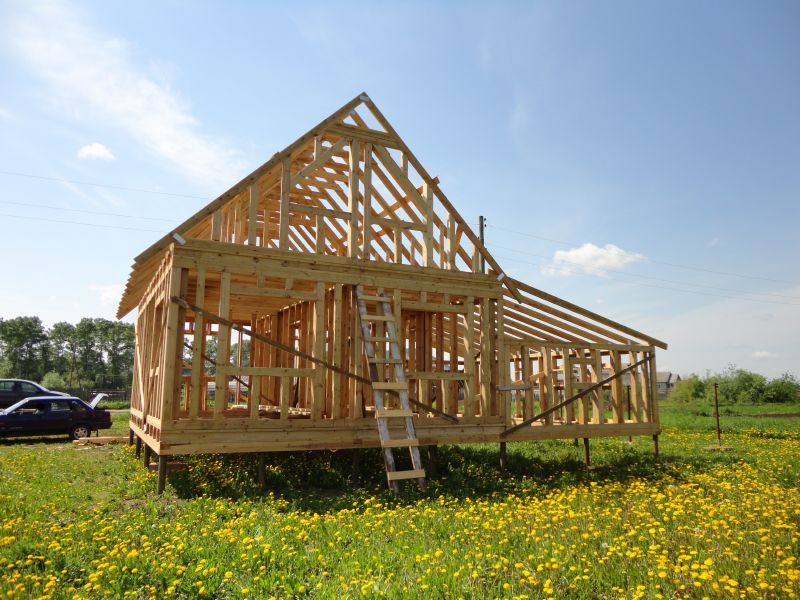
The grillage is made of wood, metal, monolithic concrete or reinforced concrete crossbars. Wooden girders are installed for panel and prefabricated buildings. Metal beams serve as a support for houses with wooden, cinder-concrete, expanded clay walls. Reinforced concrete monolithic and prefabricated are used in heavy buildings with slab ceilings and powerful roof trusses.

