Repair in an apartment is almost always associated with the need to determine the relative position of objects or surfaces relative to any horizontal plane. For this, a water level has been used since time immemorial. There is also the name "hydro level" (from ancient Greek. Hydros - water). In general, this device, the simplest in design, is a transparent hose partially filled with water. Its principle of operation is based on the use of the law on communicating vessels.
Scope and principle of operation
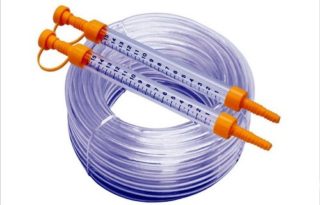
The water level is used when the use of other types, for example, bubble, is impractical or impossible. In the general case, the hydro level is used when carrying out such repair work:
- pouring the floor screed;
- arrangement of a stretch ceiling;
- wallpaper sticker, etc.
With the help of the tool, you can place paintings or furniture shelves on the same level. All this can be done around the corner or even in different rooms.
Operating principle
Structurally, the water level consists of two flasks, marked in centimeters, connected by an elastic hose. This simple system is filled with water or some other liquid. If at the same time the flasks are placed strictly in the same plane relative to the floor, the liquid level in each of them will be the same.
For the convenience of using the level, it is necessary that the hose provides a good passage of liquid. This is possible if its diameter is from 10 to 15 mm (the longer the hose, the larger). The length of the hose is selected depending on the place of work and can be from 3 to 30 m. The weight of such a device will not exceed 1 kg.
Advantages and disadvantages
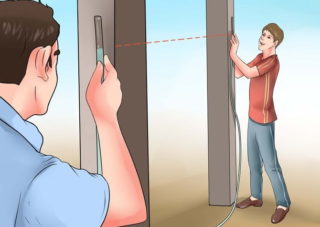
Construction hydraulic level is simple in design and easy to operate. Flexible elastic hose allows you to use it when there is no line of sight between objects - outside corners, in different rooms and even outside. It is highly accurate, does not break when dropped and does not require special storage conditions.
Among the few shortcomings inherent in the water level, the need for two people to work is especially noted. It is extremely inconvenient to work with him alone. In addition, the hydro level:
- used exclusively in the horizontal plane;
- cannot be used in the immediate vicinity of heating elements;
- when working in negative temperatures requires the use of anti-freezing fluids.
If the liquid level is not handled carefully, air can enter the system, which negatively affects the accuracy.
How to work with a water level
- small scoop;
- small funnel;
- roulette;
- Scotch;
- ruler;
- pencil.
It will also not be superfluous to have some kind of dye with which you can tint the water.
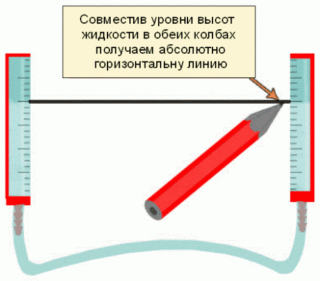
Before starting work, the hose is filled with boiled, and preferably distilled water, preferably at room temperature. In this case, it is necessary to carefully monitor that there are no air bubbles in the water - their presence affects the measurement accuracy. To mark a given height in the right places, one bulb stays in place, and the other moves in the desired direction.It is necessary to transfer the second flask carefully, since the presence of even the slightest kink or bend is not allowed on the hose. After placing the second flask at the end point, you need to wait until the water vibrations in both flasks stop. A control mark in height is made where the liquid in the second flask is at the same level as the first.
Structurally, the water level requires the participation of two people to work. If you have to work alone, it is necessary to provide for a special mount for one of the flasks.
Making a hydro level with your own hands
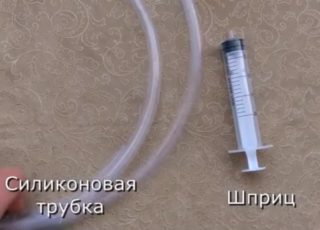
- elastic hose with a diameter of 10-15 mm;
- medical disposable syringes - 2 pcs .;
- stationery knife;
- soap solution.
The hose must be washed with soapy water, which will remove dirt and residues of technical grease from its inner surface.
The syringes will have to be slightly modified:
- remove the needles and remove the pistons:
- Cut off the cones for the needles with a clerical knife.
The ends of the hose must be put on or inserted into the nozzles of the syringes, depending on the diameter. The simplest hydraulic level with marked flasks will allow you to accurately monitor liquid levels.
Using the hydro level when arranging the foundation
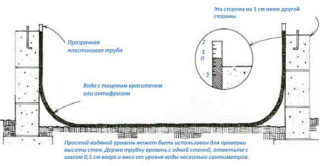
Most often, the water building level is used when the purchase of an expensive laser plane builder is not economically feasible.
In order to vertically install the rags-racks, defining the boundaries and axes of the building on the ground, it is necessary:
- Vertically install the first batten strip.
- At the required height, fix one of the ends of the water level on the rail.
- In the right place, place and check the verticality of the installation of the second raffle element.
- Fix the other end of the hydraulic level on the installed crossbar.
- Taking the top of the first support as the base (zero) level, set all other rails along it.
Using the same technology, the formwork is exposed and the foundation is poured.
Using the hydro level, you can mark the future foundation on the ground and check the evenness of the poured foundation.
To securely fix the water level, you must:
- Lay two planks horizontally on the foundation.
- Attach a strip to each of the boards at an angle of 90 °.
- Check and if necessary align the structure.
Before fixing the water level on the wooden frame, it is recommended to remove the flasks - this will make it more convenient to work. Further:
- Wire the ends of the hose to the planks.
- Wait until the water levels off and mark the reference mark ("zero") on both pipes.
- Clamping the ends of the tube so that the water does not splash, move one of the planks to the corner of the foundation to be checked.
Installing the plank with the tube to the measured angle of the foundation:
- Spread out the ends of the hose.
- After waiting until the water has calmed down, measure with a ruler how much the water level has deviated from "zero".
- From the distance at the base point, subtract the value of the deviation from "zero" at the point to be checked. If the water column has risen relative to "zero", its value is taken with a "+" sign, and if it has dropped - with a "minus" sign.
After checking and calculating the deviations at all corners of the foundation, compare them with the permissible deviations of horizontal planes given in the normative and technical documentation (SNiP 3.03.01-87) and, if necessary, align them.

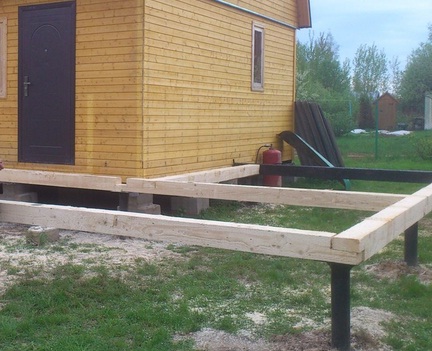

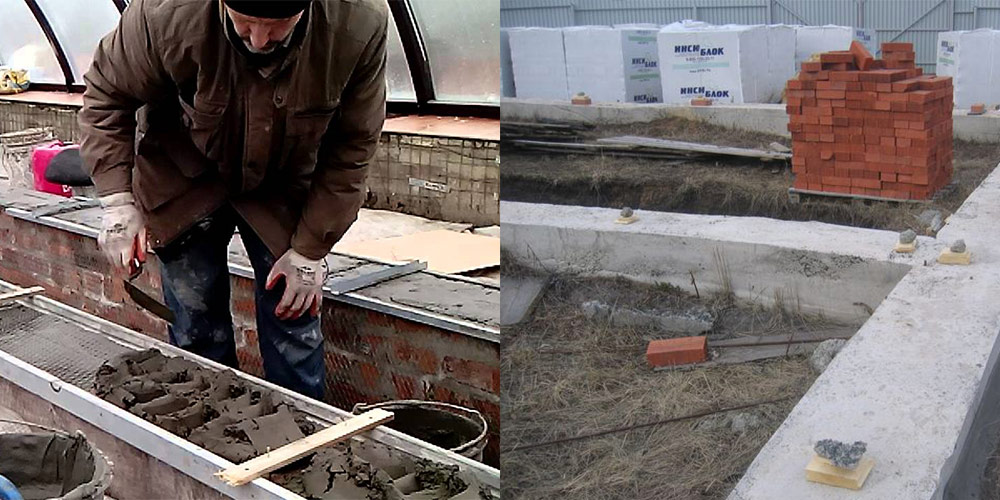
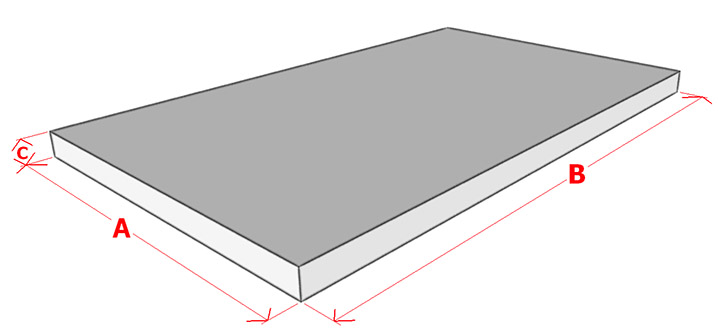
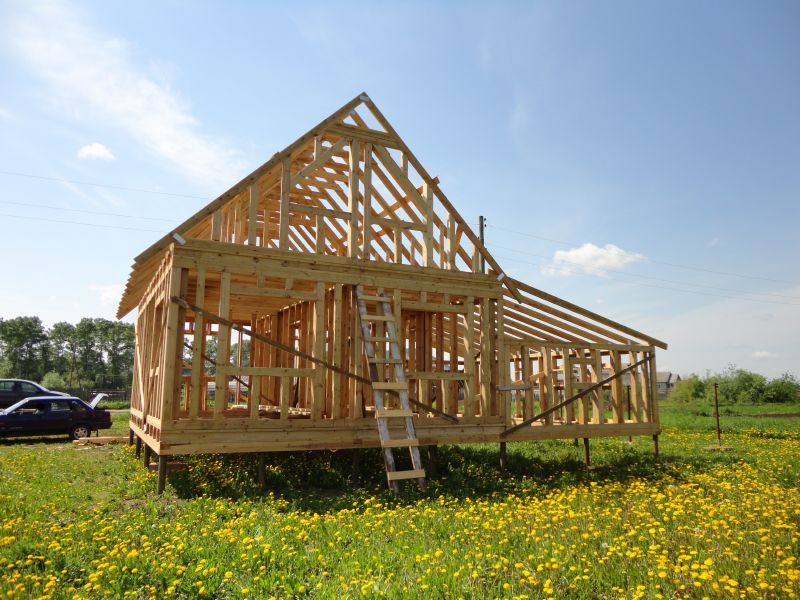
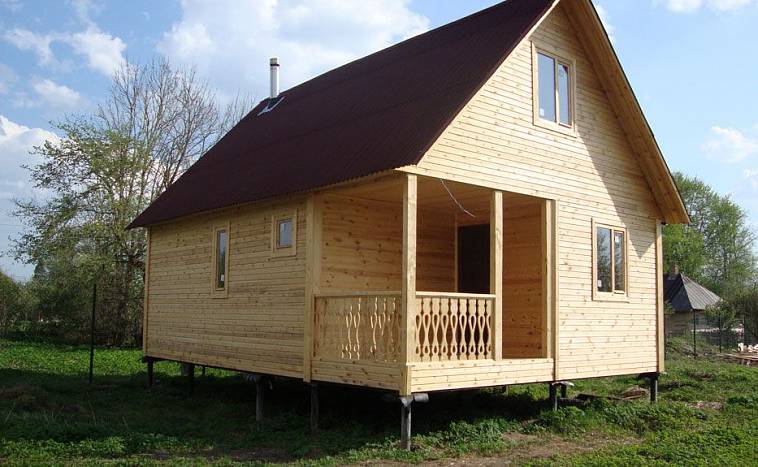
The foundation is the beginning of construction, the levels and verticals will have to be beaten off during construction one hundred to five hundred times, an error of a few centimeters will then result in an overspending of material by tens and hundreds of thousands of rubles. For me, the hired workers managed to make a mistake in height by 10 cm at the length of the foundation of 6 meters with a water level. I paid the money, the workers left. The jamb was found out later at the stage of overlapping and erection of the roof and installation of windows.
So the first tool to get when starting construction is a laser, preferably with a tripod !!
When using a hydro level, there is one nuance, the hose should lie on a horizontal plane, and not hang in the air, then there will be accuracy.