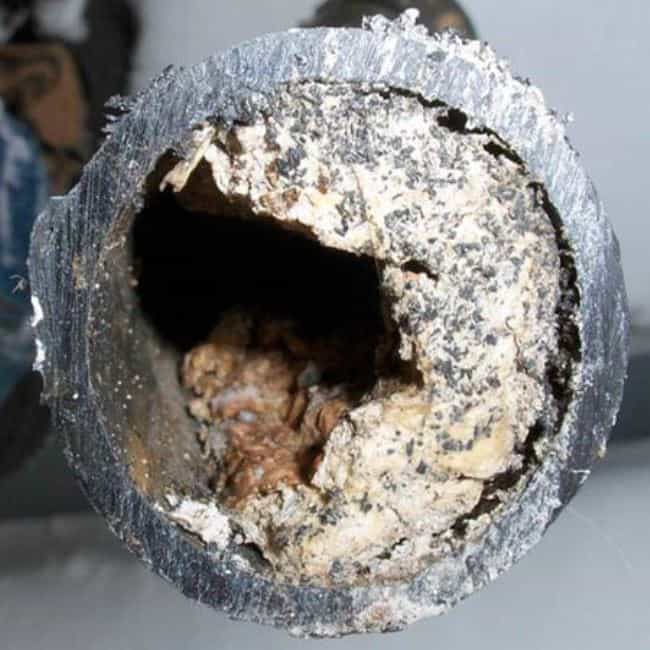
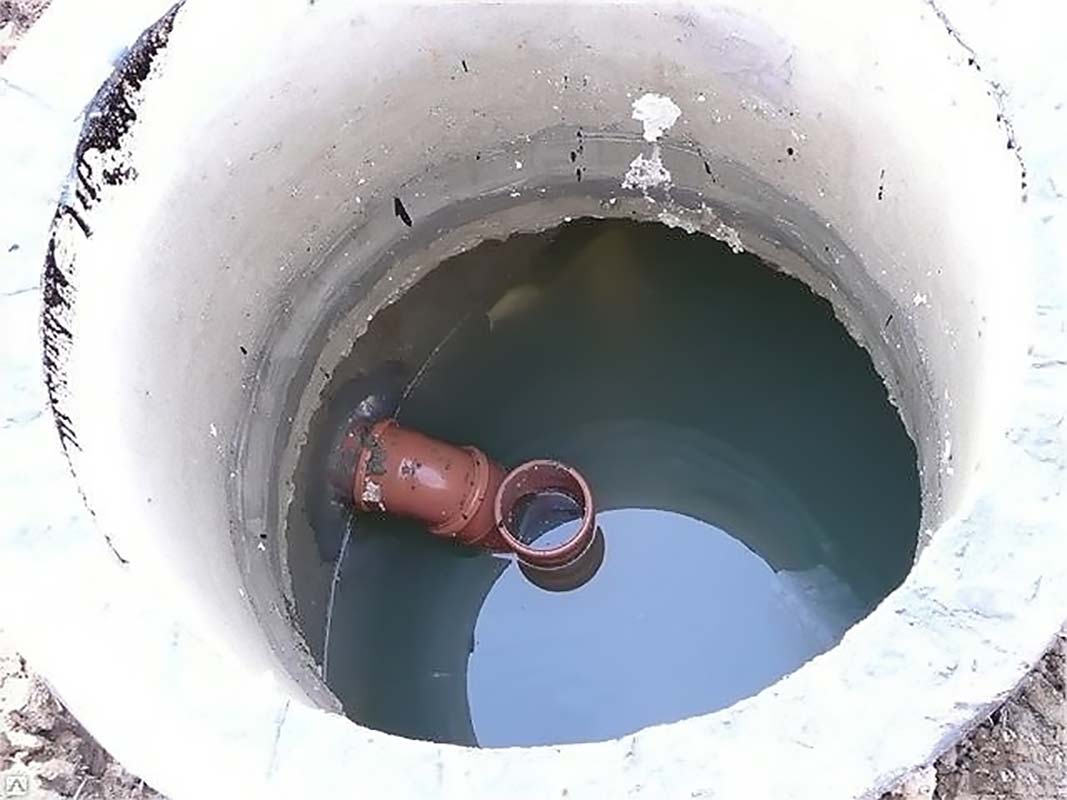
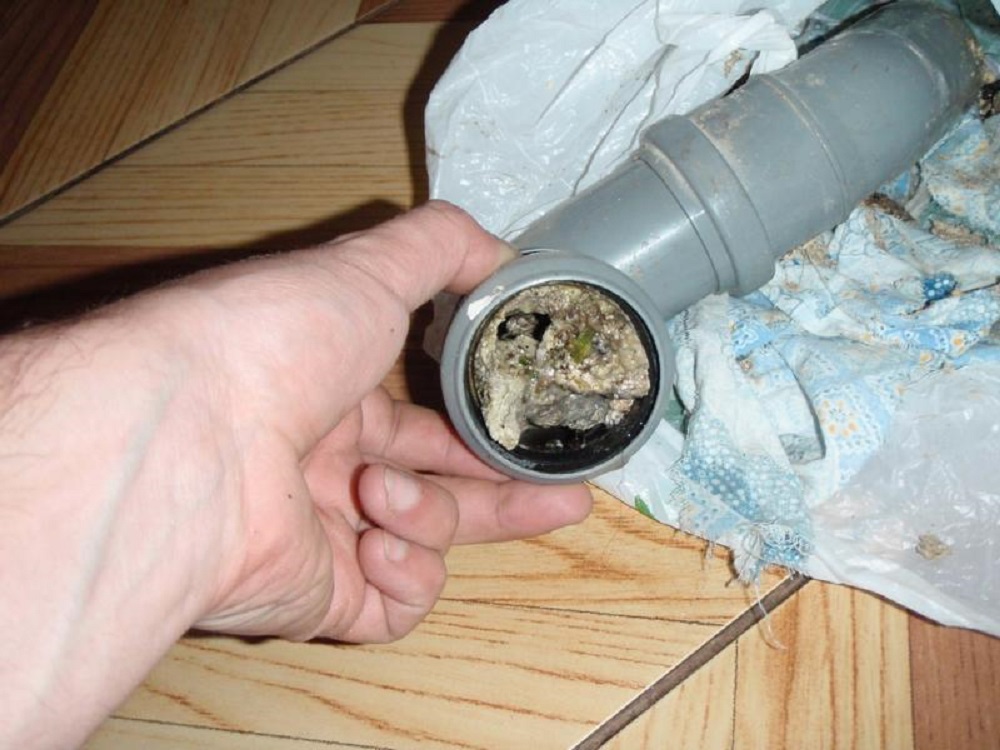
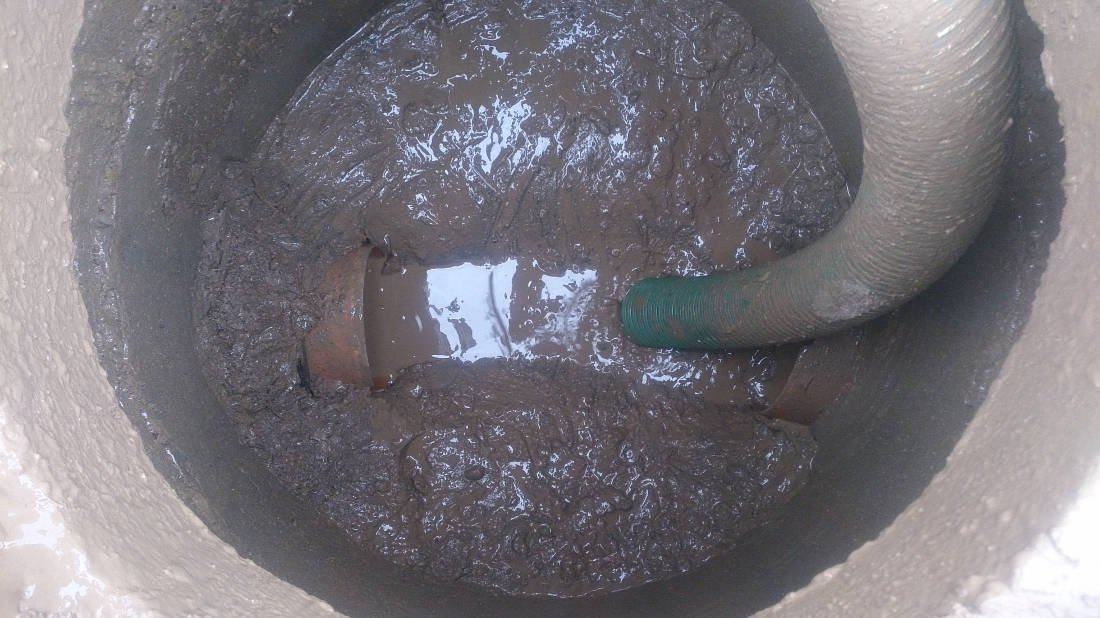
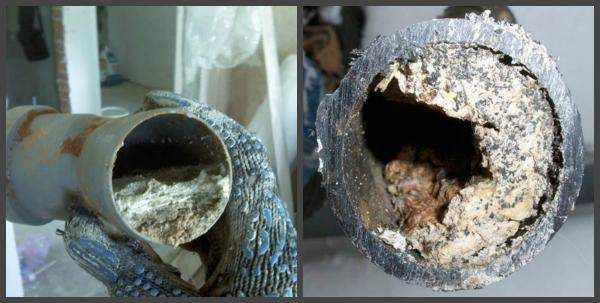
When replacing a worn-out section of the sewage system, there is a risk that, due to pressure drops, an adjacent section of the old pipeline will begin to leak. If possible, it is better to completely change the sewer network. In order not to complicate the process, it is important to properly dismantle the drain line.
Features of dismantling sewage from cast iron
Dismantling external sewer pipes is different from parsing highways inside the house. Since pipe sections in most cases run underground, find a pattern for how they run. To open the ground, you need to know exactly where the highway is.
Thereafter:
- They carry out earthworks - they dig a trench along the location of the pipeline from the hole through which the cast-iron sewage system is brought out at the base of the house to the storage chamber. If the need arises - and in the area between the two containers of the structure for cleaning.
- They remove insulation material, waterproofing.
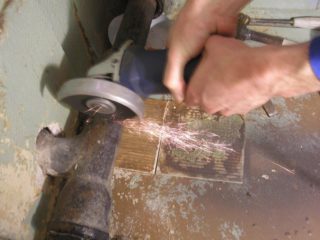
- Disconnect the transition elements (fittings, clamps, couplings) using a grinder or pipe cutter.
- The pipes themselves are cut and pulled out.
Individual areas (especially at the joints) for removal are enough to cut, after which they are broken with a sledgehammer. Since cast iron is a heavy material, the fragments should be small.
Restoring in-house fan systems only at first glance seems simpler and easier. It is not required to dig out the pipeline, as in the analysis of external sewer mains, but you will have to coordinate the work with neighbors and supervisory authorities: the management company, the HOA, the water utility. It is easier to change the old sewerage network in a private house or in the country - no approvals are required there.
Tools and materials
- sealant;
- cement solution;
- rubber sleeves for fixing pipes in sockets;
- pipe sections of the desired section and suitable length;
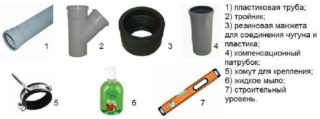
- fitting connections: plastic tees, couplings, special transitions from cast iron to plastic;
- compensating elements for connecting sewer pipes;
- clamps for fixing the pipeline to the wall surface.
The tools that will be needed for dismantling are a grinder, a chisel, a sledgehammer.
Preparatory work
The owners of the apartments located on the top floor can immediately start dismantling works. Residents of the penultimate floor and below must notify neighbors about the planned work and the time of their implementation, so that they do not use plumbing during this period.
The best option would be the simultaneous replacement of the main riser in all apartments.
It may happen that the neighbors do not want to change the pipe. Then you will have to dismantle the part of the riser that you have. This is done carefully to avoid damage to pipes going to other residents.
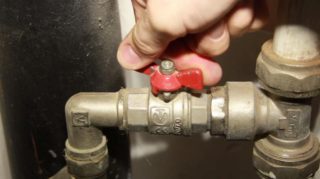
Before proceeding with the dismantling, shut off the water supply in the apartment if only a new sewer line is being installed; on the whole riser, if it is being replaced. Disconnect all sanitary and electrical equipment in the bathroom and remove unnecessary items and furniture from the technical area.
Methods for dismantling a cast-iron sewage system
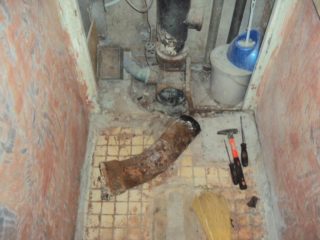
First, short, horizontally located sections of the line are disassembled, and then the dismantling of the riser begins.
- In the center of the riser, using a pipe cutter or grinder, make two cuts with a distance of 15 cm and at a slight angle to each other. It is not recommended to cut the pipe completely, since the upper part of the pipeline is capable of clamping the grinder's disc.
- Carefully fish out the cut pipe section.
- From the two remaining segments - the top and the bottom - cut the first one. Take into account the height of the transition element, which then must be put on the piece of the riser protruding from the ceiling. To cut the pipe strictly at right angles to its axis, first stick the tape along the cutting line.
- Pull out the piece of cast iron pipe protruding from the socket of the sewer tee. If it can be swayed by gently moving it from side to side, pull up until the pipe comes out.
If these actions do not give the desired result, you will have to cut the tee, stepping back 20-30 mm from the socket. Then, using a special wedge, remove the rest of the tee piece by piece.
If the entire line is not securely assembled, you can loosen not only the junction with the tee, but also other junction points. After that, the pipeline is disconnected into its constituent elements.
You can emboss a cast-iron sewer with your own hands by breaking the pipes into small pieces with a hammer. To do this, you first need to use a grinder. This option allows you to save the junction of the sewer fittings with plastic pipes. But you still need to cut off the sewer from the docking station. The entire pipe is cut off using a special steel wedge. It is driven into a cut made by a grinder.
Another method to emboss the joints of the cast-iron sewage system while preserving the connecting elements is to remove the old fixing material. Use a chisel and hammer. Carefully knock down the cement, then use a screwdriver or a knife to pick up the cable or tow and pull it out of the socket. The field of this pipe section is quite easy to remove.
Possible problems
Replacing the riser can cause certain difficulties, since earlier craftsmen often used sulfur solutions for caulking. The liquefaction of the petrified composition is possible only when heated with a gas torch or blowtorch. When sulfur is heated, toxic vapors are released, so the use of a respirator in such a situation is a prerequisite.
To disassemble the old cast-iron sewer in your apartment, it is unacceptable to make strong blows and intensively loosen parts. This can damage the piping located in the apartments adjoining above and below.
So that there are no problems with subsequent dismantling, some nuances are taken into account during the installation of a new line:
- Begin installing the riser from the bottom.
- The position of all sockets must be opposite to the flow of water.
- It is better to replace the riser in its entirety, rather than in parts.
- The toilet bowl is connected to the riser by means of pipes with a cross section of 110–160 mm, and the sink - with pipes from 50–70 mm.
- Before starting work, a drawing is made and a marking of the planned highway is carried out. If the pipes are hidden, the grooves are laid to the depth of concealment, while observing the required slope.
- When assembling the pipeline, all gaskets and joints are lubricated with vegetable oil.
When selecting sewer pipes, care must be taken to ensure that they are free of cracks and swellings: such defects can lead to leaks.
If the replacement of the entire riser is planned, a more rational solution would be to change the plumbing fixtures and taps located on the equipment. In addition, during the installation process, you can arrange the line in a new way, making it more convenient.

