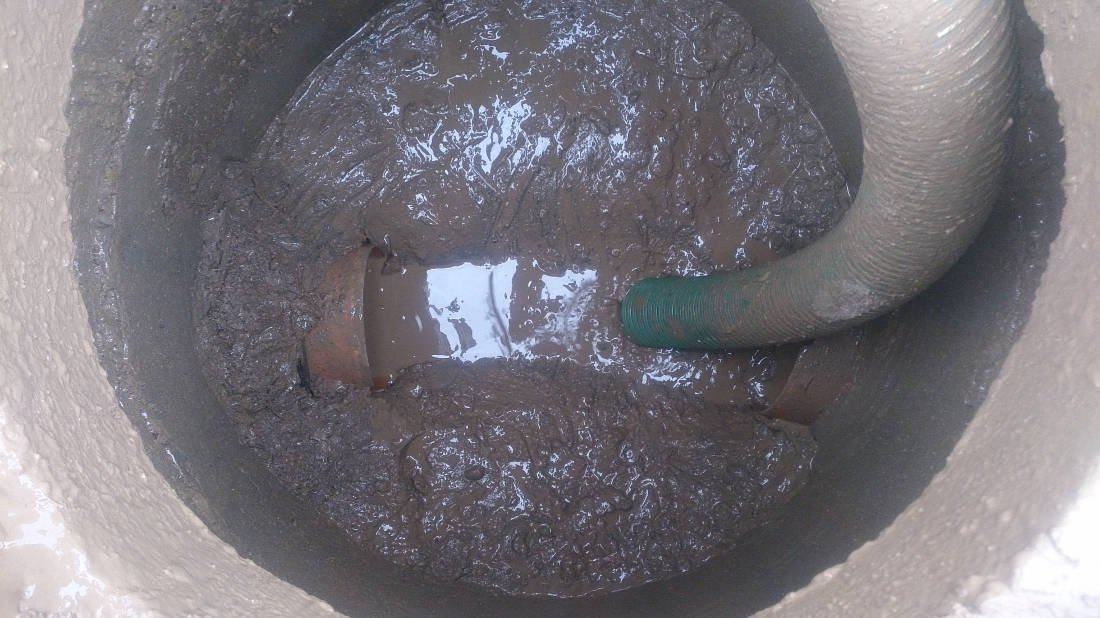
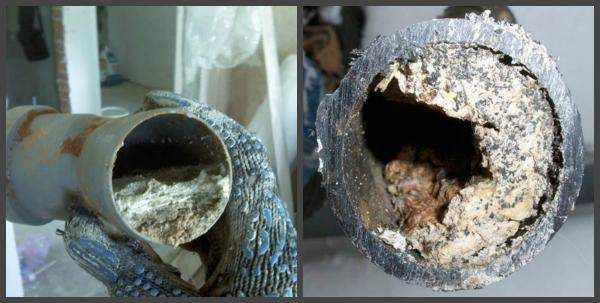
The accuracy of the functioning of the highways during their operation depends on the correct wiring of the sewage system. To do everything perfectly, you need to carefully prepare and plan each action.
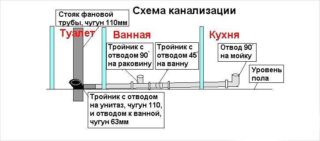
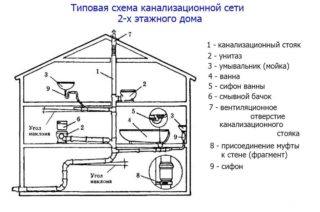
Drawing up a wiring diagram
In a private cottage, it is possible to carry out wiring on the site after construction, for example, if it becomes possible to replace a wooden booth on the street with indoor amenities.
Drawing up a diagram is carried out in three stages:
- Mark the location of the riser on the building plan.
- Indicate where the plumbing fixtures will be installed.
- Mark the location and size of the pipes going from the plumbing fixtures to the central riser, as well as fittings, water seals and adapters.
It should be noted that the line will be laid at an angle. For pipes with a cross section of 5 cm: 2.5–3.5 cm, 11 cm: 1.2–2 cm per meter.
Selection of pipes for internal sewerage
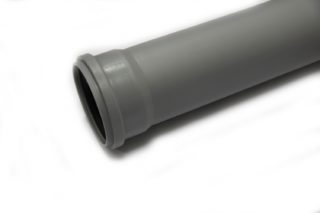
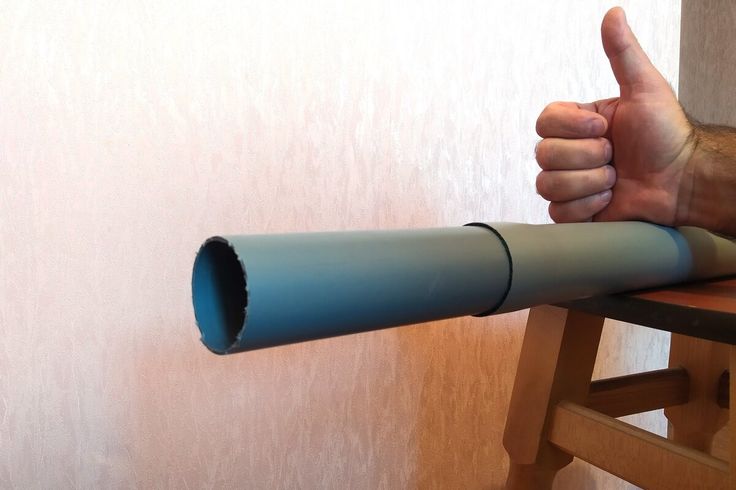
To lay the sewer system inside the building, you will need to purchase pipes with sockets. This will ensure fast and high-quality sewer assembly. A rubber seal is installed in each socket, which allows making tight connections without the use of additional materials.
For wiring, you will need sewer communications of various sections and fitting connections.
A pipe with a cross section of 110 mm is required for the riser. For most of the rest of the sewage system, pipe elements with a diameter of 50 mm are sufficient.
Installation steps for wiring
The work with the sewage system in the house begins with the manufacture of a drawing from the most distant plumbing fixture on the upper floor. It is advisable to connect horizontally located pipes of all rooms to one riser, where the sewerage will be connected, placing the rooms next door. This method of assembly allows for high-quality gravity, it is easier to maintain the required slope, which does not change during use.
At the section where horizontal pipes are connected to the riser, a tee is installed on each floor. In the basement or basement, the level of the outlet of the vertical riser to the outside is taken into account.
If the system is located below the required level, domestic forced sewage pumps with grinding devices are used, which will create the required head.
The last stage is the installation of the vertical part of the riser along the withdrawn tees.
The subtleties of the assembly of internal sewerage
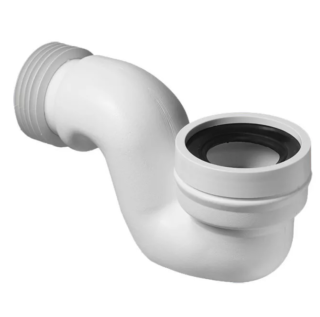
If the system has curved pipe sections, then conventional threadless fitting connections can be used.
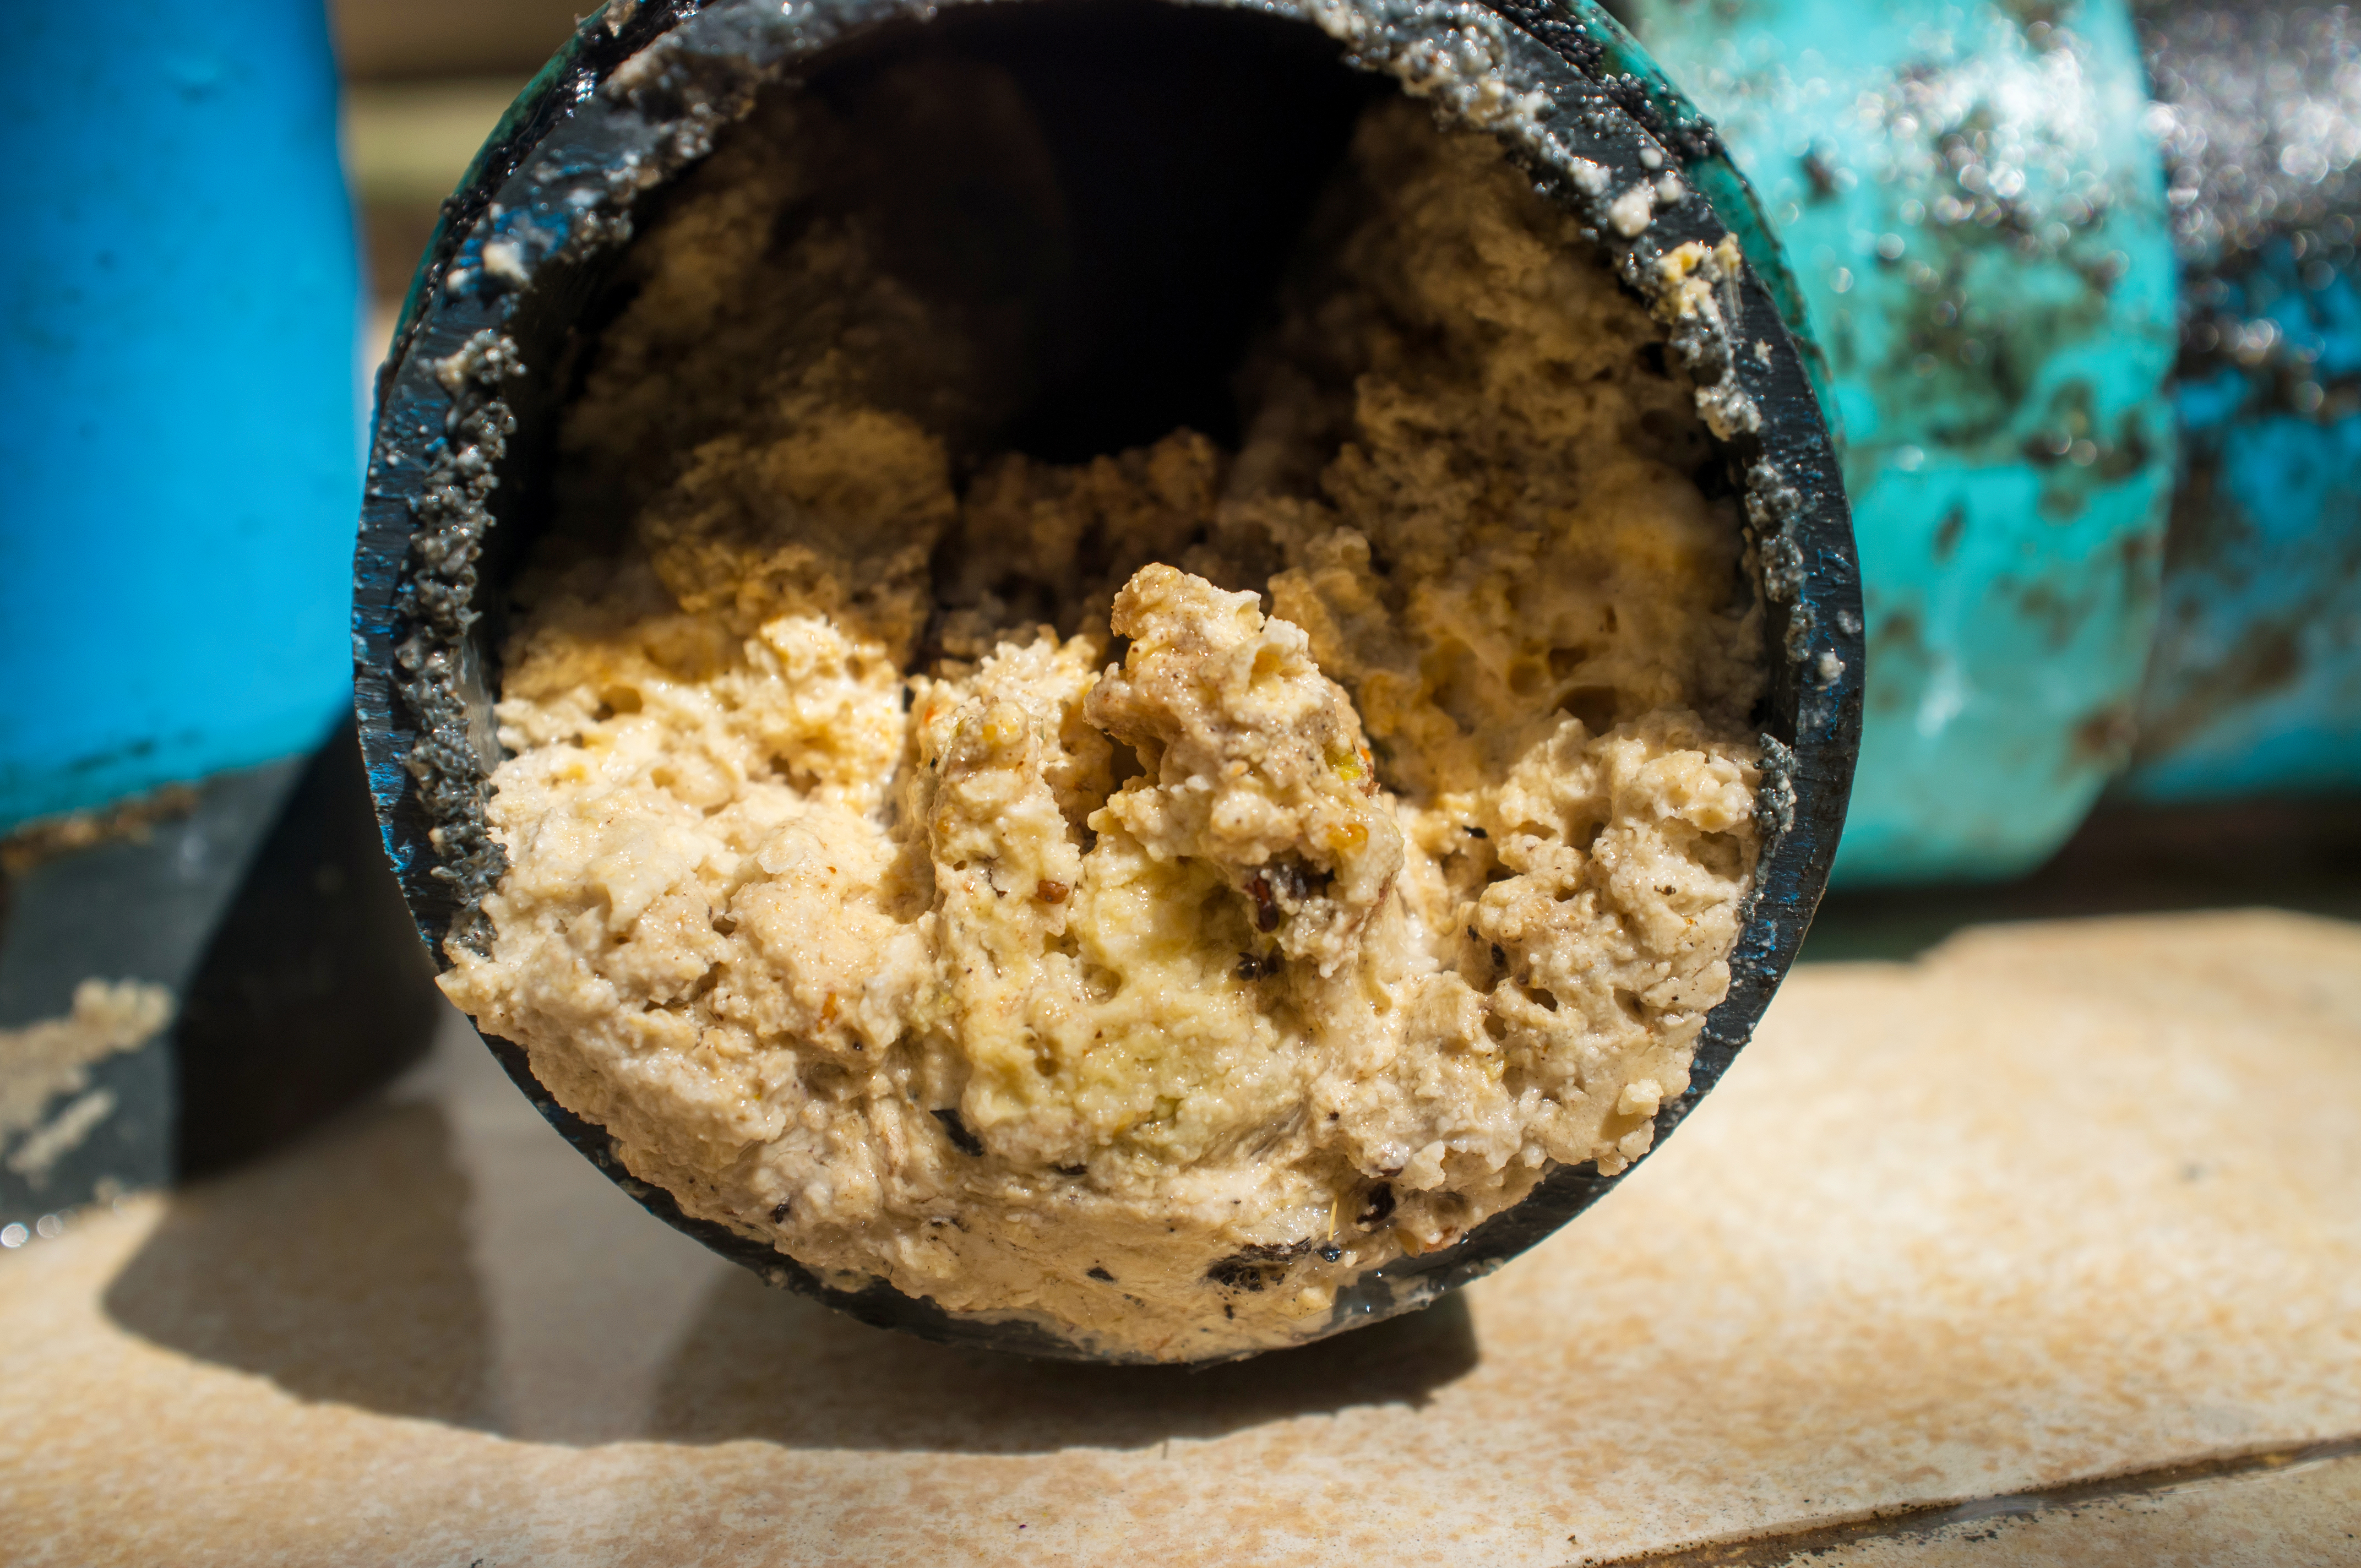
When opening pipes in the kitchen, the slope is made a little more than usual. This is necessary so that blockages do not occur in this area, since water with soap and fat impurities passes through it.
The bathroom requires the installation of a fan pipe. It serves as a ventilation system. If it is impossible to mount it, install an air valve.
The nuances of wiring in private houses
The creation of a sewage system in a building with a foundation on piles or on a tape basis is not particularly different. First, a schematic image of the internal highway is created, the mains for the water supply and sewer outlet are marked. The installation is carried out according to this scheme. Pipes at the point of exit from the building and at the site of connection with the main pipeline in the trench are insulated.
However, it is necessary to take into account the factors affecting the laying process:
- freezing point of the soil;
- septic tank installation depth;
- the presence and depth of the basement;
- the plan of the building and the number of its inhabitants;
- number of storeys.
If there is no complex relief at the place of laying, the creation of a gravity system will be quite easy. Otherwise, a fecal pump connection will be required.
Cottage
If the building is one-story, without basement and attic rooms, the wiring of sewer pipes in a private house is simple:
- For sanitary facilities with a common wall, one fan branch is drawn in the horizontal direction.
- From the most distant point to the main riser, installation is performed with a slope of 2 degrees.
- The plumbing is connected using a tee.
- Connecting the toilet to the riser is performed using a cross.
In this version, it is very easy to make a gravity system with a long service life. This will require maintaining the correct slope. When adding a bathroom and a toilet, the pipeline can be congested. You will need an additional riser. Inspection hatches should be installed in easily accessible places on the pipeline.
Multi-storey cottage
- The floor of the toilet on the second floor is located exactly above the bathroom on the first floor. This also applies to the ventilation pipe extending from the main riser. It is taken out above the roof to a height of 150 cm.
- Where the riser is passed through the ceilings, it will be necessary to install expansion joints to linearly change the length of the pipes.
- If there is a plumbing room located below the septic tank level, a fecal pump connection is required.
The technological process for installing pipes horizontally has practically no differences and is almost the same for any floor.
If you have experience with tools and a responsible approach to planning, the sewer wiring in the house and on the site is easy to carry out on your own at no extra cost.

