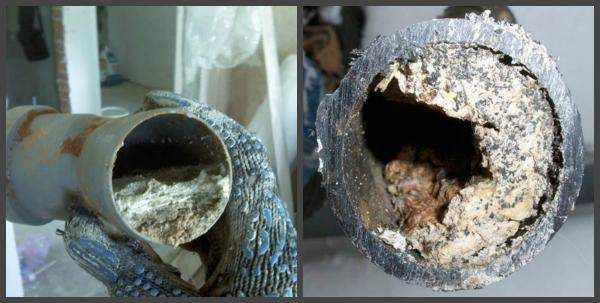
In order for the local sewage system in a country house to work correctly, it is necessary to arrange a drain tank. The cheapest way to drain sewage is a drain pit. You can do it yourself, while saving well on materials and choosing the best option for the characteristics of the soil on the site.
In the article, we will talk about several ways to arrange a cesspool.
Preparatory work
If this is not done, the owner of a private house may face problems:
- the sewer system may not work well;
- you will often need to pump out the drain pit, which takes time and will require money.
The norms for the location of the cesspool are determined by law, if they are not followed, the owner can be fined.
A cesspool should be located 3 m from trees and vegetable gardens, 4-5 m from the road, 10 m from rivers, 30 m from a reservoir and 50 m from a well with drinking water.
We make a cesspool ourselves
- excavated pit;
- a special container for waste water;
- pipeline;
- fastening systems;
- filters for purification;
- sealants.
The process of installing the pit is standard, the materials themselves will differ directly (depending on what the pit will be made of - brick, wood or concrete):
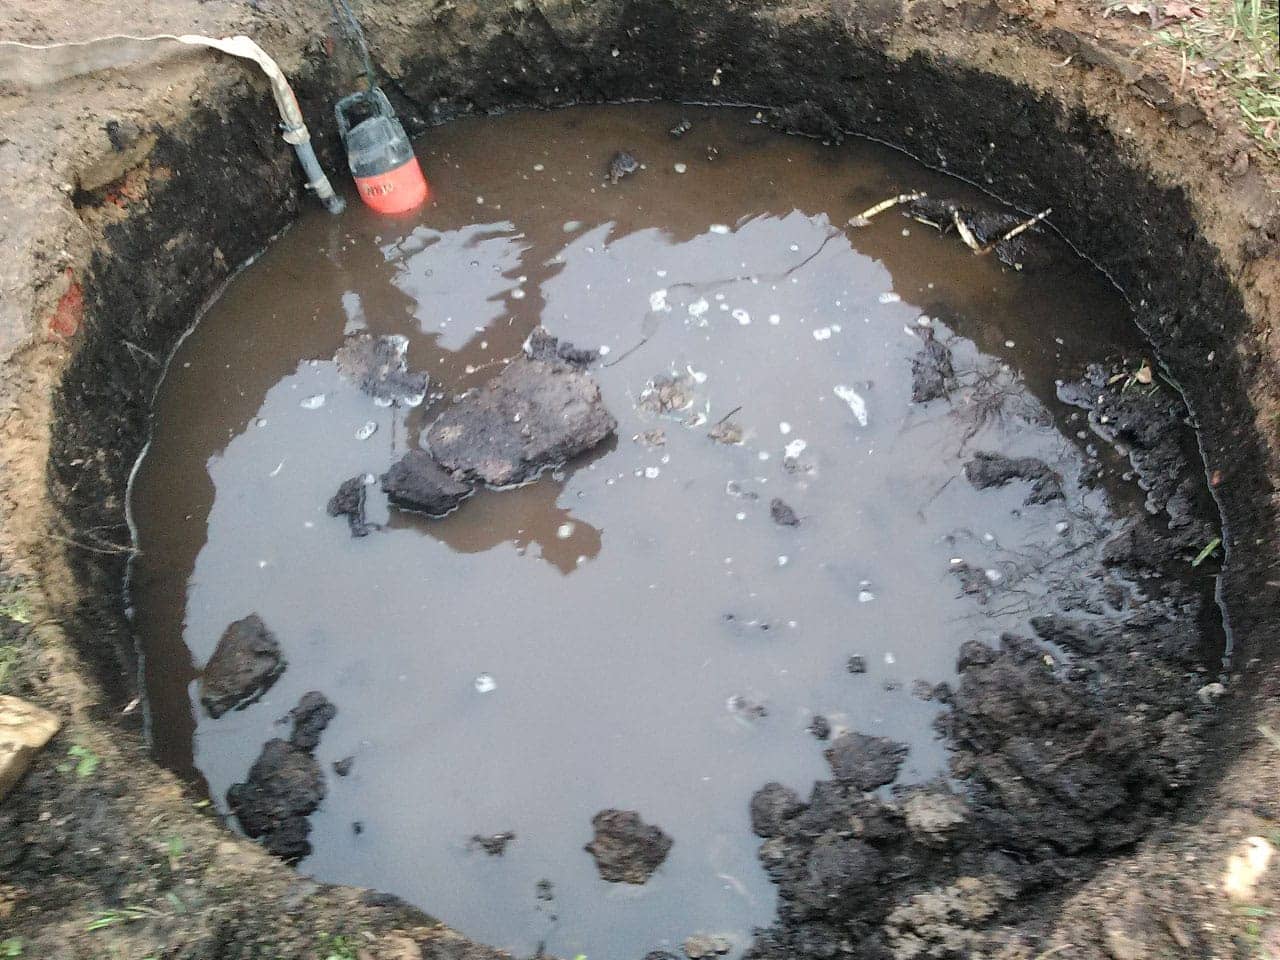
- Dig a pit.
- Equip the walls and lay a pipe through which the liquid will enter the tank.
- Connect the outgoing pipe through which the drains will leave the tank.
- Install the sewer.
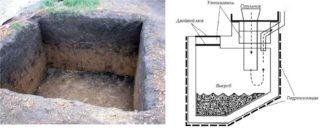
- Mount the obkop (30 cm high), install a concrete slab with a hatch on it.
- It happens that the slab is covered with earth, the surface is leveled. Luke does not fall asleep.
Temporary drain pit
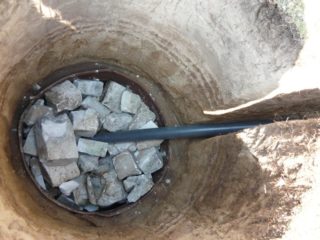
A pit can be made of tires for a short period of time. This is the most economical option, but not the most environmentally friendly. It is necessary to collect the required number of tires, depending on the size of the pit, and overlay the walls with them. True, old tires have a very high carrying capacity, and the soil is very polluted. If the owners come to the house only for the summer, the pit can not be made too deep, a foundation pit up to one and a half meters deep will be enough.
Wood pit
Boards that will be used must be treated with a special protective solution before installation.
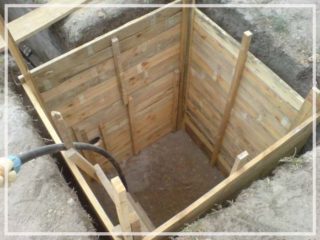
The structure is made of boards knocked together in the form of a box, it is easy to mount and dismantle.
It is not recommended to make the sides more than 1 meter, otherwise the durability of the box will decrease.
Installation process:
- We decide on the size of the future pit and pull out the foundation pit.
- We pound four shields from the boards, we nail the shields to the bars (not tightly).
- We put the shields in the hole, we put the spacers.
- We put several metal pipes on top for strength.
- We cover the structure with boards.
- Cover it with a water-repellent material, for example, tar paper.
- We fall asleep with earth.
It is recommended to equip such a pit in an inaccessible area of the site so that the structure does not collapse ahead of time.
Brick pit
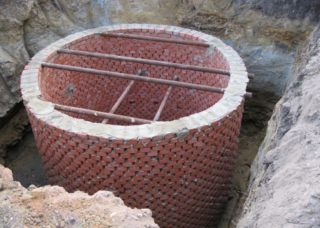
For arranging the pit, red brick is used, best of all - burnt brick.
Advantages of a brick drain pit:
- long service life;
- good tightness;
- can be equipped in any soil.
Minuses:
- square pits cannot withstand heavy loads;
- the cost of a brick pit is higher than when installing a plastic container.
Installation procedure:
- We dig a pit.
- We level the bottom and make a cushion of rubble about half a meter or concrete it.
- We lay the walls with a solid brick, fill the joints with a mortar from a sand-cement mixture.
To correctly calculate the number of bricks that will be needed for installation, you need to divide the estimated height of the walls of the structure by the height of the brick row (adding 6 mm for the seams).
It is advised to organize a "pocket" of about 10 cm between the brick and the pipeline. This is to protect the structure from deformation during shrinkage.
- We begin to lay the brick 30 cm below the surface level, then we make overlaps: we equip the crate with a hole for the hatch, an armored belt and fill the slab with concrete.
- After that, you can cover the slab with earth.
If the house is located in a region with frosty winters, the layer of earth must be increased to half a meter so that the pit does not freeze through.
Concrete
Pros:
- It can be operated both in winter and in summer.
- Does not deform under the influence of soil viscosity.
- Service life - up to 50 years.
- Regular repairs are not required.
Minuses:
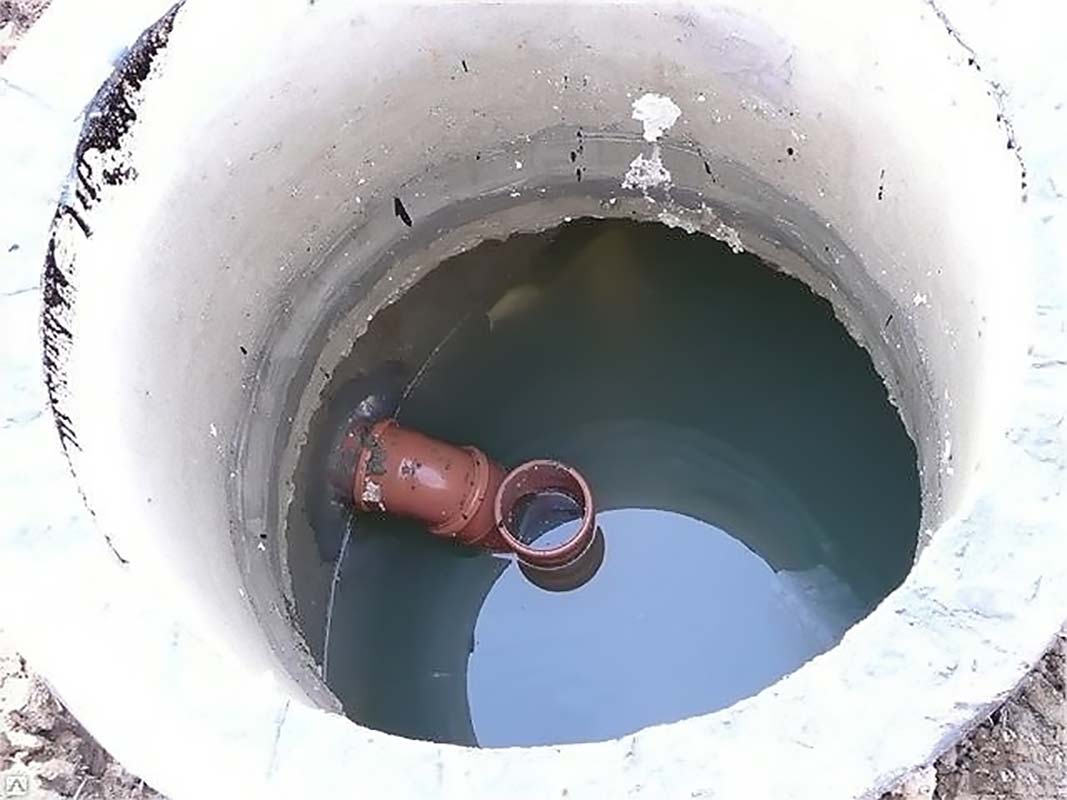
- you will have to attract special equipment: to immerse the rings in the pit;
- high cost of concrete rings.
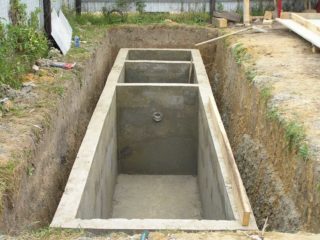
Installation procedure:
- We dig a pit and organize a crushed stone pillow.
- We make a concrete screed or install a ready-made reinforced concrete slab as a base.
- We put rings in the pit (the number depends on the number of people in the family and the regularity of visiting the house)
- We make holes for communications.
- We coat the pipe joints and concrete joints with a sealant, then cover them with a water-repellent solution and plaster the inner surface.
- We mount a slab with a hatch on top and cover it with earth.
Which method of making a cesspool to choose depends on the regularity of use, the required service life and the financial capabilities of the owners.
If you need a pit "for life", of course, it must be made of concrete. For a small country house, which people come to for the summer, it is quite possible to do with a small wooden pit.
If finances do not allow you to purchase reinforced concrete rings and call for special equipment, you can lay out a hole made of brick. This is also a durable option.

