The water located on the territory of the site, when the ground freezes, leads to its expansion, while creating excessive pressure on the basis of any structure - a cottage, a summer residence, a farm building. The gradual erosion by high underground sources also negatively affects the fortress of the building. Drainage will protect the foundation of the house from destruction. A complex for collecting and draining water from a garden or summer cottage will protect the roots of plants from decay, prevent the appearance of stagnant puddles and waterlogging of the territory. If everything is done correctly, the drainage system will last more than half a century without repair.
Varieties of drainage systems
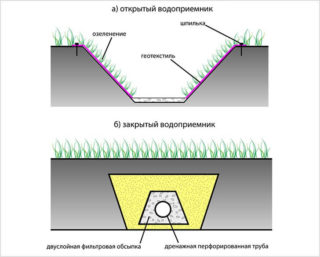
- Closed drainage. This is one of the easiest and most effective methods of dealing with excess soil moisture. It is carried out in the form of a system of trenches (one central one with several branches), on the bottom of which a sand and gravel cushion is laid. The main ditch is dug at a slope to the place of the spillway. The total number of grooves and their size are determined depending on the amount of moisture in the area.
- Open drainage. For its arrangement, they dig a ditch up to 70 cm deep and up to half a meter wide around the perimeter of the territory. For the unhindered drainage of moisture into the trench, its sides are made inclined at an angle of about 30 degrees. Water from the surface of the site is diverted to its edges. Imperfection of such drainage - the landscape deteriorates.
- Drainage trays. Usually they are made of concrete and installed at an angle of 2-3 degrees in trenches, and a decorative lattice device is placed on top. At the lowest point, a spillway or a chamber for collecting liquid is arranged. Such a system is effective in terms of removing water falling out with atmospheric precipitation, but for deep subsurface sources it is almost useless.
The most convenient is the drainage option from pipes. It perfectly removes underground waters, especially those lying close to the surface.
Selection of pipes for drainage
Drainage products are not perforated. They are needed to empty drainage tanks. Wastewater is discharged into collector installations or specially equipped ditches. Drains can be installed in the ground to a depth of more than 10 m.
In addition, it is necessary to take into account a number of factors when selecting pipes.
Product material
Pipelines for creating drainage are made of the following materials:
- asbestos cement;
- ceramics;
- expanded clay glass and plastic concrete;
- polymers.
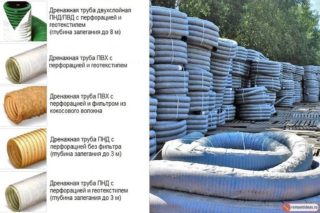
The most popular pipeline parts are made of high and low pressure polyethylene (LDPE or HDPE), as well as polyvinyl chloride. Perforations are usually not made on PVC pipes; they are used for drainage.
Polyethylene elements are made corrugated and equipped with moisture-absorbing perforations. They bend well, so they can be placed in areas with any relief.
Pipeline section
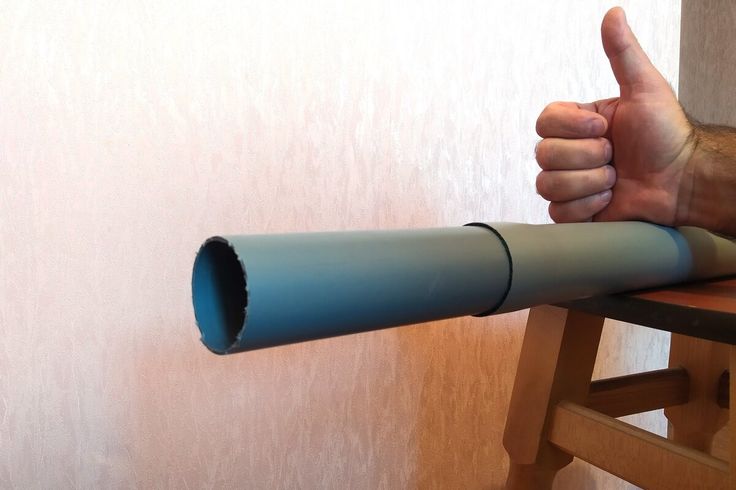
Products differ in cross-section size. Standard sizes - 110, 160, 200 mm.For complexes with a significant load, pipe sections are made with a large diameter - up to 300 mm.
For a small area with low groundwater, products with a minimum cross-section can be used. When constructing a drainage line with an abundance of branches, even in a small area, you will need to use pipeline sections of different diameters.
It is also possible to lay flat drainage pipes, which are not inferior in efficiency to their round counterparts. They are made with perforation and in a geotextile sheath. Flat lines are compressive strength, so the system can be installed close to the surface.
Soil type
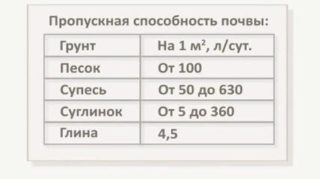
Perforated pipe sections with a filter winding made of coconut fiber or geomaterial are installed in alumina. Dumping from gravel is mandatory, which closes the highway by 15–20 cm.
For loam, perforated highways wrapped in geotextile are used.
In any land, it is also allowed to use ordinary sewer pipes with self-made holes or cuts and geotextile winding. This will significantly reduce the cost of installing the drain.
Design work
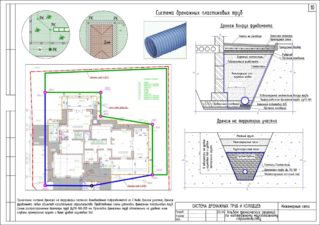
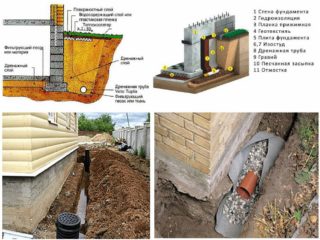
- "Wall" drainage complex along the perimeter of the foundation of a private house, which protects it from water penetration inside;
- drainage main along the perimeter or throughout the backyard area - makes it possible to protect the basement of the building, all outbuildings and garden crops.
Much attention is paid to the relief of the site. The pipeline must be installed in such a way that nothing interferes with the outflow of moisture into the ditches.
If geodetic surveys have not been carried out, you will need to draw up a diagram on your own, with marks on it where rainwater flows.
Before installation, it is necessary to form a project with a drawing to scale. This allows you to determine the number, diameter and stiffness of pipes required for the drainage device. In this case, the distance between the pipelines is taken into account. It is determined based on the amount of moisture on the site: the more it is, the closer the highways are installed. To what depth a drainage pipe can be buried depends on the occurrence of groundwater, but not less than 50 centimeters.
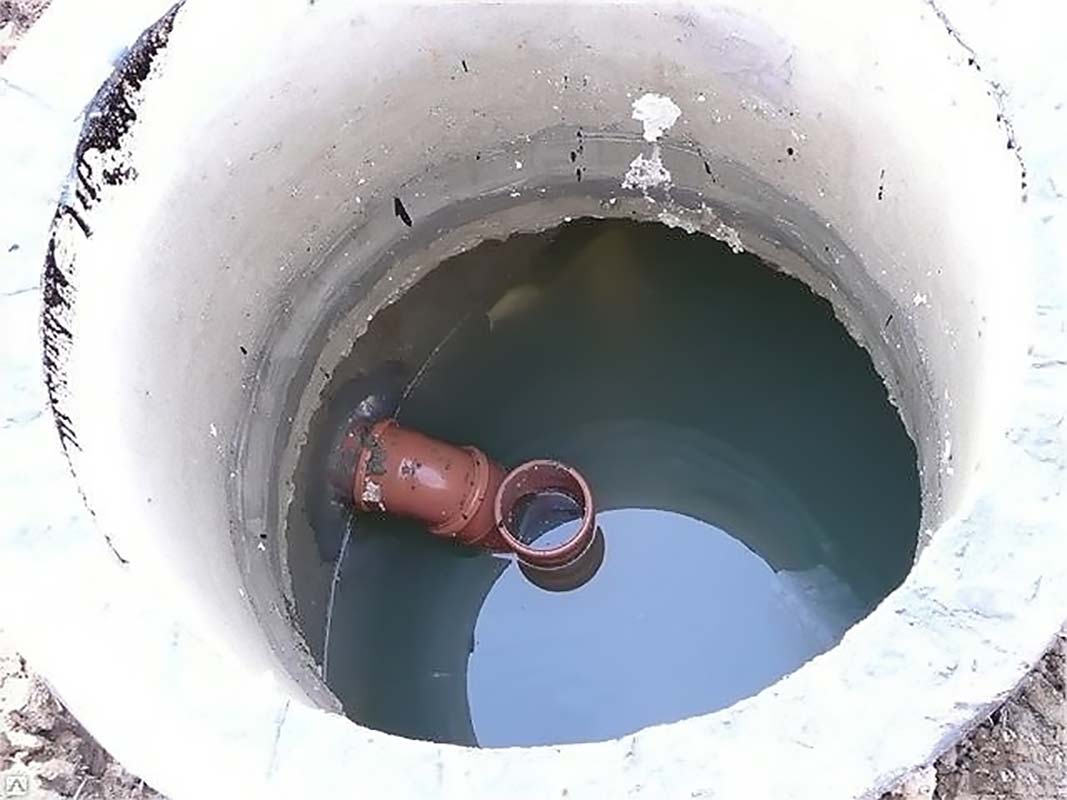
On the completed drawing, they also mark where to install the water collectors. It will be necessary to determine the installation points of the manholes to check and eliminate possible blockages. They are installed on the bends of the system.
Tools and materials
To arrange a drainage pipeline with your own hands, you will need:
- shovels (shovels and bayonets);
- manual device for tamping sand and crushed stone cushion;
- garden wheelbarrow for soil removal;
- pipe cutter;
- an electric drill or a grinder, if you need to make notches (perforations);
- geotextile scissors.
In addition, you need to prepare building materials: pipes and fittings, adapters for inspection hatches and collectors, crushed stone or gravel, sand. If the pipes are supplied without cases made of filter material, roll geotextile will be required. Revision wells can be purchased ready-made or assembled from plastic tanks, pipes with a cross section of 300-500 mm.
Installation steps
Laying a drainage pipe to collect and drain water from the site - step by step instructions:
- Cut the pipes to the required length and connect them together according to the diagram.
- Lay the drainage pipe in the ditch on a cushion of sand and gravel - you can do it yourself, without the involvement of special equipment. Plastic pipes are very lightweight. The pipeline must be laid at a slope of at least 3 degrees. For correct installation, calculate the depth of the pipe start and end depending on the required angle of inclination. Focus in laying the line on the cord pulled over the pegs from these points. Use special gaskets to create the desired slope of the pipeline.
- Install revision wells in places of sharp turns and sharp elevation changes. They are necessary for the maintenance and cleaning of the entire highway.
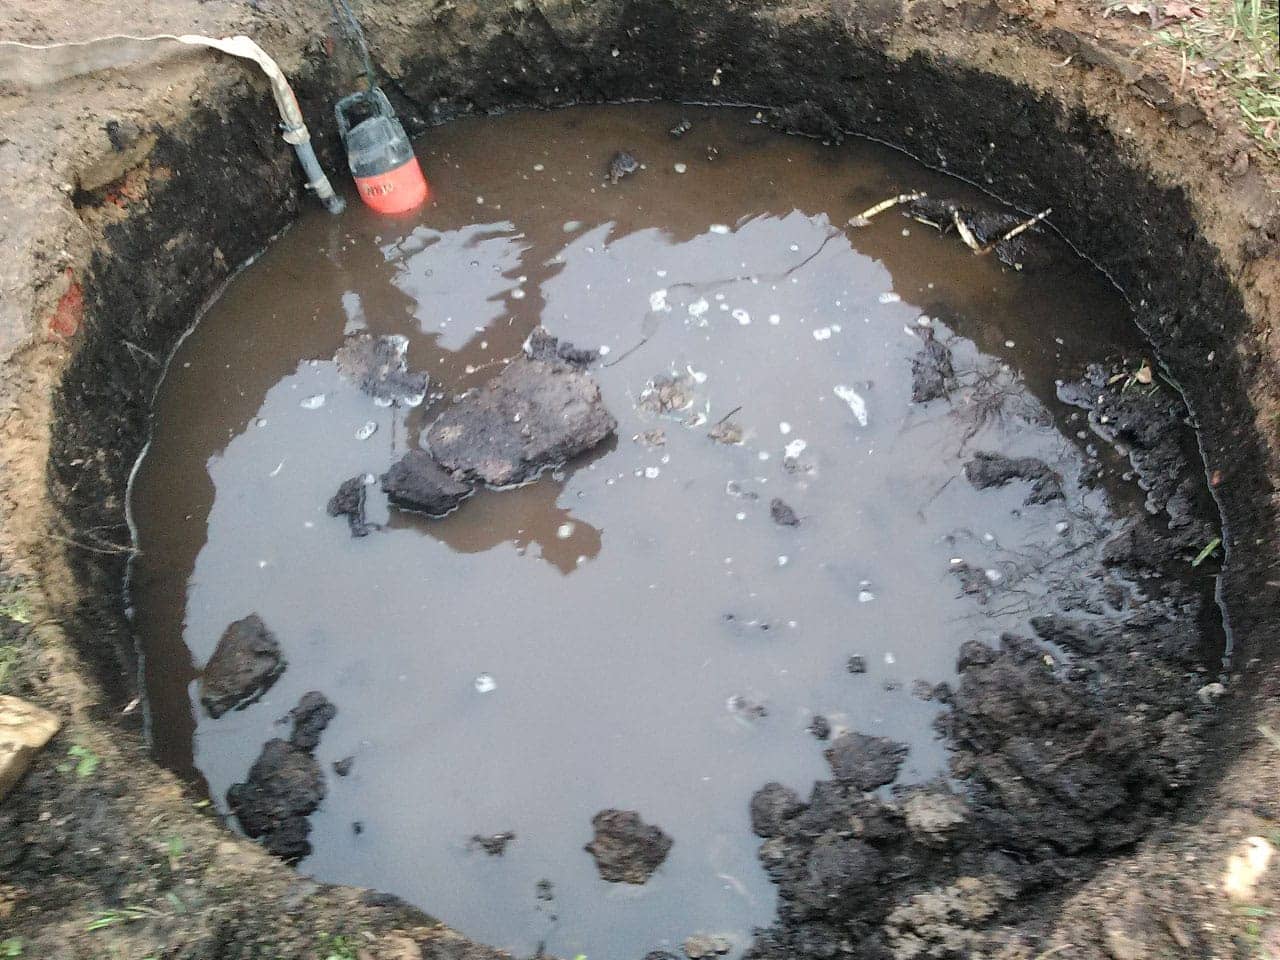
- Make a connection to the drop point. This could be a sewerage system, a city drainage system, or a nearby body of water. If this is not possible, install the accumulation chamber at the lowest point. When filling, water is pumped out of it.
After laying the drainage line, trenches can be buried. First, a layer of rubble is poured, and then a layer of sand.
The cost of laying drainage pipes
To purchase a running meter of pipe elements with 110 mm perforations in a geotextile filter, on average, you need to spend 55 rubles, with a diameter of 160 mm - 110 rubles, 200 mm - 185 rubles. For flat products, the price starts at 75 rubles. Non-perforated options cost less - from 12 rubles per running meter.
It is necessary to include in the estimate the cost of connecting parts, revision wells.
If you hire professionals, the drainage arrangement will be more expensive. The price of turnkey drainage pipe laying per running meter is from 1300 rubles.
Common installation mistakes
- The depth of the trench is incorrectly selected. Such an error can cause water imbalance, which will lead to stagnation of water in the area, the appearance of ice plugs during frosts. If the pipeline is located above groundwater, they simply cannot get into the pipe.
- The pipelines are located at a great distance from each other. Drains are installed at a distance of no more than 10 m for clayey areas and 50 m for sandy ones.
- No bias made. If the pipeline is installed in a strictly horizontal direction and there is no slope to the catchment system, moisture will stagnate in the pipes.
- Many inspection hatches have been installed. The distance between the manholes should normally be 50 m or more; if they are closer, they will interfere with the drainage.
One of the common mistakes is trying to reduce costs by using pipe sections for drainage that do not fit the project. These savings lead to operational disruptions and significantly reduce the service life of the line. This has to do with both the diameter of the pipes and the material from which they are made.
If properly operated and maintained, the drainage complex will last a long time. The system must be inspected every four years, and the moisture level in the inspection wells must be measured every two years.

