The weather can be unpredictable. Lingering rains or heavy snowfalls are common in many regions. Streams of moisture rush down the roof. Unmanaged water can be a big nuisance. Puddles on the site and damp walls of buildings can cause destruction of the house from the outside.
A system of gutters and pipes will help drain rain and melt water from the roofs of buildings, away from walls and foundations. She will fill the watering tanks.
In this article, we will consider one of the options for the manufacture and installation of a do-it-yourself drain from sewer pipes. Let's identify the pros and cons of this design.
Why do you need a drain
By controlling the flow of rainwater, the gutter protects:
- Blind area and foundation from erosion.
- Walls from getting wet and further cracking of the facade in the cold.
- Plot in front of the house from the formation of puddles.
In summer cottages and household plots, water can be collected in special containers for irrigation.
Drains serve as decoration. They create a complete look for the roof, positively affecting the appearance of the yard.
Why sewer pipes are suitable for these purposes
- galvanized iron;
- copper;
- shaped tin pipe;
- plastic;
- sewer pipes.
Sewer drain is a suitable solution for private households and outbuildings. Consider the benefits of this choice:
- The financial side of the issue... The purchase and installation of a finished drainage system will cost 3-4 times more than a home-made one. To carry out this work, no special equipment and tools are required. Sewer polymer pipes and fittings for them cost little money.
- DIY installation... Polymer pipes are lightweight. It is not difficult to mount the system from them, although some nuances must be foreseen and designed.
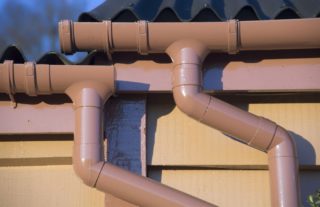
- Appearance the finished gutter system will harmoniously fit into the design of the building and complete the image of the roof.
- Long service life... Polypropylene pipes are not afraid of corrosion and do not need painting. They are designed for long-term use.
- Easy to replace... In case of damage to the drainage system during operation, the replacement of parts is not difficult, since everything is of the same size.
How to position drain pipes correctly
Going around the building, sketch on a piece of paper an approximate drainage scheme. It is necessary to take into account how the gutters will be located, where the downpipes will be located, drainage systems on the ground. It is necessary to provide for the need to use a water collection tank for irrigation, if necessary.
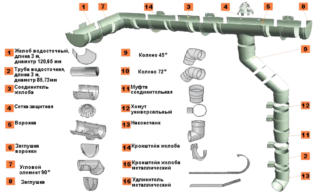
The next stage is a detailed study of each individual node. Calculating the fittings we need to connect pipes and gutters. We count and write down corners, tees, plugs.
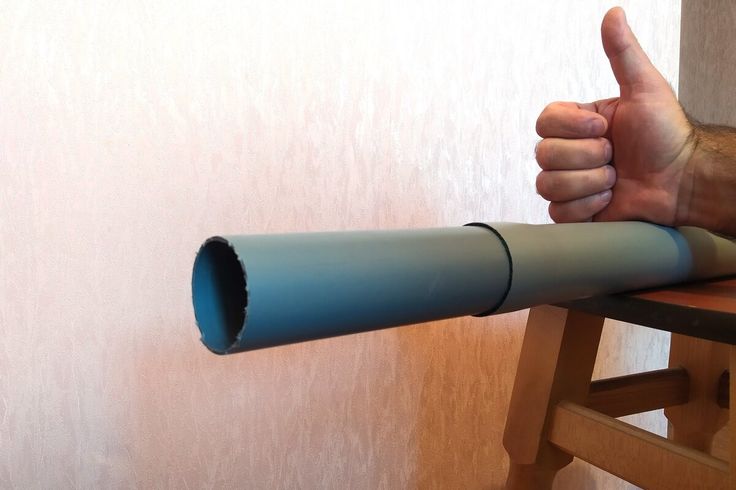
We measure the length of the gutters and pipes. The maximum distance between gutters is 10-12 meters. Two grooves are obtained by sawing one pipe. The diameter of the pipe for the gutter is 110 mm, and the pipes, if desired, can be 50 or 110 mm.
When designing a drain, the material of the pipes should be taken into account.
Sewer pipes are made of polyvinyl chloride (PVC) and polypropylene. PVC pipes are designed for underground installation and will not be suitable for gutters. The sun and the difference in outdoor temperatures will destroy them.
Polypropylene pipes are available in white, gray and brown and meet the performance requirements:
- White and gray pipes for southern regions. They are not designed for frost.
- Brown tubing is thicker-walled and is used for external laying. They are resistant to frost, but do not tolerate heat well. Used in the central and northern regions.
For the installation of the structure, we use factory clamps. In order to save money, the fasteners can be made independently from a 20 mm wide galvanized strip. The number of clamps is calculated at the rate of 1 piece for 50-60 cm.
We procure the fasteners depending on the material of the walls to which the drain will be screwed.
When designing, it is necessary to take into account the location of the pipes at the point of their connection. The pipe from which the water is poured must enter the intake pipe, and not vice versa. Pay attention to the angle of inclination of the gutters. If you do not take it into account, water that does not completely flow out in winter will freeze up, interfering with the drain and creating excess weight of the gutter.
In the surface or underground part, we also plan a slope.
In cases where it is impossible to drain water to the side, special drainage pits are planned. Their depth is about a meter. They are filled with large rubble or broken brick.
Phased installation and operation of the system
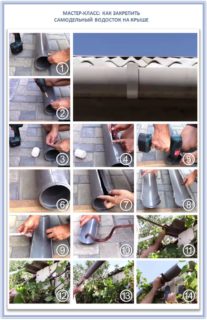
The gutter is attached to the edge of the rafter system, to the cornice or to the roof. The gutters should extend beyond the roof by one third of the pipe and protrude by two thirds. In this case, the water flow will enter the gutter. We lay the slope towards the funnel (0.5-1 cm per meter). We calculate the total slope on the side. Having outlined the beginning and the end, we connect them. This will ensure an even slope.
The top of the gutter is located 3 cm below the edge of the roof. This will protect the structure from snow sliding off the roof.
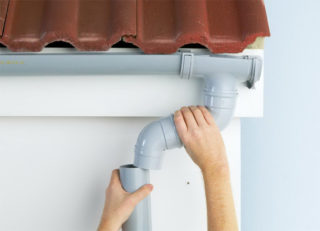
The system is assembled from top to bottom. First, the gutters are hung, then the downpipes. The distance from the pipe to the wall is at least 10 cm. The gutter joints are fixed with self-tapping screws and sealant.
To protect the system from leaves and accidental debris, a mesh is mounted in the gutter. It is attached to the edges of the gutter with metal clips.
Conclusion
Competent design of the drainage system, the correct calculation of components and the availability of elementary tools will help to complete the installation without the help of specialists. This will reduce the expenditure side of funds.
Assembled with your own hands from sewer pipes, the drainage system will not only save the house and the site from destruction by storm water, but will also last for more than one year.

