When planning repairs in an apartment, the questions of redevelopment of living quarters often arise. This problem becomes especially acute when the premises need to be divided, and the load-bearing walls cannot be touched. In this case, you can do it yourself partitions for zoning.
Types of room partitions
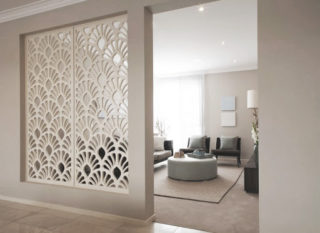
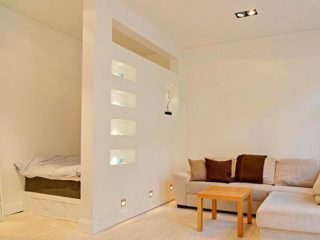
Internal partitions make it possible to isolate separate parts of the rooms, creating additional conveniences for each family member. Designs are:
- stationary, representing a monolithic wall, in which there can be window or door openings;
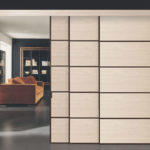
- mobile - sliding structures that open and close in the same way as a wardrobe;
- hinged - they are attached to the ceiling and are lightweight;
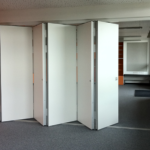
- transformable - they look like an accordion and are made of glass, wood, fabric or PVC.
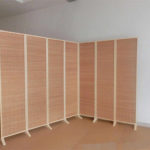
In some cases, the zoning of rooms is carried out using portable screens, which can be made of transparent, translucent and opaque materials.
Materials for interior partitions
A partition for zoning a room with your own hands can be made from a variety of materials:
- drywall;
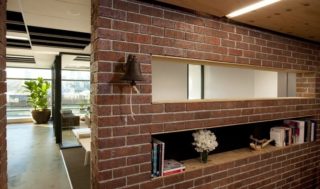
- bricks;
- wood (lining, timber, chipboard, etc.);
- glass, etc.
Each species has advantages and disadvantages. The decision of what to make partitions in an apartment is made by the owner based on his taste and capabilities.
Brick
For the construction of partitions, it is not recommended to use hollow brick, which can collapse during drilling holes in it for laying any communications. Do not use it in rooms with high air humidity (baths, kitchens, etc.).
The advantages of solid brick walls include:
- strength and durability of structures;
- moisture resistance.
Brick structures are characterized by serious flaws, which are gradually displacing this building material from everyday life:
Large weight, due to which brick partitions are equipped only in apartments with concrete or stone floors. And even in these cases, the construction of brick walls longer than five meters is not recommended.
Brick partitions are not made on a clean floor - the coating will collapse, and the wall will sag.
The duration of the construction of brick walls is caused by the need to set the mortar. Damp partitions are extremely unstable, which makes it impossible to build them with a height of more than one meter per day.
When erecting a brick wall, it is necessary to strengthen it well. For example, after every 5-6 rows of masonry, lay horizontally a metal mesh with a thickness of at least 4 mm, which is then attached to the load-bearing wall.
Wood
- light weight, which eliminates the need for additional strengthening of partitions;
- environmental friendliness;
- availability of decorative finishes for which any materials can be used.
The disadvantages include the need to treat wood with antiseptic compounds and fire retardants that prevent it from rotting and burning, as well as the use of soundproof materials.
Varieties of wooden partitions:
- Frame - they are made from a bar and then sewn up with any sheet material (chipboard, plywood, etc.). In this case, the internal volume of the frame is filled with a sound-insulating material.
- Boardboards, which are assembled from boards fixed on rails or racks.
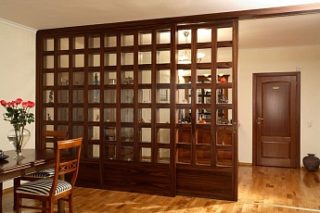
Quite often, in practice, there are decorative wooden partitions that look like shelves for books and souvenirs or sliding transformable structures. A do-it-yourself partition made of slats will look original.
Glass
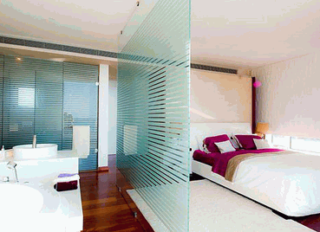
- aesthetic appeal, since glass lends itself to a wide variety of artistic processing methods (colored film, engraving, colored painting, etc.);
- low weight, allowing you to attach glass structures to any, including non-bearing structures;
- high strength, durability and safety of operation, which is ensured by the use of special tempered glass (heat treatment with mandatory cooling of the blanks).
Glass structures can be all-glass, mobile or transformable.
A feature of glass partitions is the high speed of their installation, since major repairs are not required.
Drywall
- Smooth and even surface allows without additional preparation to paint it, paste over with wallpaper, decorative film or ceramic tiles. The material is well cut and bent.
- Plasterboard partitions are easy and quick to assemble.
- The design allows you to hide electrical wiring and other communications inside the frame.
- Environmental friendliness.
- Low cost.
The disadvantages of widespread brands of drywall include:
- fragility, which is why heavy objects cannot be hung on the partition;
- low moisture resistance;
- insufficient sound insulation.
Drywall is a material that, due to its low cost, is used in low-budget construction. The existing disadvantages can be compensated for by using different brands of drywall (DSP, GSP, etc.) in the same partition, which will make it more durable and resistant to external influences.
How to make a partition with your own hands
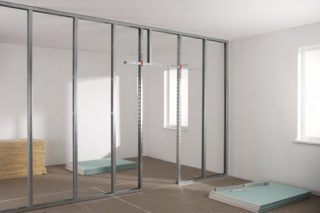
To zone the interior with a plasterboard partition with your own hands, you will need the simplest tool:
- construction tape;
- plumb line;
- rule (long line);
- folding rule;
- marker;
- screwdriver;
- marking cord (twine).
It is not difficult to make a plasterboard partition in the room. You need to follow the step-by-step instructions:
- Determine the area to be separated starting from the corner of the room. If the wall runs across the entire room, equal marks are made on opposite walls.
- With the help of a plumb line and a marking cord, vertical lines are marked on opposite walls that coincide with the marks on the floor. The same horizontal lines are beaten off with a marking cord on the ceiling and on the floor. From the line on the ceiling, the plumb line must accurately fall into the line drawn on the floor.
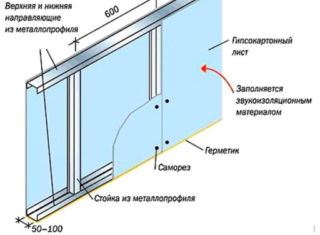
- First, parts of the frame are attached along the marked lines to the floor and ceiling. Use dowel screws or anchors for this. The fixing step is 150-170 mm.
- Similarly, the vertical racks of the frame are attached to the walls.The result should be a frame on which the drywall will be attached.
- With a step of 600 mm, the remaining vertical, and, if necessary, horizontal parts of the frame are installed.
- They begin to sew up the frame. For this, sheets of drywall are tightly joined in the middle of the vertical racks and fastened with special screws. The screw heads are buried in drywall to a depth of 1-2 mm.
- After finishing the sheathing of one side of the frame, a sound insulator is inserted inside and the second side is sewn up with drywall.
- The joints of the gypsum plasterboard sheets are sealed with fiberglass mesh and plaster putty.
- After the putty has dried, the surfaces of the partitions are primed and completely putty on both sides for applying a decorative coating.
If you need to install a plasterboard partition with a door in the room with your own hands, the door frame is pre-installed before sheathing the frame:
- A wooden beam is inserted into the cavity of the frame, which will increase the rigidity of the entire structure. The door opening is mounted from the same material as the frame.
- The vertical elements of the frame, between which the door frame will be installed, are additionally reinforced with self-tapping screws.
- The horizontal bar (profile), which determines the height of the doorway, is attached to the vertical elements of the width of the latter. For rigidity, the horizontal bar of the doorway is connected to the upper bar of the frame using two sections of a profile or bar.
- Insert the door frame into the opening and fasten it to the vertical frame posts with self-tapping screws, screwing them through the wood of the box. The heads of the self-tapping screws are recessed into the walls of the box by 1-2 mm.
After installing the door frame, you can continue to plaster the frame with plasterboard.

