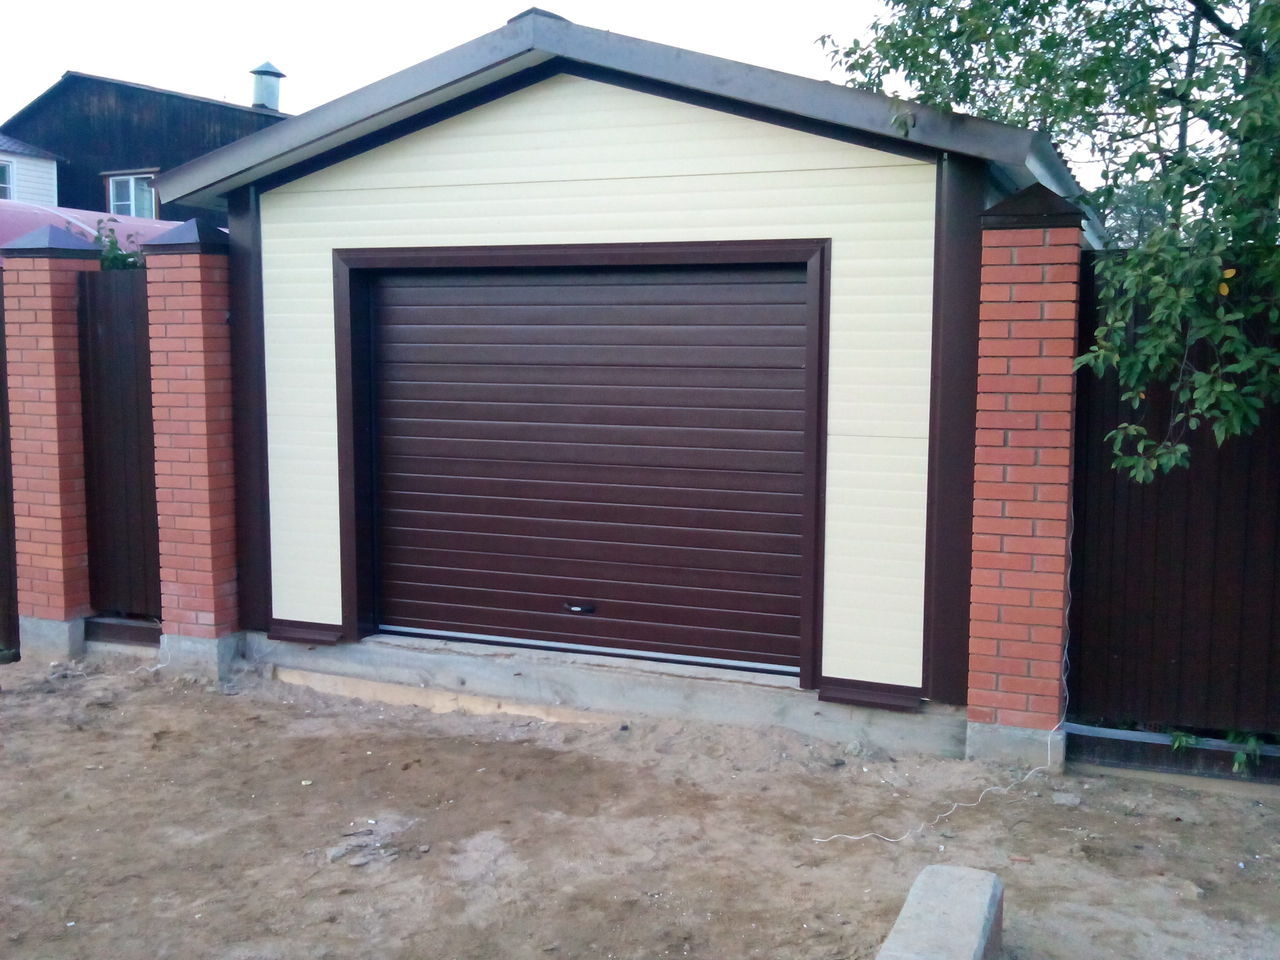
The installation of automatic gates in the garage, courtyard of a house and a summer residence is becoming more and more popular. The design is simple, practical and reliable. No free space is required in front or on the side to open it. The insulation properties of the canvases are in no way inferior to the walls of the building. Another plus is that the installation of automatic gates can be done by hand, saving on the services of specialists.
Required measurements
Installation of sectional doors in the final stage consists in securing the leaf in the guide profiles. The distance between them should be as accurate as possible, up to a millimeter corresponding to the technical parameters. It directly depends on the quality of the measurements of the opening. To carry out this procedure, you will need a tape measure and a level, it is better if the devices are electronic in order to eliminate errors.
To install an automatic gate, the following indicators are required:
- The length and width of the opening. Measured around the edges and in the middle. Attention is drawn to the parallelism of adjacent sides, strict observance of verticals and horizontals.
- Headroom (lintel). The optimal distance for installing electric gates is considered to be 40-60 cm. Such parameters allow using standard Alutech and Dorhan systems of any model.
- Shoulders (from the edges of the opening to the walls). Affects the type of structure, the method of its installation and the possibility of using additional options.
- Depth of entry. It should not be less than the opening height plus 50 cm.
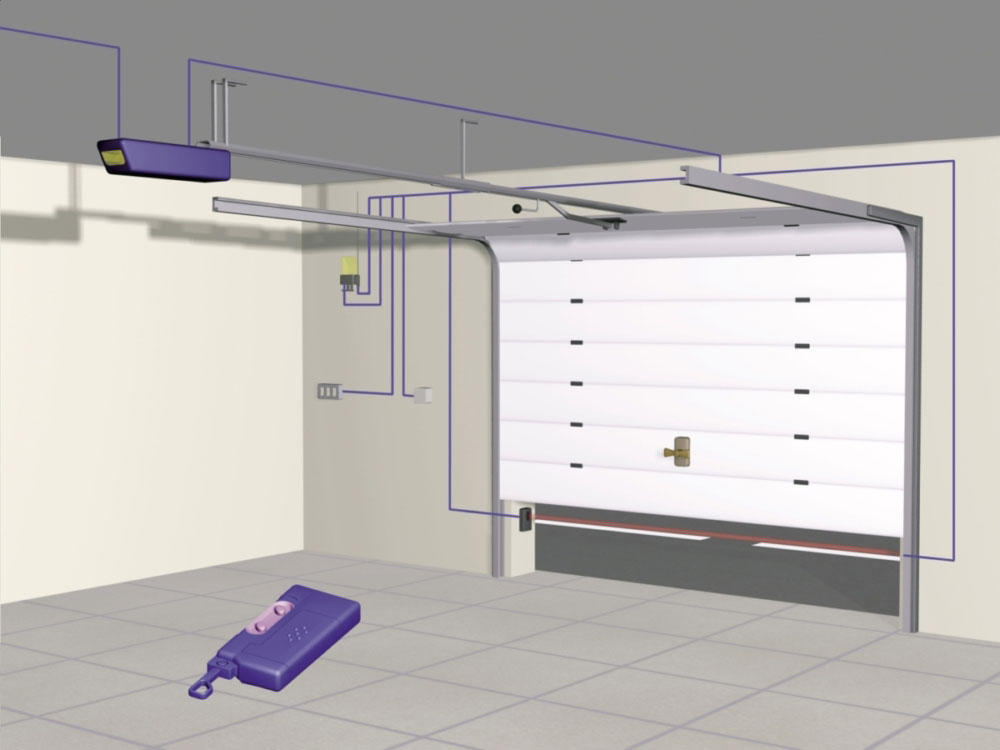
If the installation of a sectional door involves the connection of an electric drive, you need to find a place for it.
Gate opening requirements
Installation of overhead gates requires taking into account several parameters, without which the system will work incorrectly or will not budge at all. The master should be ready to perform procedures of various volume and complexity:
Correcting the bearing capacity
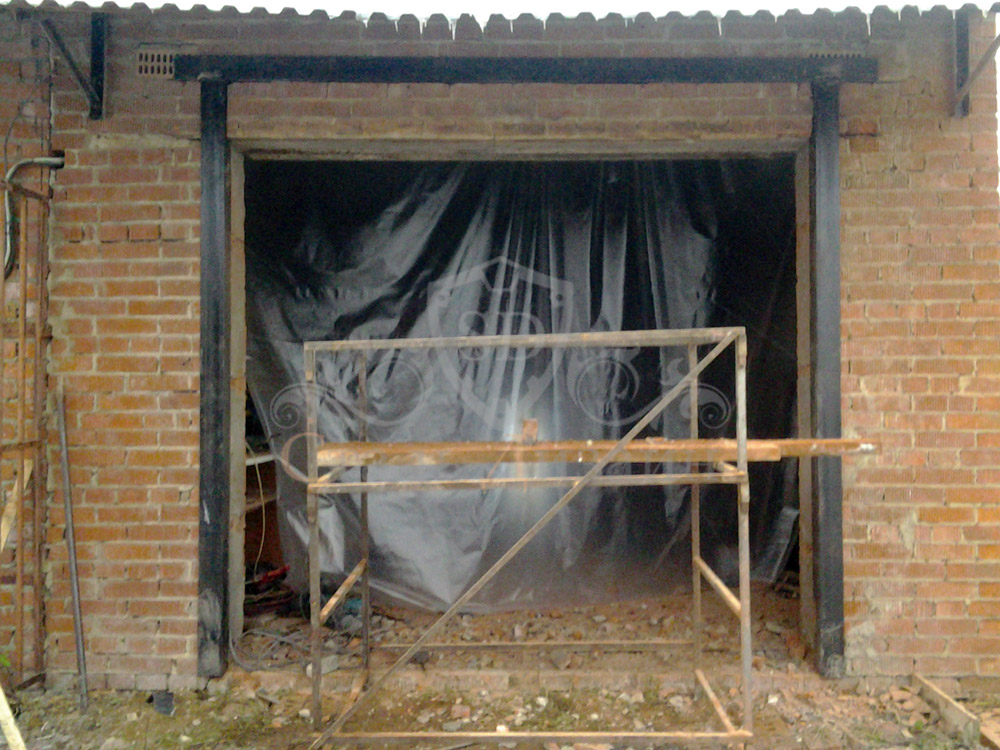
If the gate is installed inside a brick or reinforced concrete building, the builder has no reason to doubt the bearing capacity of the base. Even the strength of the timber is sufficient to withstand the heavy sectional structure. It is quite a different matter when a garage or a residential building is made of sandwich panels, hollow bricks, shell rock or foam concrete. Such materials are fragile, anchors and dowels do not hold well in them. Installation of a gate in such conditions is simply impossible without preliminary preparation.
There are such ways to strengthen the opening:
- Create a box from a metal corner and attach it to the base with long anchor bolts. The option is expensive, time-consuming, but gives a 100% guarantee of achieving high-quality and long-term results. Before screwing, the profiles must be cleaned of rust and coated with an anti-corrosion agent.
- Cover the opening with a thick layer of plaster, or better with cement mortar. After hardening, a strong crust will be obtained, which will be able to withstand the large weight of the lifting structure. The advantage of this approach is also that the contour will be aligned along the way, bringing its parameters to ideal values.
When choosing a method of strengthening walls, one should not save on materials or ignore the technology of their application.The installation of the entrance system is carried out for decades, and all this time all structural elements must serve properly.
Limiting the space for the installation of the structure
There are often cases when there is little space on top or on the sides for fixing the functional elements of the lifting system. Sometimes the depth of entry is not enough for the lifted canvas to enter. Especially often this problem arises among the owners of iron garages or former sheds, which are planned to be converted for storage of vehicles.
The situation is difficult, unpleasant, but there is a way out:
- Reduce opening height. To do this, a metal or glued beam is installed on opposite walls. Artificially lowering the lintel does not affect the functionality of the doors or the quality of their work. You can even extract a small plus from this - the area of the gate will become smaller, which means that the cost of purchasing them will decrease.
- Tighten the outline at the sides. A profile pipe is used, which is welded from one or both sides to the ceiling and floor. You can reduce the size so that there is enough space for the safe passage of the car.
Subsequently, when the sectional doors have worked out their resource, they can be replaced with a sliding or swing version with a wicket, reducing the estimate by closing the reduced opening.
Opening and ceiling alignment
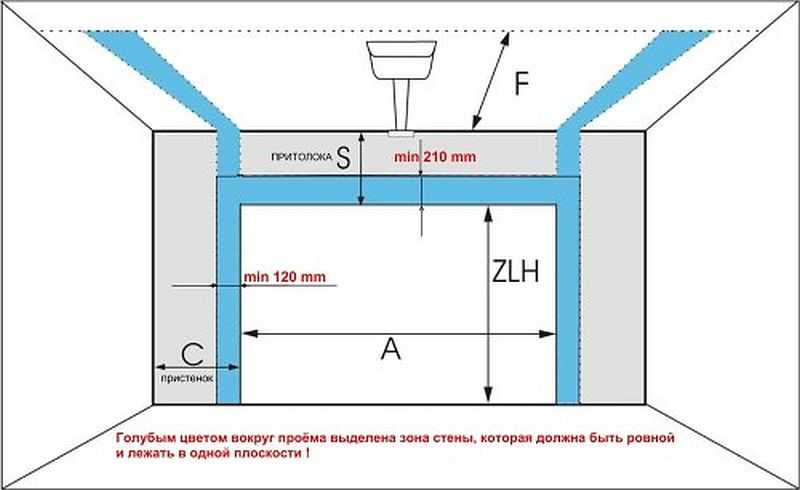
For high-quality fastening of parts, the width of the strips varies between 210-300 mm, depending on the product model. For dense materials, grout is used, and for porous surfaces, steel sheets or T-beams.
Procedure for installing sectional doors

If you follow the manufacturer's instructions attached to the product, you can install the gate with your own hands in just one daylight. The main condition is high-quality advance preparation of surfaces, tools and equipment. Safety issues should also be considered. You need to work in an assembly helmet, goggles and gloves. The step-by-step process for installing a sectional door consists of several sequential steps.
Assembling and fixing vertical rails:
- Marking, fixing holes.
- Installation of vertical profiles on the walls of the opening.
- Fastening the sealing strip in the grooves.
- Fixing the lower and upper mounting straps.
- Self-tapping connection of racks and jumpers.
- Attaching rollers to profiles.
- Securing the racks with paired plates.
After checking the vertical and horizontal lines of the structure, its correction and final screwing are carried out.
Installation of ceiling rails:
- Marking, drilling holes for hardware.
- Attachment of profiles with telescopic hangers.
- Adjust the details vertically and horizontally.
- Attachment to the guides of the transition arcs. Aligning edges, eliminating gaps. Bolt tightening.
- Connection of vertical and horizontal guides. Sealing free edges with jumpers.
- Leveling and screwing profiles.
After checking the quality of work, you can proceed to the next stage.
Assembling the canvas:
- The first section is placed on the floor between the runners and carefully leveled.
- Attaching a looped roller to a vertical profile. First the top, then the bottom.
- Alignment of the cable with the rollers. Putting on the loops on the pins.
- A second one is installed on top of the fixed panel. Its connection to the guides is carried out in the same way.
- If the gate is wide, then additional hinges are placed.
On the last strip, a roller without loops is placed, which is tightened after aligning the holes.
Control involves a set consisting of a handle, a spring lock and cables, by pulling the gate leaf down.
Installation sequence:
- Attaching the handle.
- Tension spring assembly.
- Installation of the valve.
- Securing the control cable.
Finally, the final adjustment and fine adjustment are carried out.
Installation of the lifting mechanism is carried out in order to ensure free lifting of the canvas and fixing it in a certain position. The cable is passed through the roller on the stand and fastened to the tension spring. Then, by the method of tests, a certain level of tension is set, after which the position of the part is fixed with a stopper.