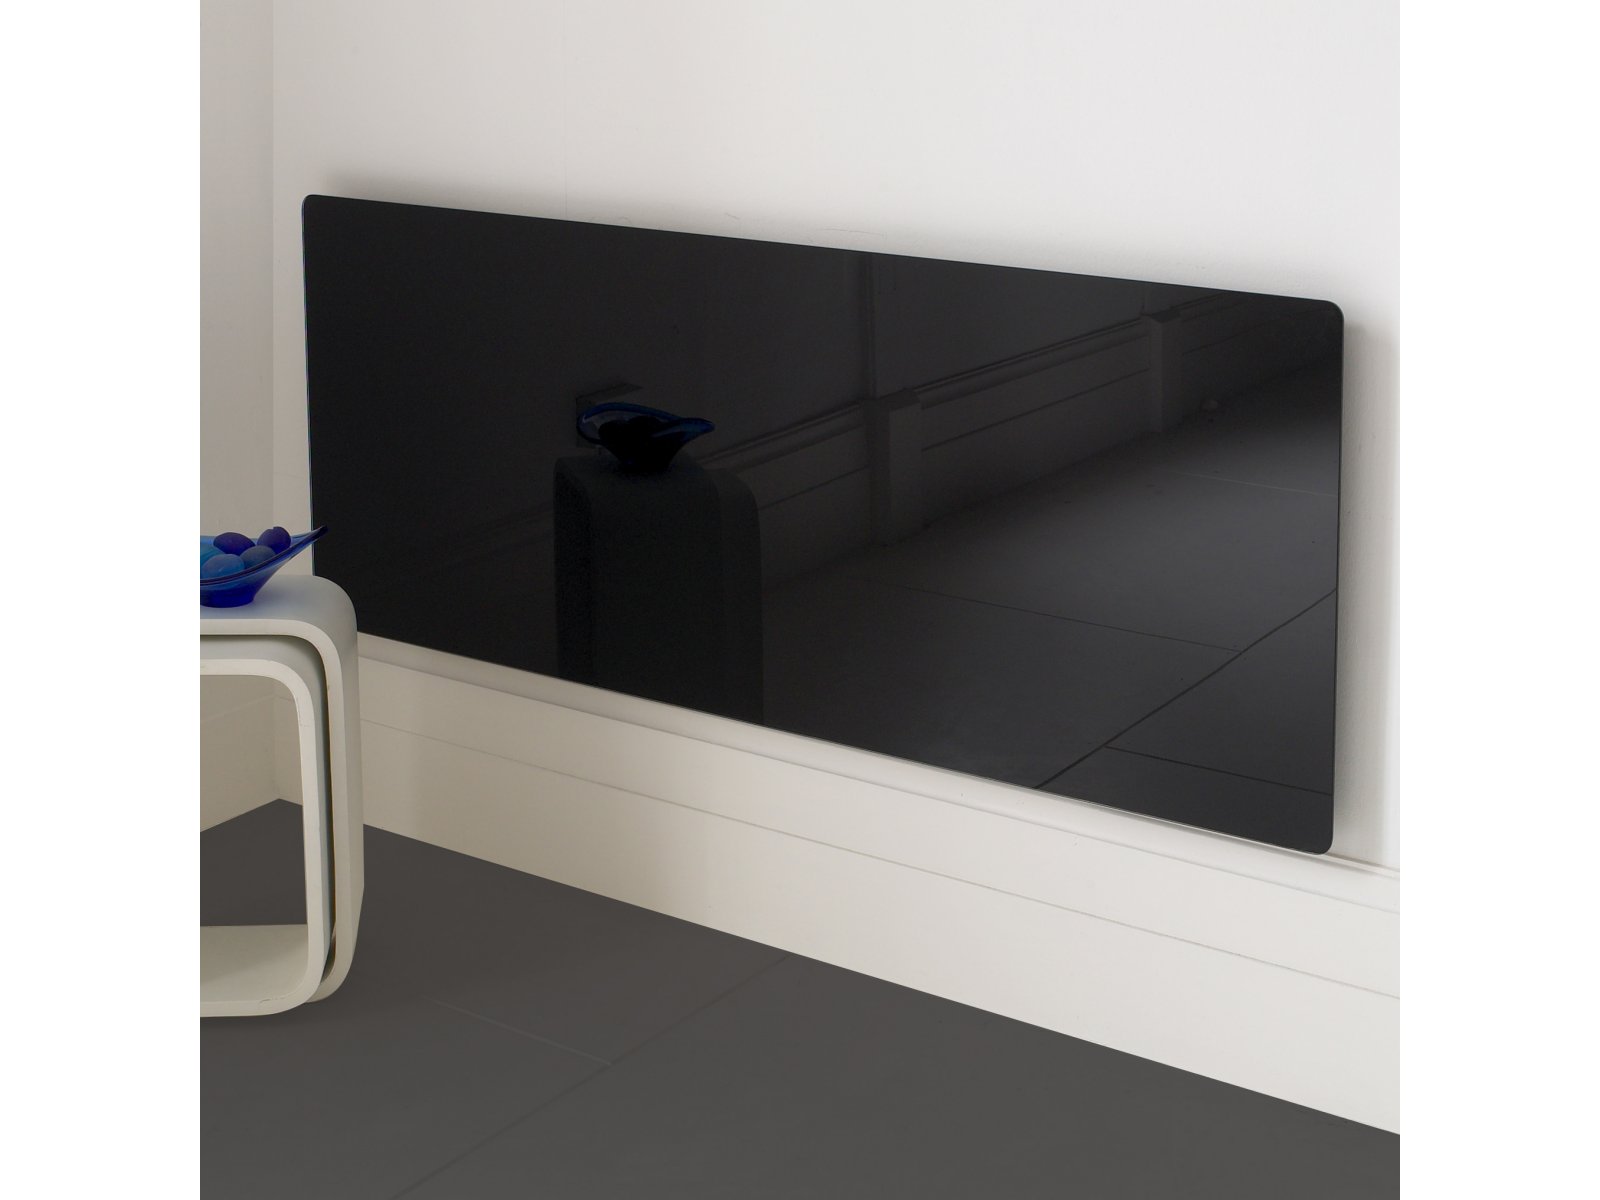
Radiators are an essential element in home improvement. To match the interior of the room, you can install a decorative screen on them. On sale there are grilles of different colors, shapes and styles, but if you wish, you can make a screen yourself. For this, there are instructions with a step-by-step description of creating a protective and decorative shield for a heater.
Lattice functions
The battery shield serves several important functions. These include:
- Masking the battery to transform the room and preserve a single stylistic composition.
- Dust protection. The grille is easier to clean and extends the life of the radiator.
- Protection against accidental contact with hot or protruding parts of the radiator.
- With the correct design, the flow of warm air will be more evenly distributed throughout the room.
- The top cover can be opened and can also be used as a shelf for installing interior items.
- A hook for drying clothes can be made on the wire rack.
If you have imagination, a little experience and with a wide choice of materials, you can independently create a screen that suits your style and will perform all the necessary functions.
The use of a protective grill will slightly reduce the efficiency of the heating system. To avoid this, you need to choose the right structure of the future product and materials. The use of a foil surface on the back of the battery also helps - it reflects heat and directs it inside the room.
Varieties of screens
It is possible to classify radiator grilles according to the installation method. There are three types of screens:
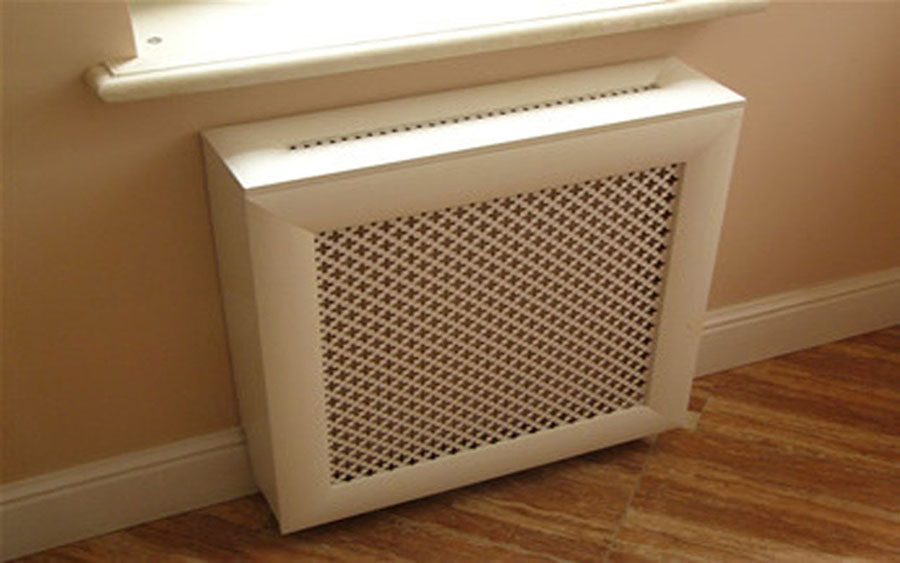
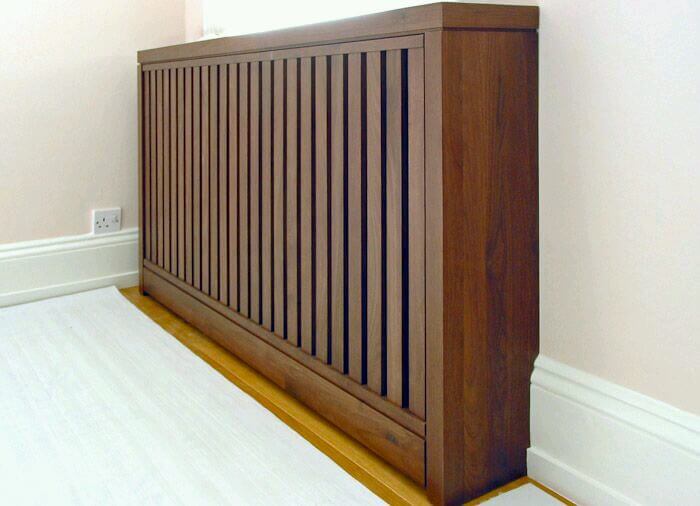
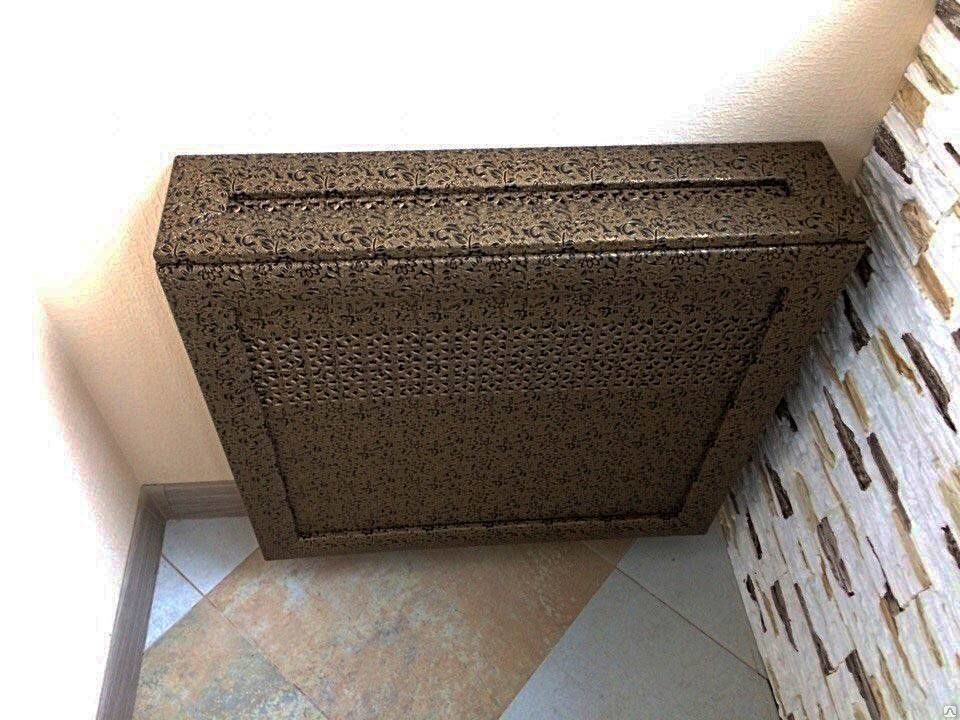
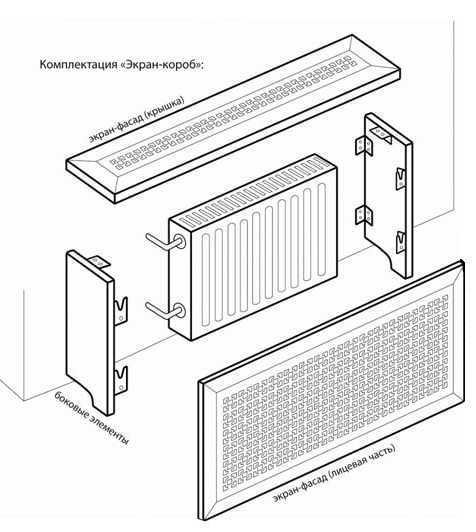
- Curbstone. It is a box with a lid. Used to hide the battery completely.
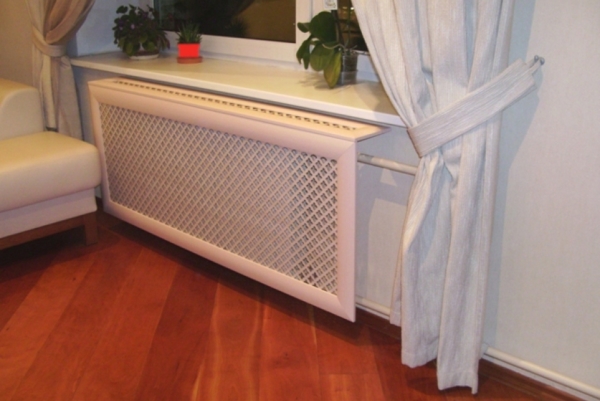
- Flat panel. Suitable for use on radiators installed in a niche or under a windowsill.
- Hinged panel. It is used when the battery protrudes from under the window sill.
The following materials are used to create a protective and decorative grille:
- wood;
- different types of metals;
- plastic;
- glass;
- Chipboard, MDF and other types of plywood.
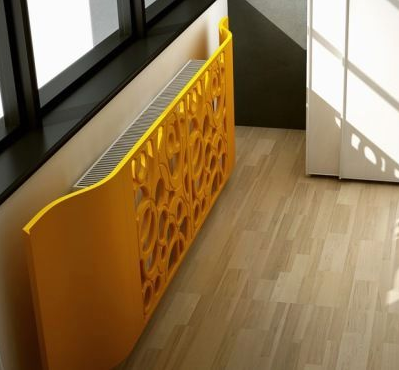
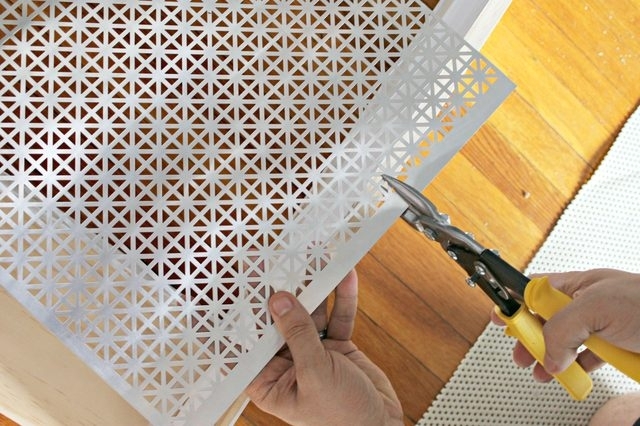
The metal shield is a good heat conductor. It is more difficult to do it, since you need special equipment, as well as skills in working with the tool. From sheet metal, you can create a lattice that has a sophisticated unique look, with intricate geometric shapes and swirls. Parts are connected by welding.
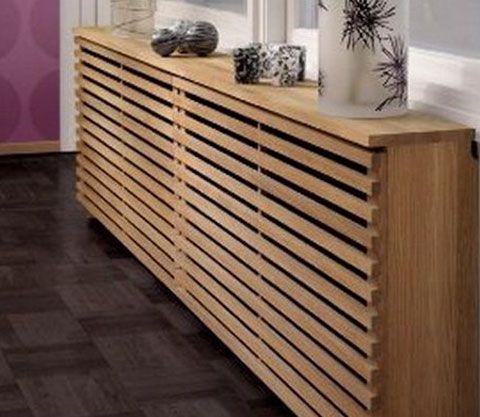
Wooden models are environmentally friendly and safe. The material is easy to work out. But you need to be able to choose the right tree, as well as work it out with special means. Otherwise, wood is prone to deformation and drying out under the influence of moisture and hot air. Suitable for installation in eco-style rooms.
Plastic is an inexpensive and affordable material with a wide range of colors. Among the disadvantages are deformation at high temperatures and the release of harmful substances. Not suitable for permanent installation in rooms where people live.
Glass models belong to the class of elite products, therefore they are expensive. They can be equipped with LED lighting, decorated with drawings. A do-it-yourself battery screen is made of durable tempered glass.
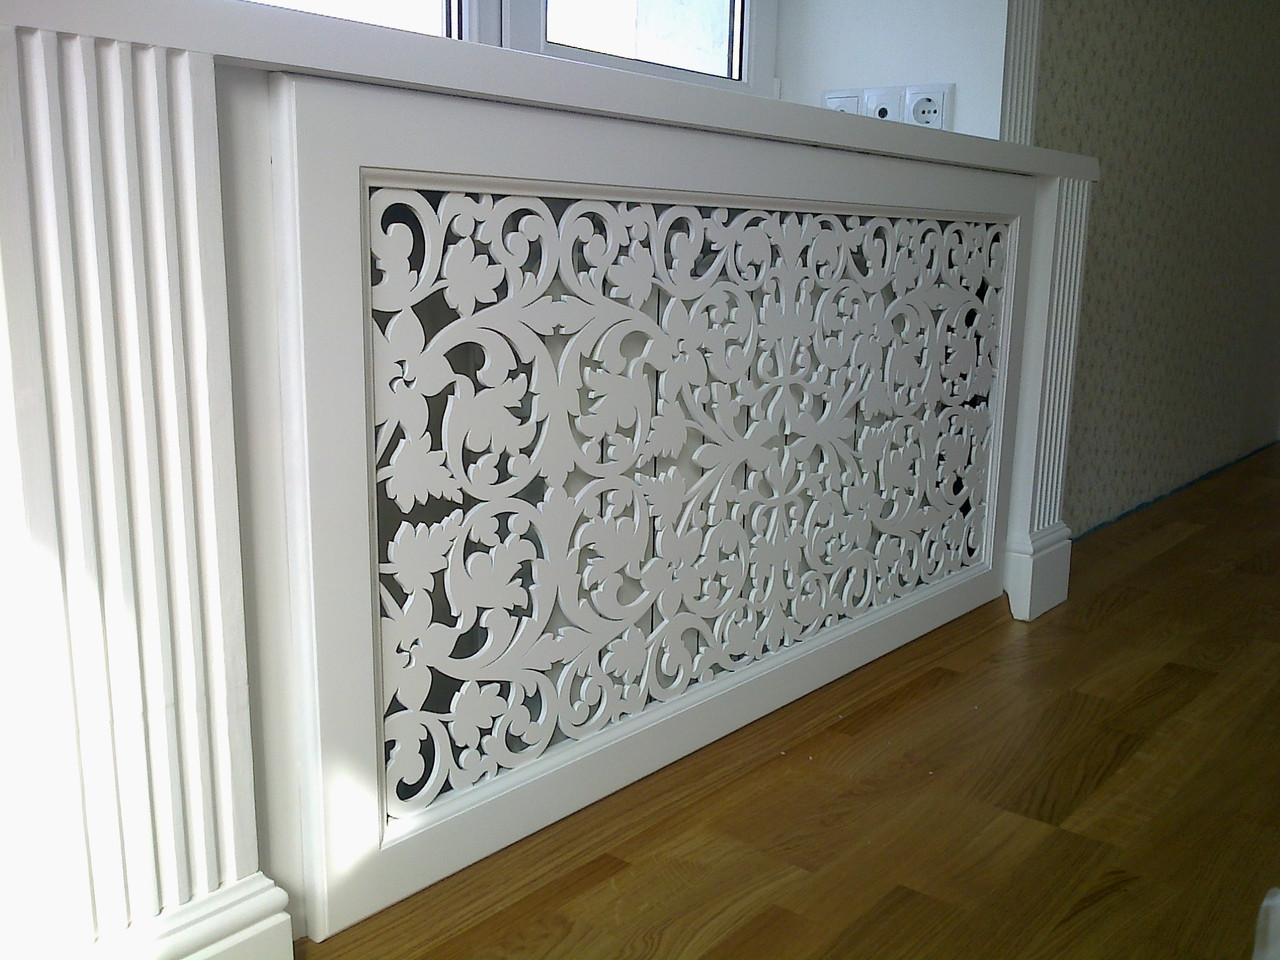
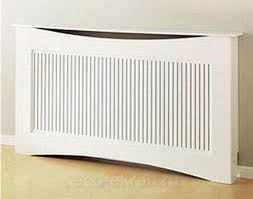
The most common screens are MDF panels. They practically do not differ from wood in their quality, are easy to care for and work. They have a rich color palette and a wide range of textures and styles.
Less often, atypical materials are used: fabric, bamboo, thick cardboard.
Self-production of the box
The completely covering heater panel is one of the most popular models among DIYers. It can be made from a wide variety of materials and designs.
First of all, you need to prepare:
- MDF or chipboard panels of a suitable color;
- metal mesh;
- rear reflector made of metal or foil;
- fasteners;
- hacksaw;
- drill;
- glue;
- sandpaper.
The box is a box without a back wall. The front and end parts are made of a metal mesh, which is enclosed in a decorative frame. This is a stylish option that does not interfere with the heat dissipation of the radiator. The lid can be made of mesh or a single piece of cloth.
Sketching
The work begins with measuring the battery and creating a sketch and drawings of the future shield. Measure the length and width of the radiator. For the box, these values are increased by 5 cm for the height and 10 cm for the width. You should also measure the depth of the battery and add 2.5 cm to the grate. The dimensions of the cover will be equal to the width of the front panel plus 1-2 cm.
Next, the resulting patterns need to be redrawn onto a metal mesh and cut to size. One element is needed for the facade, two for the ends and one for the cover. Also, on the side parts, it is necessary to provide places for the outlet of the heating system.
Elements are cut out of the slabs for the design of the lattice. In the case of a one-piece lid, it must also be cut out of MDF. The ends of the rails obtained are cut off at an angle of 45 °, so that later it is more convenient to connect the frame. The cuts are sanded with sandpaper.
Assembling parts
After preparing all the parts, you can assemble the grid. The four slats must be fixed to each other with glue and nails. The end pieces and the cover are connected in the same way. On the reverse side, a metal mesh is attached to the stapler.
Next, the finished panels are connected to each other. When the assembly is over, you can decorate the box.
Battery Mount
Previously, the wall behind the heating device must be pasted over with heat-reflecting material. Its dimensions can be equal to the dimensions of the battery or be slightly smaller.
The box can be delivered in several ways:
- On the legs. They are fixed to the bottom of the grate. It is advisable to choose furniture legs with height adjustment.
- Dowels with hooks. With their help, the box will be suspended. To do this, make holes in the wall for the hooks, insert them and fix the grill.
- Bolted anchors. They are driven into a predetermined place and the bolts are tightened. A box is attached to them.
The choice of installation method depends on your convenience. It does not affect the functionality of the screen for a heating radiator with your own hands.
Decorative grille
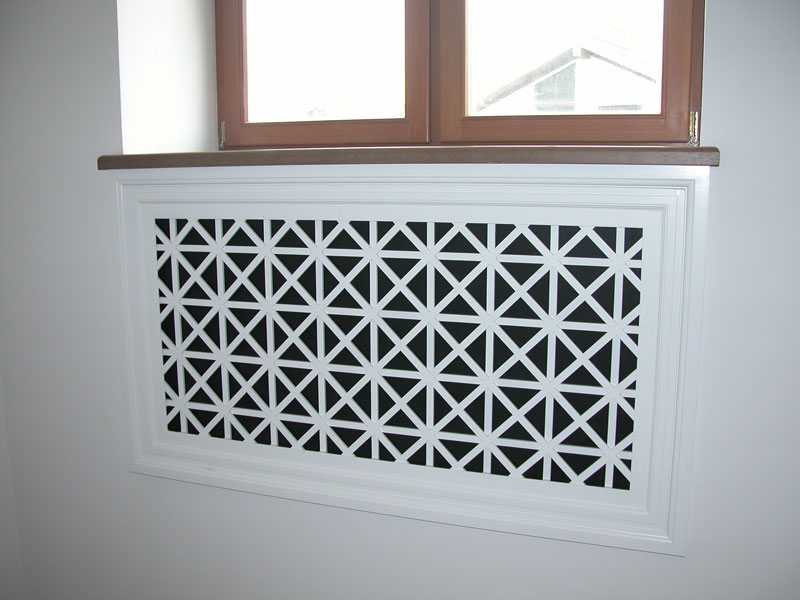
It is not always advantageous to use a box-like structure. You can get by with a screen in the form of a perforated front panel. It will fit the size of the radiator that it hides.
The lattice is made of metal mesh, MDF panels. The work algorithm is similar to the stages of creating a box. If you have experience and skills, you can make a shield in the form of a wooden slatted structure like a blind. Then the slats will be placed in any direction: vertical, horizontal, diagonal. If you wish, you can make a screen for a radiator with your own hands from cells, but such a structure will be more complicated, since all elements must be placed at right angles.
Tips for DIYers
It is important to create or buy such a screen so that it does not interfere with the main function of the radiator - heating the room. It should not serve as an obstacle and greatly reduce efficiency. There will be losses, but they can be minimized.For this, meshes are made with a large number of holes that do not interfere with the circulation of air masses.
To improve efficiency, you can combine different materials. Metal and wood, metal and MDF panels will make it possible to make an improved box for a heating battery with your own hands.
When choosing a model or making your own grate, it is important to consider the possibility of cleaning. An accident can also occur, so the shield should be easily removed to access damaged areas.


