A boiler water heater is a convenient device that is used in apartments and private houses. Thanks to the autonomous heater, hot water supply is independent of the centralized heating system. The device serves for many years, if the operating conditions are observed and cleaned on time. You can get rid of scale on the heating element yourself, it is only important to follow the instructions.
Boiler cleaning frequency

Special pipes are responsible for heating the water in the boiler. They come into contact with the liquid, as a result of which they can become covered with a layer of calcium deposits and scale. This affects heat dissipation, so cleaning is necessary.
In the first year of operation of the device, you do not need to do preventive cleaning of heating elements. During the next application, prophylaxis is performed every 1.5-2 years. It is also necessary to clean the pipes if the boiler does not heat water well. This situation occurs when the scale layer is already too large.
You can perform the procedure yourself or seek the help of specialists. The process is simple if you follow the instructions.
Instructions for draining water from the boiler
Before cleaning the boiler and disassembling the device, it is necessary to drain the remaining liquid that has accumulated in it. This will require the help of another person, since the tank itself is heavy and needs to be supported during dismantling.
Algorithm for draining water:
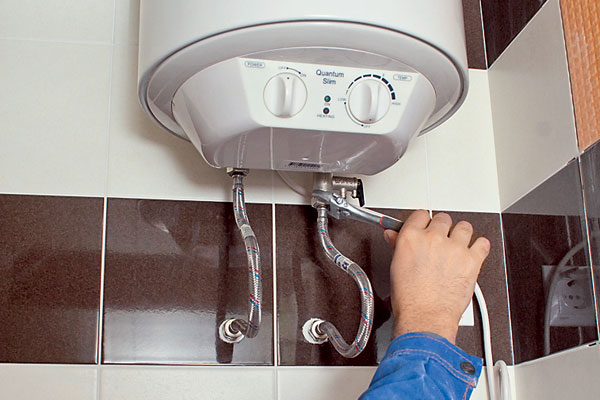
- Disconnecting the boiler from the power supply. It is enough to pull out the plug from the socket.
- Disconnect the cold water hose from the water supply and immerse it in any container. It can be a bath, a basin, a sink. The hot water pipe does not need to be disconnected.
- The removed hose must be put on the safety valve. The free part is placed in the container.
- Opening the device tap, releasing the check valve fuse.
- Turning on the hot water tap in the kitchen and bathroom. After that, water will flow from the hose.
- After removing the water, blow out the cold water hose with air. If there is no characteristic gurgling sound, you can continue working.
Next, unscrew the hot water supply hose. The boiler must be removed from the installation site and placed on the floor with the taps up. You can proceed to the next stage of disassembly.
Parsing the boiler
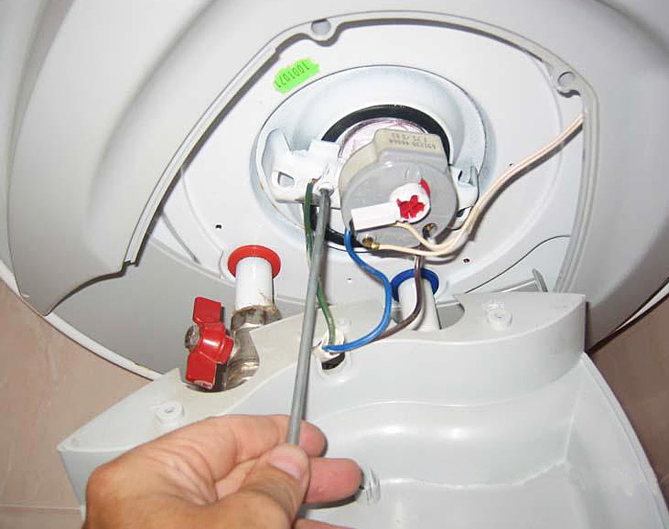
When all the water has been drained, you can disassemble the heater. The parsing instructions are as follows:
- Twisting the bolts that secure the front cover.
- Pull gently on the panel to engage the latches. You do not need to apply much force, otherwise the clips may break. They should come out of the door mount.
- Removing the panel, removing the thermostat holder.
- Removing the protective door. It is necessary to unscrew the screws that hold it and remove the door itself.
- Further, the diagram will be visible. It needs to be photographed or drawn, so that later you do not confuse the place of the details.
- Disconnecting the electrical wire.
- Removing the grounding cable.
- Removing the seal and heating element.
- Flange removal.
Now you can start cleaning the heating element.
It is important not to damage the sensitive magnesium anode during the cleaning process so that the heating element does not fail.
Heating element cleaning
You can clean the heating element in different ways - using folk methods and store-bought powders.
Citric acid is a popular folk remedy. When interacting with scale, it becomes loose and can be easily removed with water. The boiler is cleaned as follows:
- It is necessary to collect hot water in a bucket.
- Dissolve 200 grams of citric acid and 200 ml of vinegar in a liquid. The resulting mixture must be stirred.
- Place the heating element in a bucket with the resulting solution. It should be left there until the water cools completely.
- Pull out the heating element, rinse it under running water.
This is a slow and gentle method of descaling. To speed up the reaction, you can take an enameled container, fill it with a solution based on cold water and put it on gas along with a heating element immersed in a liquid.
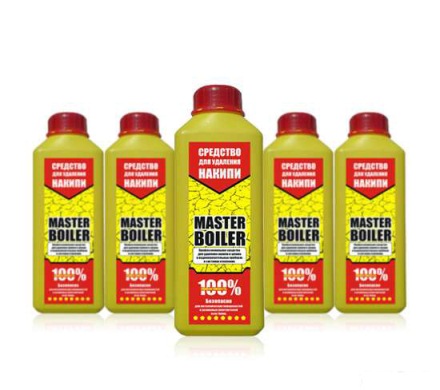
Descaling the boiler with a commercially available product:
- Dilute the required amount of product in water. The proportions are indicated on the packaging. One bucket usually uses 10 ml or one cap of powder.
- Stir the product, place the heating element in it. Usually 2-3 hours are enough for cleaning.
To speed up the process, you can dilute the chemical powder in warm water. This will make it easier to descale.
During operation, it is important to avoid chemical contact with the rubber seal. It can be damaged and unusable, causing the boiler to leak.
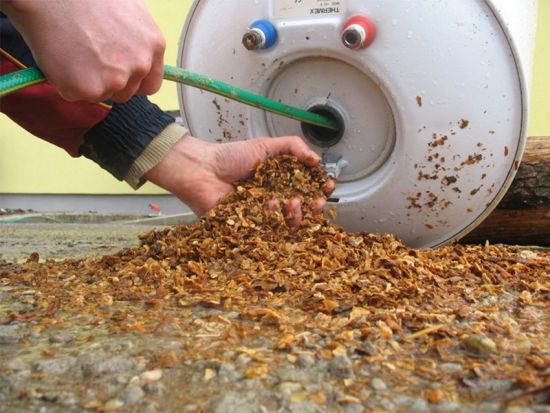
Cleaning the inside of the tank
In addition to the heating element itself, it is necessary to clean the boiler tank. When descaling, the resulting waste must not be flushed down the drain. It is better to throw them in the trash so that the system does not get clogged.
Descaling the boiler from the inside:
- Wear personal protective equipment. It is forbidden to work without gloves.
- Place a container under the hole so that liquid with scale does not fall on the floor.
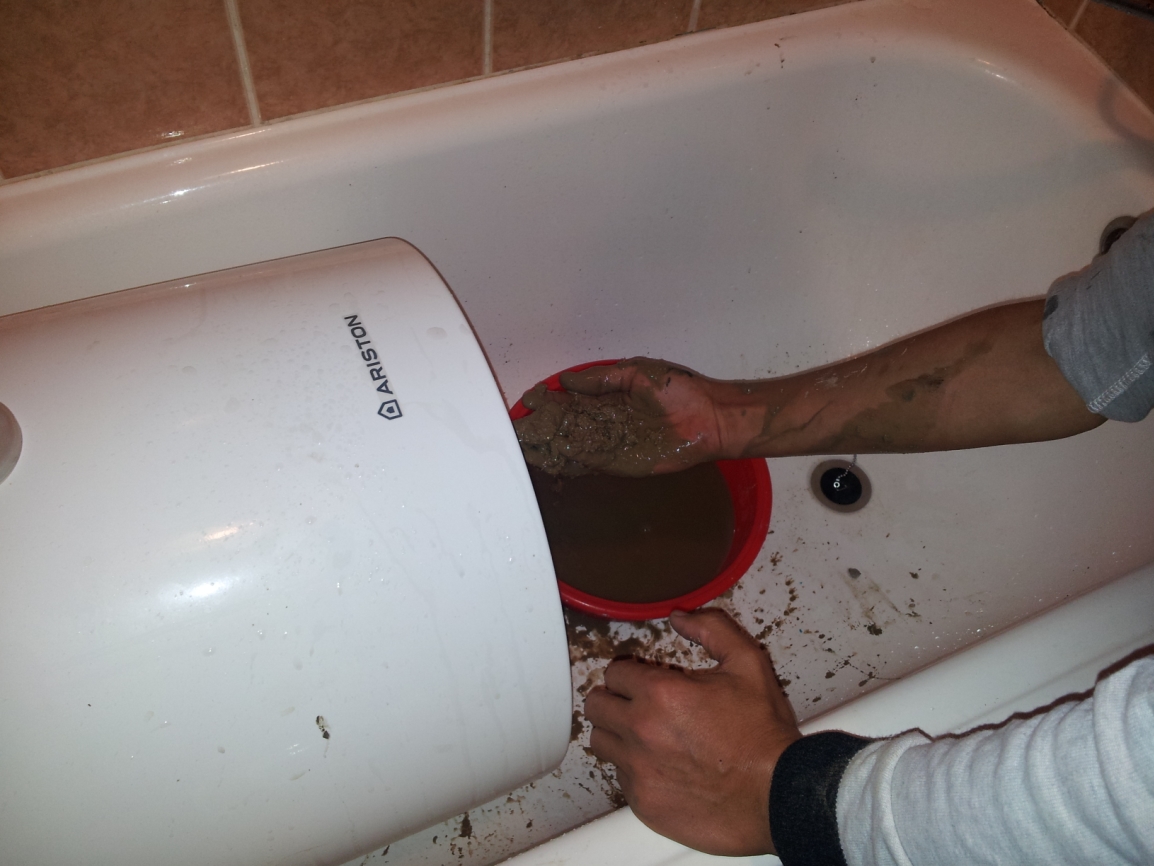
- Remove large pieces of dirt by hand.
- Connect the cold water pipe. Turn it on slowly.
As a result, the water will remove the accumulated dirt. If there is an assistant, you can fill the tank with water and shake it. This must be done carefully as the boiler is large and heavy.
Reassembly
The assembly algorithm can be performed according to the above instructions in reverse order. You can also do everything according to the photo of the circuit, which was photographed or sketched before cleaning the boiler. The following steps must be followed:
- Put the heating element in place. Fasten the flange.
- Connect the grounding cable and electrical wire.
- Install the protective door. Tighten the screws.
- Install the panel and thermostat holder. The panel is placed until it clicks.
- Install the bolts that hold the door.
After that, a control water supply is made. If it is hot, everything is correct.
You need to understand that a number of models have their own assembly features, depending on the manufacturer.
Boiler Ariston
When disassembling it, it is important to pay attention to the shape and method of fixing the flange. It must be pushed towards you, turned and then pulled out. Since the heating element is located at the bottom, the boiler can not be removed from the wall.
Burning
At first glance, it is difficult to remove the front panel in boilers of this model. It is necessary to squeeze the bottom edge of the panel and pull it towards you. Since it rests on latches, it will not be difficult to remove the panel. An important feature of such models is their heavy weight, so an assistant will be required.
Termex
A feature of these devices is the rapid breakdown of the magnesium anode. It has to be changed almost once a year. The rest of the assembly algorithm is the same.
Polaris FD
When disconnecting the taps and the thermostat, the heating element is removed. It is necessary to unscrew the fixing bracket and pull out the heating element at an angle from the tank. You cannot delete an element in a straight line. After that, you can clean the heating component from rust.
Recommendations for use

Working with a boiler is easy.The instructions for use are quite simple, but you need to follow the operating rules. Otherwise, the device will often fail and become clogged.
A number of nuances that must be observed when operating water heaters:
- If you are away from home for a long time, disconnect the device from the mains. This applies to all electrical devices. With a permanent connection, the boiler will heat water, which will not be wasted on anything. The home owner will overpay the electricity bill and shorten the life of the heater.
- Before connecting the device, make sure that the tank is filled with water. Otherwise, the boiler will burn out.
- It is imperative to drain all the water without residue before cleaning the boiler.
- Filters should be installed to purify and soften the water. They can be installed in the whole house. This will extend the life of the boiler.
- Do not connect the boiler at full capacity if the water pressure is low in the system. The device may not respond.
- It is not uncommon to see advice on setting the economy mode. In this case, the water heats up to 30-50 degrees. This is impractical, since energy is still spent on heating the liquid. In addition, germs and bacteria develop in warm water that are harmful to health. Therefore, it is better to set a 90 or 100 degree operating mode so that the tank is disinfected inside.
A water heater is a good helper in home and apartment conditions when hot water is turned off or when there is no hot water. Compliance with operational requirements and periodic preventive flushing will extend the life of the equipment. Cleaning the boiler with your own hands is not difficult if you follow the instructions.


I have a 50-liter "Ariston" installed, it has been in operation for 13 years. Water with lime, I clean the kettle every 15 days with lemon juice. The article is indisputably useful, but unforeseen problems may occur during disassembly in the form of various breakdowns. Therefore, it is better to buy the original a thing with the necessary protections, in my boiler there is a coating "SILVER PROTECTION". Have a nice day. Ps-when choosing a boiler, pay attention to the system of fixing the shade, if you yourself will service, the simplest and most reliable are flanged and threaded.
I agree with everything, except for flushing and installing washed tens !!! Only new ones, and copper or stainless steel depends on water ...