Facing the stove with ceramic tiles is the final stage of construction. It is performed immediately after the construction of the hearth or after a time when the finish has become unusable and needs to be updated. Competently selected and correctly selected cladding performs several functions at once. High-quality and beautiful tiles for finishing stoves serve as a decoration for the house, protects the plaster layer from damage, having a high heat capacity, does not allow the masonry to cool down. Being a kind of screed, the tile prevents the opening of the joints between the bricks and the release of combustion products into the room. To cover the stove with tiles so that the structure has been operated for decades without repair, one must not be mistaken in the choice of material and technology for its use.
Types of tiles and their advantages
The choice of lining for the furnace is rather limited, since this structure is characterized by a high thermal load, significant temperature drops caused by heating during the furnace and cooling at its end. This results in linear expansion that can cause delamination and cracking of the finish. Based on these criteria, you need to choose the facing material and the method of its application.
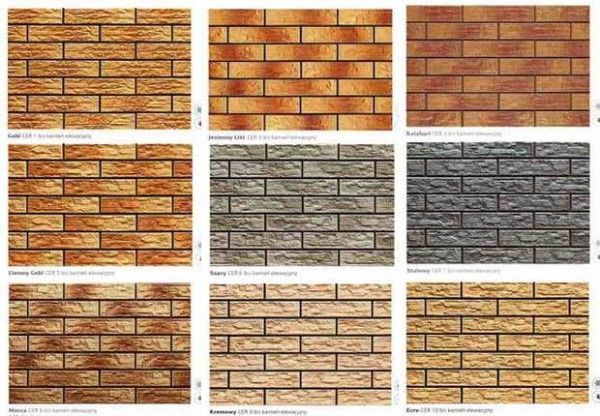
The most popular are the following types of cladding:
- Clinker tiles. The product is made of refined clay by pressing, followed by high-temperature firing at a temperature of 1200 ºС. The material is resistant to strong heat and rapid cooling. Due to the composition similar to that of oven bricks, it has an equal coefficient of linear expansion. The clinker does not absorb moisture; products of a wide range of colors and textures are on sale.
- Porcelain stoneware. It is a compressed mixture of granite chips, sand and light clay. The tile is distinguished by its attractive appearance combined with high strength and ease of installation. The finish is waterproof, expands when heated in proportion to the oven masonry. Porcelain stoneware faithfully imitates natural stone, thanks to which it organically fits into any environment.
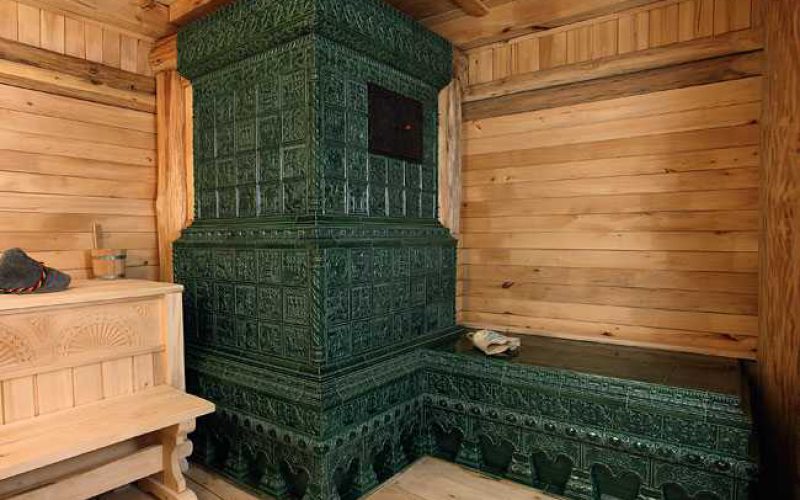
- Majolica. The tile is characterized by beauty, uniqueness and personality. It is produced by firing blanks with a pattern applied to them. During the heating process, the glaze is baked and acquires an attractive sheen. The material is durable internally, but the outer coating requires careful handling. The coating is hydrophobic and heat resistant. A wide range of products in classic and ethnic style is on sale.
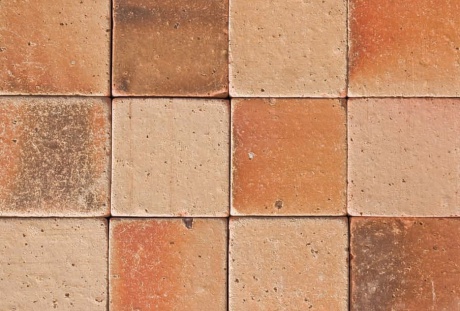
- Terracotta. This type of finish has a long history of use in facing work. The raw materials for the production are chamotte and clay saturated with iron oxide. The final product has a characteristic reddish brown color, perfect for a home. The tiles are lightweight, durable and waterproof. The cladding heats up quickly and keeps it warm for a long time. Due to the correctly thought out composition, it is immune to extreme heat.

When deciding on the choice of tiles for lining the stove, you need to take into account its combination with the surrounding interior, financial capabilities and construction skills.
Methods for fixing tiles
There are several ways to cover the stove with tiles, each of which has its own characteristics, pros and cons.
There are the following options for fastening the facing material:
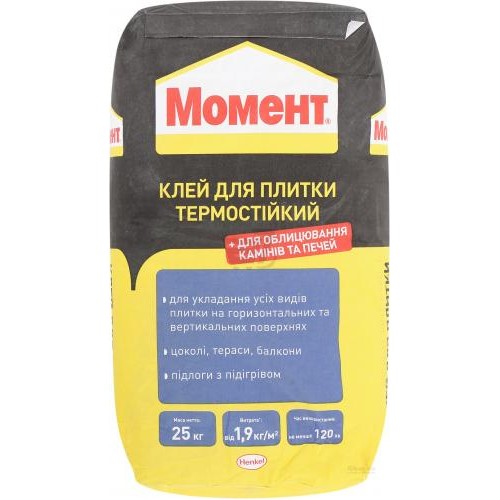
- Prefabricated glue. This is the simplest solution when wet fixing is selected. The mixture is already ready for use, there is no need to think over and calculate the proportions of the components. You just need to carefully follow the manufacturer's instructions when mixing and using.
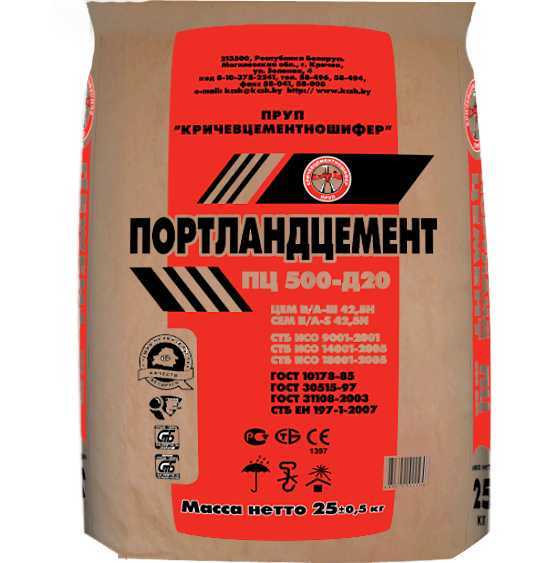
- Homemade solution. It is made from Portland cement, PVA glue and salt. This combination provides strength and dimensional stability of the dried composition. The presence of PVA ensures the thermal expansion of the material, and the salt prevents its rapid drying out.
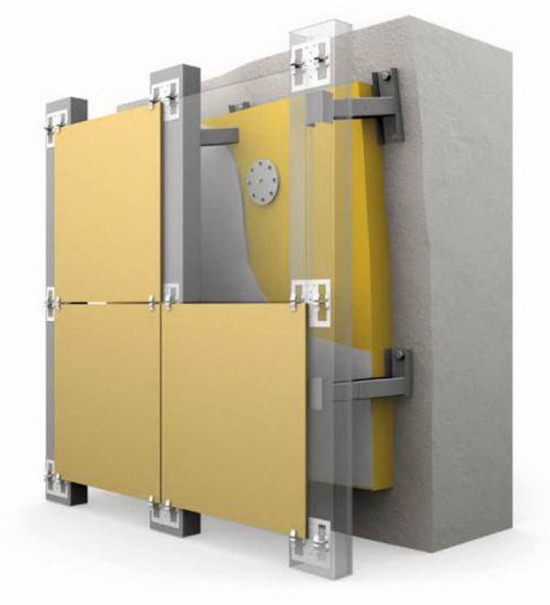
- On a steel profile frame. Stainless steel is used, as ferrous iron quickly becomes rusty due to temperature extremes and condensation. The profiles are fixed at a distance of 1-3 cm from the base, the tiles move in them as if along the guides. Hot air is trapped between the surfaces to heat the outer cladding.
- On anchors. The fasteners used in the connection of display glasses are used. The tiles are inserted into them with the edges so that there are no gaps. The corners are then sealed with a steel profile.
Regardless of the chosen method of fixing, the brickwork must be previously plastered with reinforcement. If this is not done, there will be a risk of opening the seams and the appearance of through cracks.
Tools and materials
Laying tiles on the hearth is a simple undertaking, but to complete it you need to have a fairly large arsenal of materials and devices. To tile the oven with ceramic tiles with your own hands, you will need the following tools and equipment:
- tape measure, square, level;
- flat and angled steel spatulas;
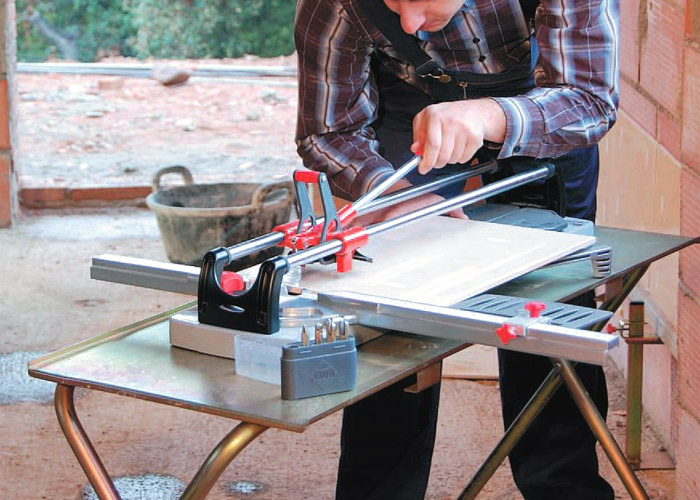
- a grinder, a tile cutter, a string for cutting tiles, a hammer drill with drills and a mixer;
- mallet, scissors for metal;
- paint brush;
- rubber spatulas.
The list may vary depending on the chosen method of fixing the tile to the surface of the stove.
To decorate a hearth, you need to purchase the following materials:
- tile with a margin of 20% of the estimated amount;
- heat-resistant plaster;
- deep penetration primer;
- heat-resistant glue;
- grout for joints;
- plastic crosses;
- steel profiles, if installation on a frame is planned;
It should be borne in mind that the process of facing the hearth is a dirty and dusty occupation. It is necessary to cover all interior items with cellophane wrap, cover the fireplace with gloves, glasses, and respiratory protection.
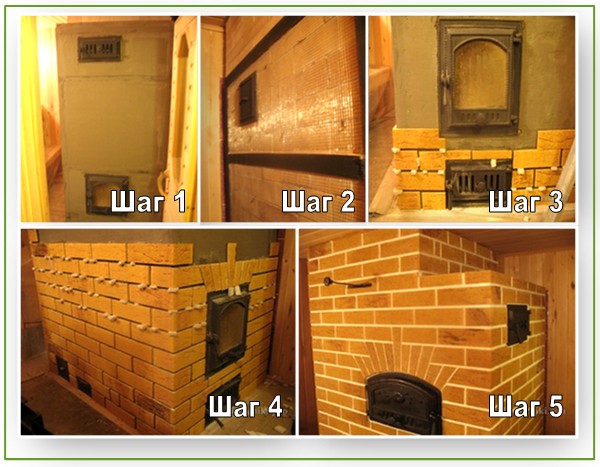
Do-it-yourself furnace lining process
Laying tiles on the stove is possible only after a competent and complete preparation of the base. If it does not meet the requirements for such structures, the finish may fall off after just a few fireboxes.
The preparation of the base is carried out in the following sequence:
- Removing old putty. This must be done carefully using a spatula or hammer with a chisel. To make the plaster easier to come off, it is recommended to moisten it well. It is impossible to use a puncher, as vibration can cause bricks to crack and seams to disperse.
- Clean the base from mortar residues and deposits. This is done manually with a metal brush or with a power tool with a special attachment.
- Clean the joints up to 1 cm deep to ensure a secure fixation of the new plaster. The fastest way to do this is with a grinder with a wide disc on concrete.
- Remove dust and stone chips from the surface using a paint brush and damp rags.
- After the base has dried, cover it with a primer several times, making sure that the liquid enters the entire surface of the seams.
- Check the straightness of the walls, top and corners of the structure.When deviations from the vertical and horizontal are detected, such places are marked with beacons. Leveling is carried out with a heat-resistant filler and a wide trowel.
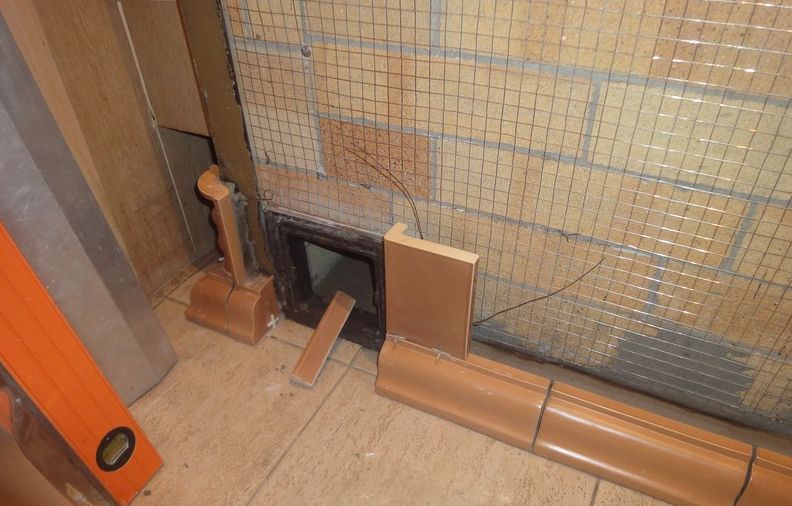
- Reinforcement. On a thin layer of refractory glue, the stove must be pasted over with a metal or fiberglass mesh. This will prevent the masonry from separating and cracking the putty.
- A layer of plaster up to 3 mm thick is applied over the mesh. After drying, it must be treated with an antiseptic and a deep penetration primer. This will improve the adhesion of the material and increase its strength.
After the end of the preparatory stage, the laying of the tiles begins.
With the wet method, you need to veneer the hearth in this order:
- Install the starting metal profile. It will set the direction of the masonry and prevent the tiles from sliding down.
- Knead the factory or prepare a homemade solution.
- Moisten the back of the tile to remove dust and improve adhesion.
- Place the mortar on the tiles and spread with a notched trowel.
- Stick on the first bottom row, using plastic crosses to maintain the same distance.
- Lay out all subsequent rows in the same way. The last fragments are adjusted in size using a grinder or a string.
You need to glue so that no solution remains in the seams. After the glue has set, they are filled with a special heat-resistant grout.
When finishing with tiles, a special heat-resistant mixture and heat-resistant silicone are used. The gluing is carried out simultaneously with the tension of the wire inserted into the trowels. After installation, additional wire pulling is carried out vertically and horizontally.
The corners are fixed in such a way that the distance between them is 2-3 cm greater than the height of the tiles, so that there is room for thermal expansion and free movement of the inserts during installation and repair.
Tile care
Tile maintenance is not particularly difficult if you do it regularly. Immediately after finishing, you need to wipe off the remnants of glue with warm water. If it is dry, it is better to pry it off with a ceramic or wooden knife.
When cleaning the house, surfaces must be cleaned of dust and dirt. Once a month, the tiles must be treated with a special preparation for washing ceramics. Terracotta should be impregnated. Such products are sold in specialized stores.
It is categorically contraindicated to use abrasive materials and hit ceramics.


