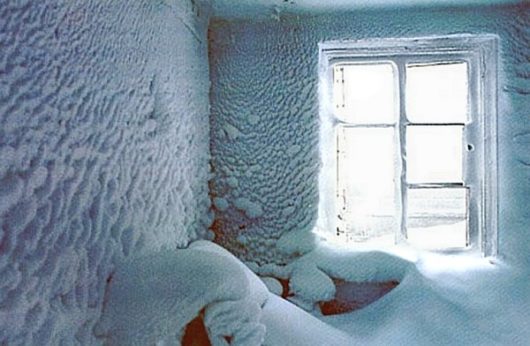
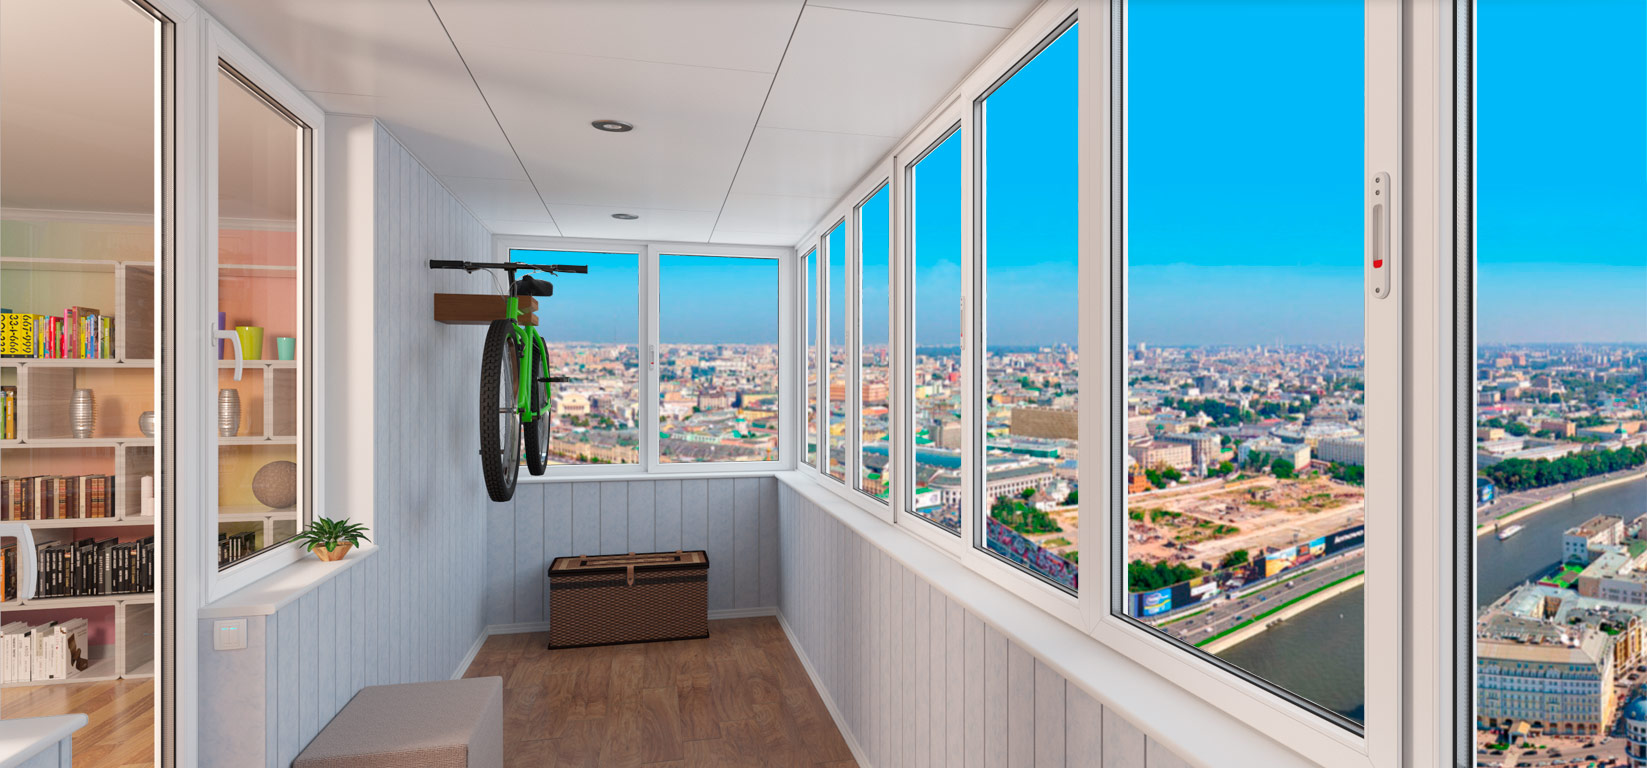
In the vastness of our vast homeland, a favorable and temperate climate is not always present. And even where there have always seemed to be warm winters, with their arrival we observe, to put it mildly, not the conditions to which we are accustomed. Winter comes suddenly, it can be very harsh, with a thorny wind. Our houses are not always adapted to such conditions. For a person living above the second floor, winter winds can cause a lot of inconvenience and trouble. Many people think about how to insulate their balcony. After all, a competently insulated balcony is a kind of buffer zone for the winter cold. It becomes a guarantee that the apartment will always be warm, regardless of any frosts. Also on such a balcony, in winter, you can store various products, or use it as a pantry.
Plastic windows first
Preparation for insulation
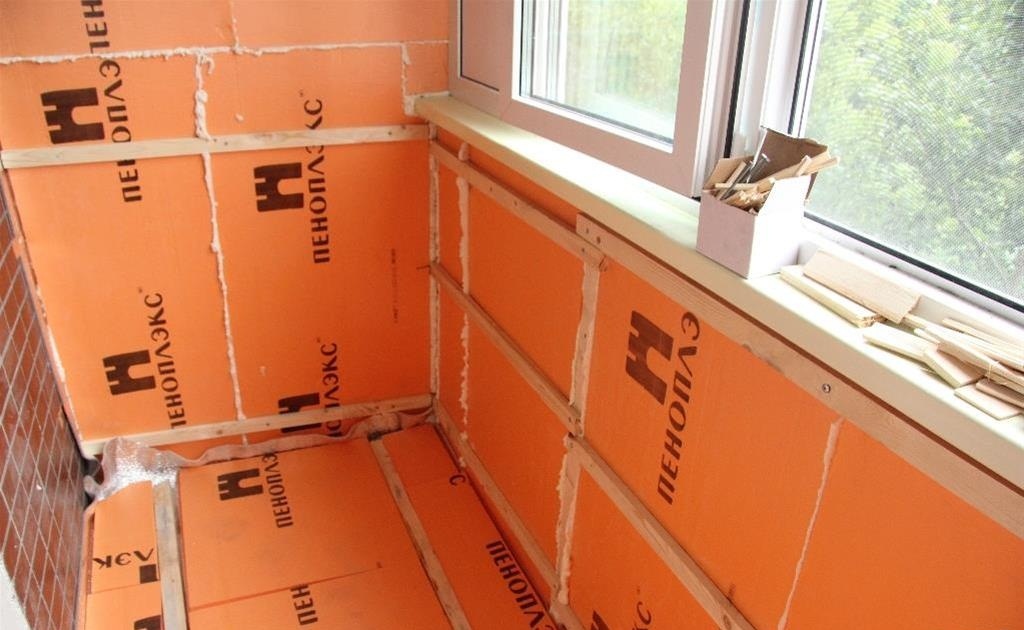
The material for warming the premises can be purchased at any construction market. To get started, you need to purchase the following: for a balcony of standard sizes - a block of wood, five centimeters by three centimeters (usually sold three meters long) in the amount of twenty-three pieces, fiberboard "Fiberboard" (one of the most optimal building materials intended for these purposes), due to the fact that it contains paraffin and rosin, is sufficiently moisture resistant. It is usually sold in sheets, twenty-five meter by two meters fifty centimeters, five millimeters wide. It will take two sheets. Insulation "Penoplex" or similar, sixty centimeters by one hundred and twenty centimeters, the width depends on the height of the bar, in our case it is three centimeters. It takes four sheets.
As a fastening material, we use screws, "seeds" for wood two and a half centimeters and five centimeters, we take screws with a margin. For fixing the ceiling and shelves, we use metal brackets (corner) three centimeters long, wall height one and a half centimeters. We also need eight meters of "substrate".
For quick and high-quality work, we will use the following tools: adhesive tape "scotch", marker, level, saw (you can use an electric "bee"), tape measure, drill with a screw attachment.
We start to mount
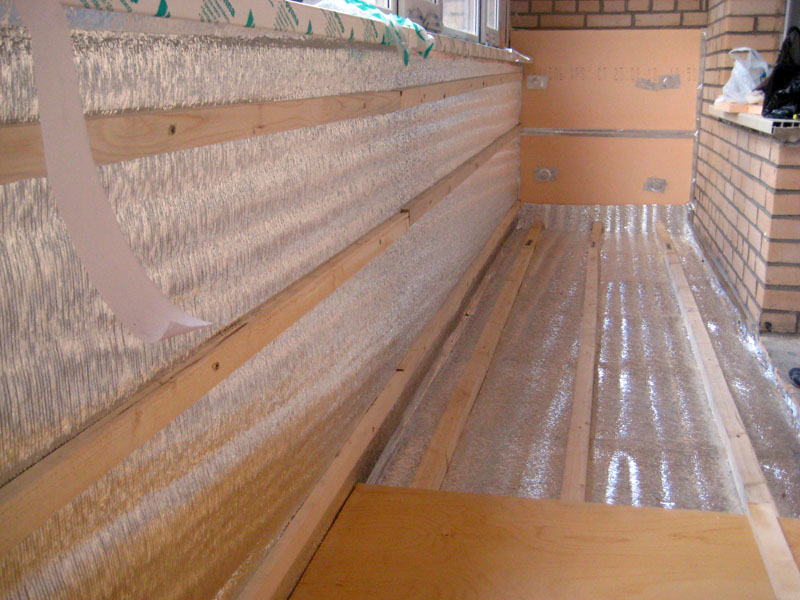
Next, we take the dimensions of the ceiling, make the exact same frame, fasten the "fiberboard" to it, insert the insulation, attach the backing with adhesive tape. The result is a finished, but not installed ceiling. We measure the height from our floor to ceiling, taking into account the frame and "fiberboard". According to these dimensions, we cut off the bar. We bring the finished ceiling into the room, raise it to the balcony ceiling, in the corners, install the cut bar, attach it with screws using a metal corner. The ceiling is ready.
Thus, we get a structure with a finished ceiling, floor and bar located at the corners of the balcony. Further, having installed a sufficient amount of a bar in height and width, you can start covering the walls with fiberboard sheets. This amount of material is also enough to install a small structure for shelves. One day is enough to carry out such work on the insulation of your balcony. When winter comes with severe frosts, your apartment will be warm and cozy.