Underfloor heating is becoming more popular than traditional heating systems, as it is easier to arrange, often more economical. You can mount the system yourself. However, the laying of a warm floor in a screed, depending on its type, is carried out according to strict technology.
- Underfloor heating types
- Electric
- Water
- Underfloor heating properties
- Necessary tools and materials for work
- Phased execution of work on laying an electric floor heating
- Rough screed
- Thermal insulation
- Heating cable
- Concrete screed
- Installation of a water-heated floor under the screed
- Preparation
- Waterproofing
- Pipe laying
- Filling the screed
- Finishing floor
Underfloor heating types
Before starting installation, you need to decide on the type of heating system. It can be electric or water. The choice depends on the area of the house, the presence of a standard heating structure, and the owner's preferences.
Electric
The electrical option provides for laying a cable in the tie, which heats up when connected to the network. It is effective, but it cannot be used everywhere. Another option for this design is mats with an electric cable. The infrared warm floor in the form of carbon rods or film deserves special attention.
Each type of electrical system is reliable, durable, and requires a dry base during installation. When arranging, do not forget about insulation and grounding. A thermostat is used to control the heating temperature. These systems are laid in apartments under the tiles.
Water
Underfloor heating is suitable for a private house. Such a system becomes an alternative to standard structures, as it is capable of heating the floor and the entire room. This option is a little more expensive to install, but its cost pays off already in the first years of operation. Heating occurs due to the circulation of the hot coolant through the pipes.
Underfloor heating properties
Heating with underfloor heating has a definite advantage over the classic system. The heated air rises from the floor, cools down at the top, which creates a good microclimate. The following design advantages can be distinguished:
- energy saving;
- all parts of the system are hidden under the floor covering, so they do not spoil the interior of the rooms;
- there is no need to install radiators, between the fins of which dust collects;
- organization of the optimal level of humidity.
Arrangement of the underfloor heating structure provides for the installation of several layers: a rough screed, waterproofing, parts of the system. After that, the concrete mixture is poured and the finishing is laid.
Necessary tools and materials for work
Before installing the system, select the appropriate tools and materials. The master will need a film for waterproofing, a thermal insulator, a damper tape, a concrete mixture and a special compound for leveling the base. Depending on the type of system, the following tools are required:
- Water heating. You need a gas torch, a metal-plastic pipe cutter, a pipe cutter. Reinforcing tape, collector, mixing unit are used for laying the elements.
- Infrared film. A hammer drill, adjustable wrenches, a building level, contact clips, electrical tape, pliers are required. You also need a thermal reflector that fits under the film, a thermal sensor, a regulator, electrical wiring, construction tape to glue the joints of the waterproofing.
- Cable.You need a thick wire, couplings for connection, tile adhesive, corrugated tube for cable insulation.
Some manufacturers of underfloor heating produce systems complete with the necessary tools. It is important to choose high quality products, since otherwise the entire floor will have to be opened to repair the structure.
Phased execution of work on laying an electric floor heating
To lay an electric underfloor heating under the screed, the installation technology must be strictly observed. First, a rough screed is laid, after which the base is prepared for arranging the heating system.
Rough screed
It is the lowest layer and is designed to eliminate height differences in the base. If the floor will be laid on a flat floor slab, there is no need to make a rough screed. For its filling, special self-leveling mixtures are used. Their advantage is that there is no need to install marking beacons.
Thermal insulation
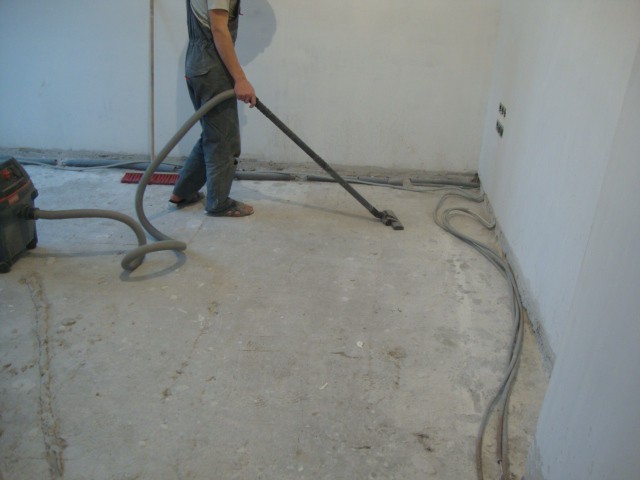
The base is pre-cleaned of dust, debris and dirt using a construction vacuum cleaner. For thermal insulation, a cork backing, polypropylene, is used. To increase the efficiency of the warm floor will allow foil film. To fix the sheets together, glue, construction tape or dowels are used. The thickness of the foil layer is not less than 300 microns. At the same stage, the reinforcing mesh is laid.
Heating cable
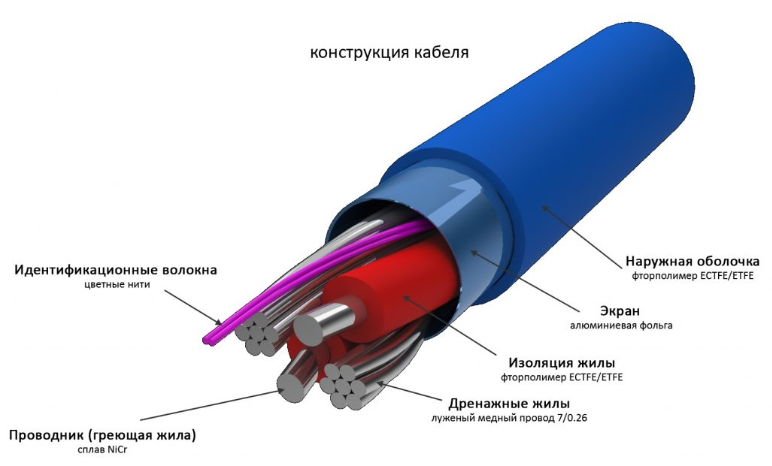
The cable connects to a temperature sensor hidden in the corrugated tube. It is located closer to the end of the system and is brought to the top. When pouring the screed, it is necessary to observe that no concrete solution gets inside the tube. The thermostat is connected last.
Concrete screed
Before laying the mixture, you need to check the performance of the warm floor. Filling is carried out after installing the beacons at a positive temperature. The solution is laid out at a time on the entire floor area. The mixture is poured from the far corner towards the door.
A technological gap is created between the wall and the screed with the help of a damper tape, which will prevent the concrete from cracking during expansion.
Installation of a water-heated floor under the screed
Laying a warm water floor in a screed should be started after preliminary preparation of the project. The heat transfer of the system, the length of the pipes, as well as the installation step are calculated. At the same stage, the final finish is selected.
Preparation
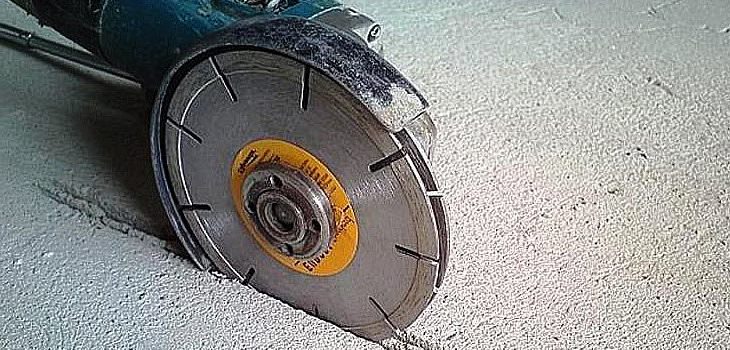
First, you need to determine the location of the switch cabinet, bring the main pipelines to it. If an automatic control system is installed, grooves are cut in the walls for wiring. If the base is soil, it must be removed and filled with a rough screed. The surface must be clean and level (the difference in height should not exceed 5 mm per 1 m).
Waterproofing
If moisture gets on the system, its effectiveness will decrease, so the process of installing waterproofing is mandatory. For this, a thick plastic wrap is used. At the junction of the floor and the wall, a damper tape is laid, the thickness of which is 0.6-1.2 cm.
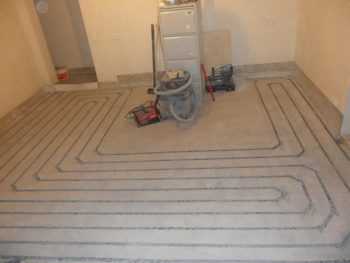
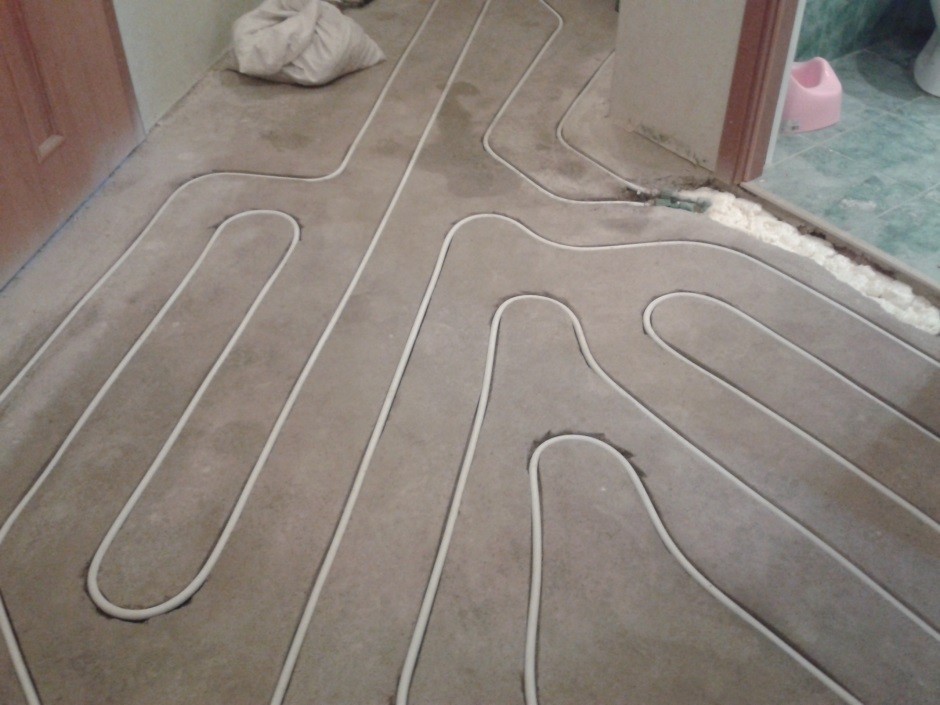
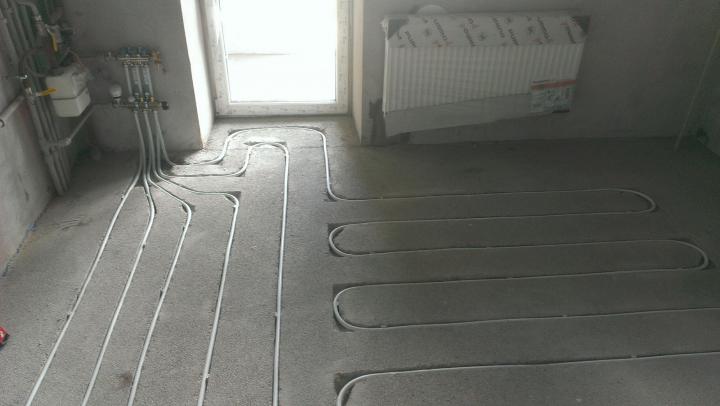
Pipe laying
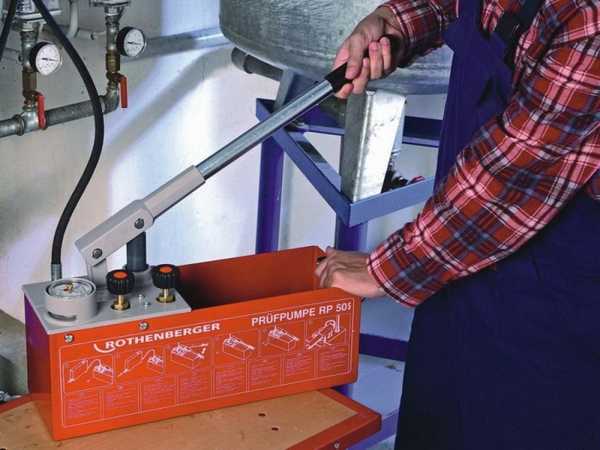
Installation of pipes is carried out after laying the heat insulator - expanded polystyrene. The pipes are attached to the foam itself, with anchor brackets or on a reinforcing mesh. The most common mounting scheme is a snail. The maximum loop length is 80 m.You need to carefully connect the pipes to the manifold, without confusing anything. At this stage, water is launched into the system and its performance is checked. If the heating is uniform, pouring can be carried out.
Filling the screed
The screed under the warm floor is filled with a cement-sand mixture. The minimum thickness of the screed is 3 cm from the upper edge of the pipes, the optimum pressure in which is 6 bar. Do not dry the layer with heating devices. It will be possible to start the system after the screed has gained strength - after 28 days.
Finishing floor
Tiles, laminate or other materials are used as a final finish. Their choice is carried out at the stage of drafting the project.
Underfloor heating will make the microclimate in the room comfortable and help warm up the room, saving money on heating. Installation and configuration of equipment can be done independently.


