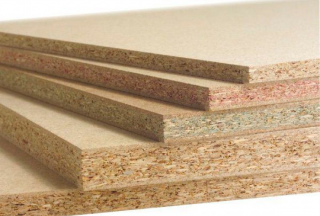
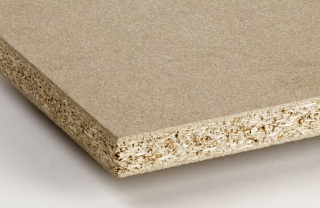
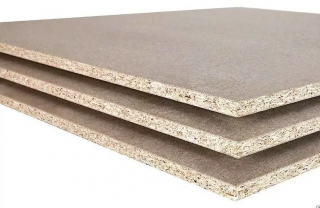
Chipboard is a kind of wood-shaving material of low density, from 0.5 to 1 g / cm³. Particleboard is very cheap and strong enough. It is readily used for decoration or as a source for the manufacture of furniture, door structures, as well as a substrate.
Description and characteristics of the material
Production
The cheapness of the material is due to the raw materials. In fact, this is waste: substandard round timber, sawdust, shavings, crushed to a size of 0.2-0.5 mm... The board is not entirely uniform: during production, the chips are distributed so that in the outer layers there was a coarser fraction, and inside there was a fine.
Shavings mixed with adhesive... Then the raw material is fed to a belt conveyor to create a layer of the required thickness. Three layers are laid successively and pressed. The briquettes are heated up to + 75 ° С and again fed to the press. Now the compaction is carried out at a temperature of 150–180 ° C and under a pressure of up to 35 kgf / cm². The finished sheets are cooled with cold air and placed in packs for a couple of days. During this time, the resins are finally polymerized, and the internal stress after pressing is removed.
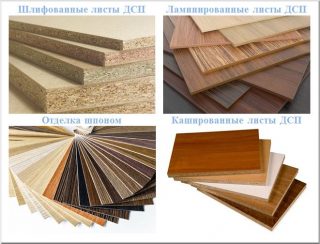
Chipboards for the floor are covered with a protective material. The lamination method is most often used, but there are also other finishes - PVC film, veneer.
Varieties and sizes
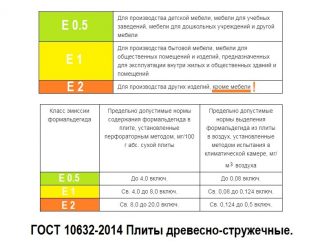
The characteristics and dimensions of chipboard boards are regulated by GOST 10632-2014... The thickness of the sheet is up to 1 cm, the length is up to 180 cm, and the width is up to 120 cm.
Material is classified according to many characteristics. By design distinguish between:
- single layer - single-row material made of shavings of the same size;
- three-layer - classic, with an inner layer of fine chips;
- multilayer - includes more layers of different densities.
The more layers, the stronger the material and the more resistant it is to different types of stress. For the floor, it is better to purchase a multi-layer chipboard.
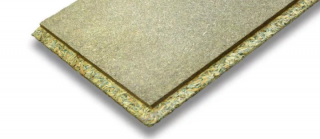
By the device of the stove there are 2 types:
- common plate - has smooth ends;
- grooved Chipboard for the floor - grooves and protrusions are formed at the ends, which, during installation, enter each other and create a solid surface.
Chipboard slabs with tongue and groove are more expensive, but they can withstand a lot of stress. For rooms with a large number of people, it is necessary to take tongue-and-groove material.
- Super e - the emission is less than 5 mg, which makes the material completely safe;
- E1 - evaporation up to 10, which allows the use of chipboard for the manufacture of furniture and furnishings for children;
- E2 - emission from 10 to 30 mg, used for overlapping and as a substrate;
- E3 - release up to 50 mg, such material is used for cladding only non-residential premises;
- E4 - the emission is more than 50 mg, so the particle board is used only for technical purposes.

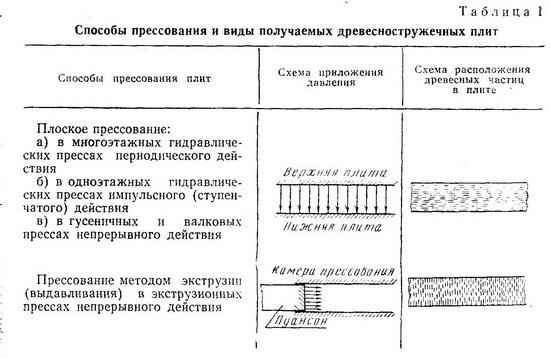
By pressing method Particleboard is also distinguished. Flat pressing means pressure perpendicular to the plane of the plate. In this case, the chips are laid parallel to the face, which improves the mechanical properties. When extrusion In this method, the pressure is exerted to a greater extent on the edges, and the chips are placed perpendicular to the face. The material is not resistant to bending stress, therefore it is used mainly in the manufacture of furniture and doors.
By processing level there are 3 classes of sheets.
- Fine-grained surface - provides high adhesion to other materials. Chipboard is often faced with a polymer film - lamination, which increases its resistance to water.
- With the usual - suitable for covering with veneer.
- With coarse-grained - such chipboard is used as a technical material and is not veneered.
There are other types of chipboard. For the floor, it is preferable to take a material with a higher water resistance class, for example, grade P2. There is also a special waterproof chipboard material.
The choice of chipboard for the floor
But other parameters are important.
- Density - according to GOST, materials are produced with a density of 550 kg / m³ - low, with an indicator of 550-750 kg / m³ - medium, and more than 750 kg / m³ - high. For flooring, chipboard of medium and high density is used.
- Configuration - preference is given to grooved chipboard. Due to the articulation of the protrusion and the groove, during assembly, the plates form a single plane, strong and reliable. In addition, in the grooved material, the ends are treated with a paraffin emulsion. In this case, the docking is not only strong, but also tight. Moisture does not seep between the sheets and does not end up at the bottom of the structure. It is quite possible to use the standard option, especially if the installation is carried out on a concrete screed. However, during installation, it is advisable to treat the joints between the plates with sealants.
- Thickness - for arranging the floor, take plates with a thickness of 12 to 20 mm. A thin sheet will not withstand the stress of people, furniture and equipment. The thickness is determined by the type of structure: for laying on concrete, you can take a thinner material, and on the logs you need to mount a thick one, optimally 18–20 mm thick.
- Variety - for laying, the appearance of the chipboard does not matter. So stains, stripes, chips and other minor defects are allowed. Non-graded material cannot be taken: large defects affect the bearing capacity.
- Safety - for finishing the living quarters, it is allowed to take material with an emission class of at least E2.

Methods for arranging a chipboard floor
Rough chipboard flooring used in almost all cases:
- when laying the floor on a concrete screed;
- when renovating an old wooden floor,
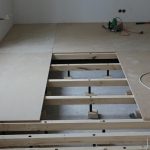
- when arranging flooring on logs;
- with heat and sound insulation of the structure;
- when leveling.
The preparation and installation technology differs depending on the installation purpose.
Preparation of the base
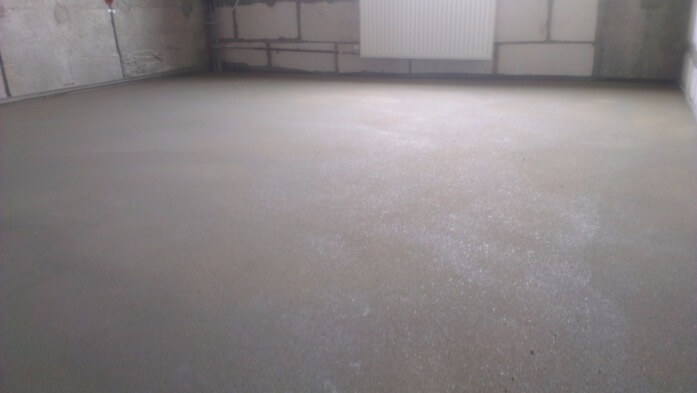
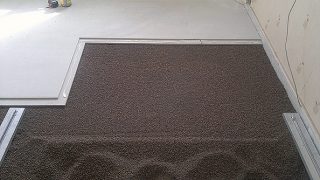
If laying is done on a concrete screedpreparation is minimal. The surface is already perfectly flat, and if the concrete is polished, then it is perfectly smooth. The maximum that you may need is to remove dust and debris if some time has passed since the material has solidified.
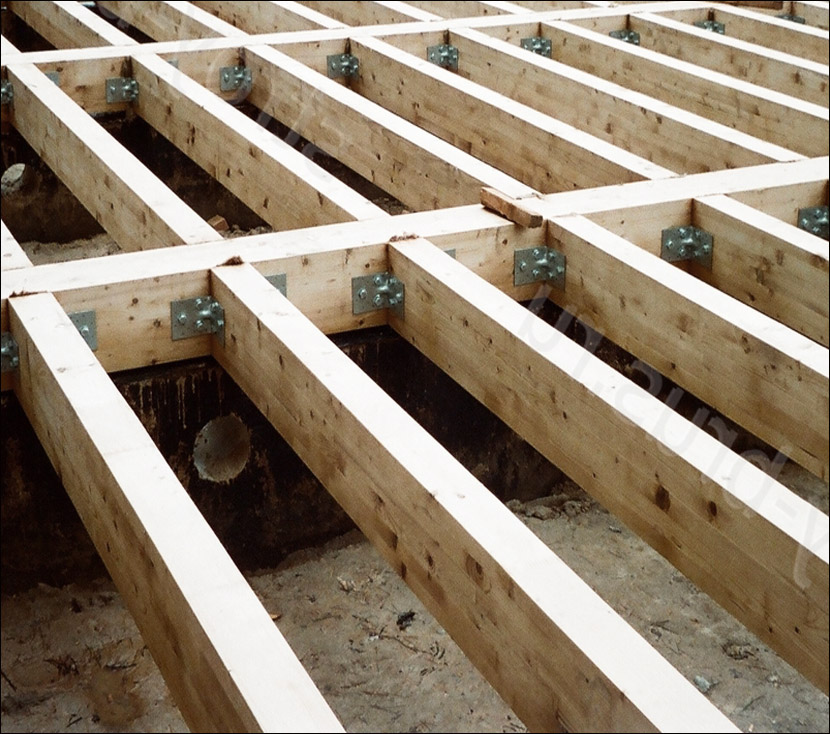
If the floor is being installed on lags, the base needs to be cooked longer. You should calculate the required amount of timber for the log. Treat them with antipyrine and antiseptics. There is no need to level the floor in this case. However, it is necessary to worry about the lags forming a plane. To do this, using the level, the state of the floor is studied. Deep dents and cracks are sealed with cement mortar or plaster. Height differences are not evened out, however, in places where the depression or elevation is too large, this has to be taken into account.
Cutting the timber is long and unprofitable... They act differently: in the most problematic areas, fragments of chipboard or plywood are placed, compensating for the depressions, or already during the laying of the lag, their position is corrected with wooden pegs and larger inserts.
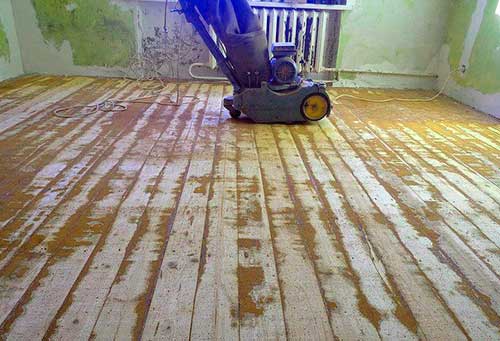
Old wood floorif it is not deformed, it needs thorough preparation. The surface is leveled by scraping or grinding, not too thoroughly, but sufficient to level the height differences. Deep dents, cracks are sealed with a mixture of sawdust and PVA glue. Use pieces of plywood on particularly problematic areas.

Tools for the job
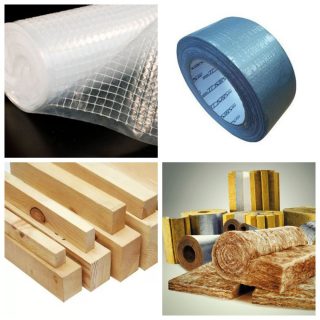
- waterproofing - waterproofing film, polyethylene allows;
- adhesive tape for gluing joints, damping tape;
- wooden beam for logs;
- PVA glue and self-tapping screws for fasteners;
- insulation, if the floor is insulated - mineral wool, polystyrene, foam, expanded clay;
- level or laser plane;
- screwdriver or drill with power regulation;
- hacksaw for wood, saw, jigsaw.
With a complex floor structure or laying in its depth of communications, other tools and materials will also be required.
Laying on a concrete screed
Assembly technology on a concrete floor is the easiest to do it yourself. The algorithm is as follows.
- Waterproofing material is laid on the floor. Better to take a membrane or plastic wrap. Apply it with an overlap of 15–20 cm on the walls.
- The seams between the strips are glued with tape.
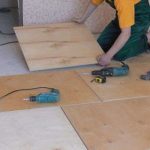
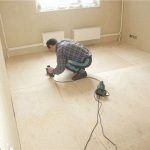
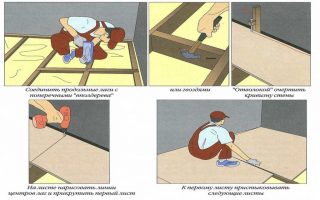
- The sheets are laid on the floor end-to-end. Fix the material with self-tapping screws. At the same time, make sure that the plates form one plane.

Laying on logs
- Lay logs from either side of the room.A thicker block is placed in front of the door, at least 5-6 cm thick.
- Lags are placed at an equal distance from each other. Usually it is 40 cm, but it can be more or less.
- The bars are placed on anchors. Holes are drilled under them in a concrete or wooden base.
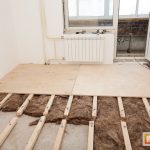
- A heat insulator is placed in the cavity between the lags: foam plates, mineral wool. You can pour a layer of expanded clay.
- The structure is waterproofed by laying a membrane film. The joints between the canvases are glued with tape.
- Chipboard sheets can be laid directly on the joists. If a high load is expected, then first a crate of boards is laid. The latter is mounted with a 1 cm gap from the wall.
- Chipboard is placed on the logs in a checkerboard pattern. A gap of 1–1.5 cm remains between the sheet and the wall.
- The material is fastened with self-tapping screws to the crate or lags. The step is small - 20 cm. The length of the self-tapping screw should be three times the thickness of the sheet. The hardware is screwed in so that the hat is recessed into the material.
In some cases, laminated chipboard is laid. Then it serves as a finishing floor.
Floating floor
Installation is not much different from the technology of laying on a concrete screed. but it is important to deviate from the wall by at least 1 cm when assembling the flooring... The sheets are stacked by inserting the tenon into the groove. The thorn is pre-coated with glue. In this case, self-tapping screws are not used for fixing. Installation starts from the far wall - it is important to follow the direction here.
To maintain a gap and adjust the laying of sheets, wooden wedges are inserted between the wall and the chipboard.
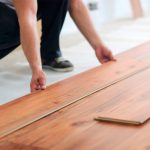
Finishing
Chipboard provides a flat floor under any initial conditions. So that the choice of clean flooring is completely unlimited:
- boards - made of natural wood, composite;
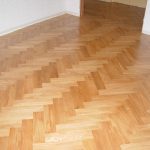
- parquet - piece, modular;
- laminate;
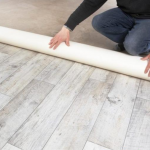
- linoleum or other soft surfaces.
The choice of finishing material is influenced by the floor design. If a heating system is installed under the chipboard, a material that conducts heat well is chosen for the flooring.
Specialist recommendations
To extend the lifespan of a chipboard floor, advise the following.
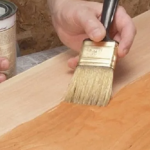
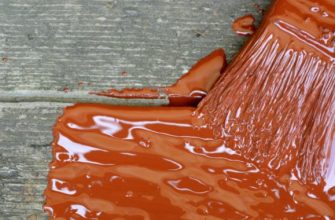
- Chipboard before laying can be additionally protect against moisture: soak with linseed oil in 2-3 layers, treat with varnish or any water repellent for wood.
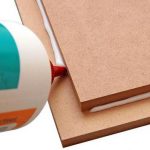
- The joints between the sheets are coated with glue not only when constructing a "floating floor", but with any installation.
- After surface mounting all seams are treated with paraffin... For this, for example, a paraffin candle is suitable.
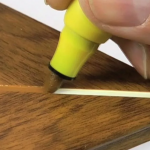
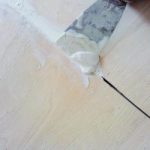
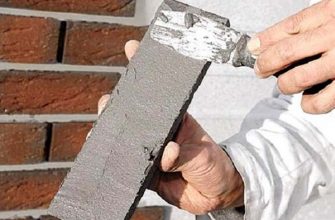
- If soft material is laid on top, like linoleum, the seams between the sheets and the grooves from the heads of the hardware are sealed with a putty mixture.

