Redevelopment of premises allows you to make your home more comfortable. GKL is an easy-to-use material, but a doorway in a plasterboard partition requires attention when arranging. Incorrect installation technology leads to rapid damage to the structure and alterations.
Pros and cons of a constructive solution
- without installing the canvas;
- with a hinged door;
- with a sliding door sliding along the wall or recessed into the wall.
Each of the options has its own pros and cons, they are associated with the characteristics of drywall.
Part of the problems can be prevented by installing a reinforced frame using moisture-resistant product options.
Required tools and materials
Installation of a drywall doorway begins with the acquisition of tools, calculation and procurement of materials. Part instruments there is always in the arsenal of a home master, some will have to be bought or borrowed from friends:
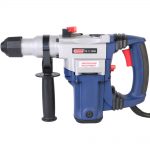
- impact drill or hammer drill for attaching the mounting profile to the ceiling, walls, floor;
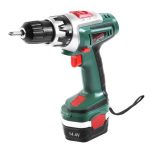
- screwdriver with PH2 bits, which are suitable for the most common "black" self-tapping screws for drywall;
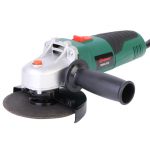
- angle grinder or metal shears for profile cutting;
- tool for cutting plasterboard - a knife, a hacksaw with fine teeth, wood crowns, a jigsaw - the choice depends on the volume and type of cutting work;
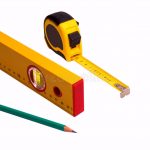
- laser or bubble level;
- tape measure, pencil, long ruler or profile;
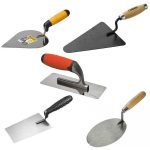
- spatulas, planer for gypsum board;
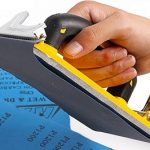
- sandpaper holder;
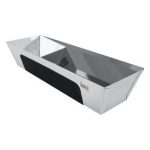
- container for mixing putty.
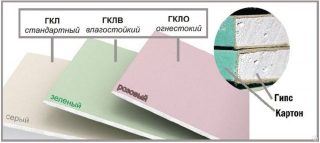
- drywall of the required type;
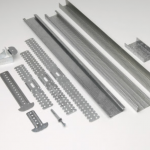
- guide profile;
- racks;
- dowel-nails;
- self-tapping screws for metal or wood, depending on the selected parts for the frame size 3.5x25 mm;
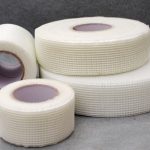
- serpyanka tape for sealing joints;
- gypsum putty;
- polyurethane foam.
Depending on the project, finishing materials and a door with a strapping are purchased.
Instructions for making a straight opening
Partition with an opening for a rectangular hinged door is the easiest option for self-playback.
First, the location of the partition and the door is determined. Take into account that the doorway from the drywall profile must have stock of 50 mm in width and 2-3 cm in height... Allowances are needed for mounting the door frame.
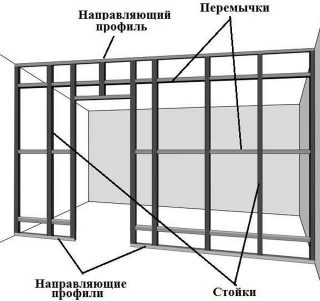
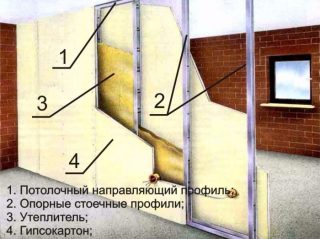
- Mark out a place for the partition. Draw parallel lines on the floor and ceiling, use a level and plumb lines. Connect the points on the ceiling and floor with vertical lines along the walls, indicating the attachment points for wall mounting profiles.
- Dowels fix the guide profile to the ceiling, floor and walls according to the markings made. Fixing step no more than 60 cm.
- Install and secure two vertical profiles, which will be the basis for the door trim. They use reinforced square profiles, they are stronger and more suitable for attaching doors to them.
- Reinforce vertical struts wooden bars, which are laid between the side walls of the profile and fixed with self-tapping screws. An alternative option is to use a second profile installed parallel to the first.
- Mount horizontal lintels, which strengthen the frame and serve as additional elements for fastening the gypsum board. The step of installing the jumpers is 50-60 cm. Fastening is carried out with self-tapping screws with heads made in the form of press washers or blind rivets.
- Cut out the sheets for mounting on one side of the frame.
- Lay between the racks soundproof material and electric wires in the corrugation. The size of the soundproofing sheets must be calculated in such a way that no voids or gaps remain.
- The second side of the partition is sheathed. The end surfaces of the cut sheets are treated with a drywall plane.
- A preliminary wall decoration... Adjoining walls and seams between individual sheets are glued with fiberglass tape-serpyanka. The joints of sheets, abutments, heads of self-tapping screws are sealed with putty. For this work, it is advisable to use special mixtures for seams, ordinary putty can crack over time.
- If the wall is being prepared for painting or the project provides for wallpaper, then it is advisable to immediately apply putty layer over the entire surfaceso that there is less dirt in the future.
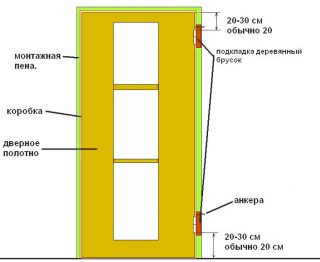
- Collect the box by the size of the door leaf. Immediately attach the hinges to the door and mark their location on the harness - this is more convenient than fitting on weight.
- Fix the box in the door opening with spacers, check the correct installation of the strapping. If deviations are allowed, then during operation the door will spontaneously open or close.
- Self-tapping screws screw the box to the racks.
- Mount the door leaf, check the correctness of the installation, adjust the gaps, foam the voids between the strapping and the frame.
Installation of platbands and slopes is carried out after the completion of the walls. The installation of a sliding door is carried out after the opening is made from all sides with plasterboard.
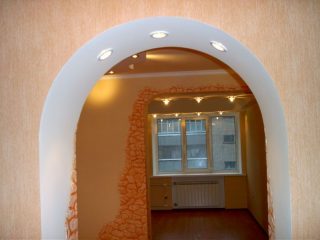
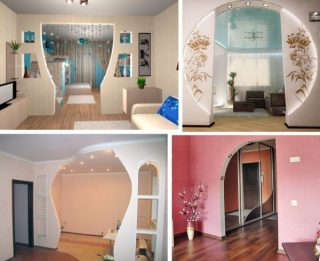
Features of mounting arched and curly openings
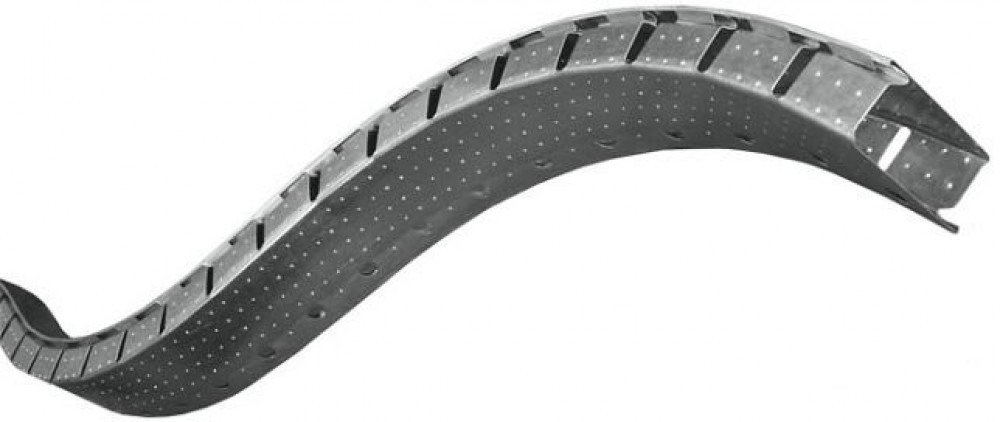
Parts are expensive, so their you can do it yourself... They use a grinder or metal scissors, with which they make cuts in the side shelf of a standard profile.
For finishing the ends acquire arched drywall... It differs from the usual one in its small thickness (6 mm) and flexibility. The sheet resists fracture better as it is reinforced with fiberglass.
Alignment of the ends is carried out using prefabricated arch profile, this greatly simplifies obtaining a smooth transition between the planes of the partition.

