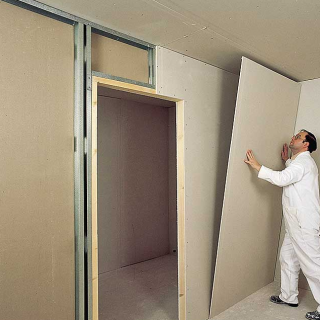
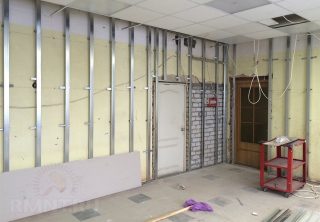
During the repair of premises or the installation of partitions, sometimes it becomes necessary to sheathe the wall in 2 or 3 layers of gypsum board to increase the strength of the structure to loads. It is impossible to fasten the sheets with self-tapping screws due to the low strength of the panels. It is necessary to figure out how to glue drywall onto drywall in order to avoid mistakes and prevent damage to materials.
GKL installation by gluing
The cardboard outer layer is strong enough to hold the sheet. Moreover, the pull-off load during vertical installation is minimal, so you can glue drywall onto drywall.
It is not allowed to glue the suspended ceiling without fixing with self-tapping screws or dowels.
The bonding method is selected based on the operating conditions. Method not suitable:
- for the manufacture of suspended ceilings;
- for cladding walls prone to getting wet and freezing, since there is direct contact - drywall can damp and collapse;
- when wall insulation is necessary;
- for finishing with ceramic tiles - the sheet will not withstand the load.
Depending on the plane of the base and the size of the irregularities, different installation methods and the glue corresponding to the tasks are chosen.
How to glue drywall
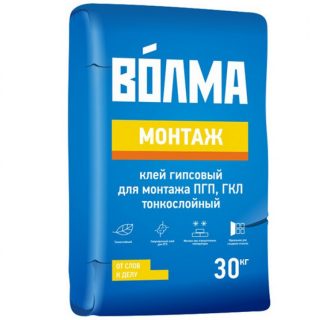
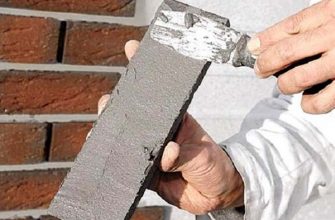
Assembly adhesive prepared at the place of work from ready-made dry mixes on a gypsum basis. The solution is suitable for fixing the gypsum board on bricks, gas blocks, foam blocks or concrete.
Products supplied in bags of 25-30 kg and can be stored in dry rooms for about six months. An open bag must be used within 1–2 weeks, otherwise the mixture will pick up moisture from the air and lose some of its properties.
Work is carried out at temperatures above 5 ° C (or look at the package). The finished mixture is suitable for use for no more than 30 minutes, and it is allowed to correct the position of the sheet within 10 minutes.

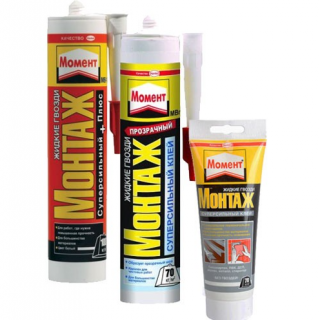
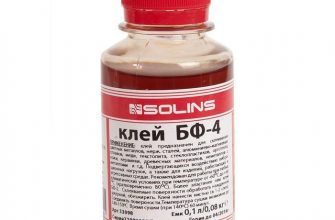
Liquid Nails used for fastening small parts, this is due to the high consumption of glue and high price. This fastener is suitable for plasterboard and bases made of metal, ceramics, wood. The composition hardens during the day, the optimum temperature in the room during work is from 10 to 30 ° C.
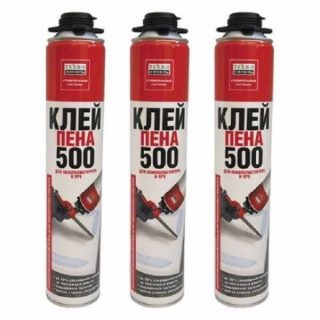
Mounting adhesive foam it is universal in application, but it is better to use it to connect gypsum boards and uneven surfaces.
They use glue foam, not polyurethane foam, which expands in volume by an unpredictable amount.During installation and alignment, it is possible to squeeze out any side of the gypsum board.
Specialized formulations used when carrying out work in critical places.
- Polyurethane one-component adhesives have increased adhesion and quick setting, which is convenient when fixing drywall in hard-to-reach places.
- Silicate refractory glue is used when installing the lining of the air ducts of fireplaces, stoves, as well as for lining the outer walls of heating structures.
- Methacrylic glue is needed for gluing plasterboard with metal frames, glass and ceramics. This can be useful for the implementation of design solutions in the interior.
What to glue drywall on is decided based on the tasks and operating conditions.
Tool for work
- a drill with a whisk for mixing glue from dry mixes;
- an assembly gun, if you have to glue a large amount of gypsum board with the help of polyurethane foam, for one-time small work they acquire foam with a dispensing tube;
- tape measure, building pencil or permanent marker;
- a file for a figured cut or an assembly knife for straight cuts;
- laser, bubble level or plumb line;
- a marking cord to control the plane of the wall;
- clean rags to remove adhesive streaks;
- spatulas for applying the leveling layer;
- brush or roller for priming.

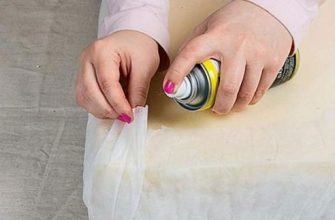
From consumables, primers are purchased to improve adhesion. It is necessary to find out in advance about the compatibility of the adhesive and the primer.
Installation of drywall on drywall
Work algorithm:
- Checking a sheet attached to the wall... If loose spots are found, additional fixation with dowels is carried out. The head of the fastener must be recessed into the body of the gypsum board.
- Cleanse the glued surface of both sheets from dust and dirt. It is better to do this with a vacuum cleaner or a slightly moistened cloth.
- GKL is marked and cut out... It is important to take into account that after installation, a gap of 10 mm remains between the floor and the sheet, 5 mm retreat from the ceiling. The gaps are temperature compensated.
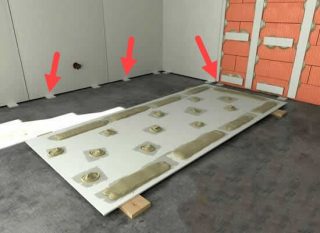
- The sheet to be glued is laid in a horizontal position - so it is more convenient to apply the adhesive.
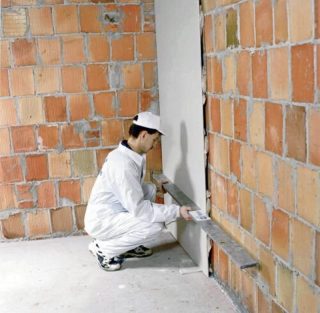
- Along the wall to the floor they have pieces of drywall, they will provide the necessary gap. Once the glue has set, the linings can be easily removed.
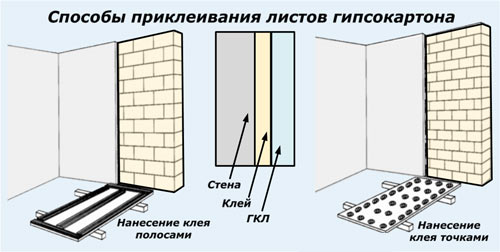
- Apply adhesive around the perimeter of the sheet, stepping back 3-5 cm from the edges, so that the excess is not squeezed out when fixing the sheet. Next, a grid is made over the entire area in increments of 30 cm.
- They bring the sheet to the wall, check the location of the gypsum board. It is necessary to provide gaps between sheets of 2-3 mm.
- Attach the panel to the wall and press... Using a level or plumb line, achieve a vertical position. If necessary, the sheet is slightly pressed down. Do not apply strong efforts so as not to damage the surface.
When installing drywall, prevent the vertical joints of the base and the outer panel from overlapping. If this is not taken into account, there is a possibility of surface cracking.
- The joints of adjacent sheets are primed.
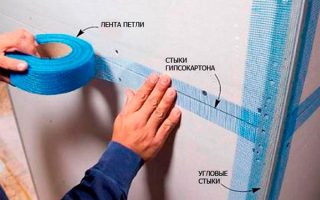
- Glue the serpentine tape at the seams.
- Close up the joints with putty.
If they plan to fix ceramic tiles on the gypsum board, all further preparation consists in priming the surface.
Preparing walls for painting or wallpapering involves priming drywall and covering the entire area with basic and finishing putty.
How to glue the gypsum board to the wall
Technology varies depending on the degree of unevenness of the base... A distinction is made between mounting on relatively flat surfaces, on bases with an average degree of unevenness and on walls with significant deviations from the plane.
Wall cladding with slight deviations
Step-by-step instruction:
- Shtrobovy walls for electrical wiring, drill places for the installation of socket outlets, lay and fasten the cable with clamps.
- Cleanse the base from dust and dirt, remove single influxes of masonry composition.
- The surface is primed. When choosing a primer, pay attention to compatibility with the adhesive and the material from which the walls are made. It is advisable to choose formulations with antifungal additives.
- Knead a small amount of the mixture and expose beacons over the entire surface of the wall. You can just use threads stretched along the wall. They try to achieve minimal clearances.
- Taking into account the unevenness of the wall, on drywall with a notched trowel apply a layer of glue... If the wall will not be loaded, then it is enough to apply the mixture around the perimeter and make 2-3 stripes on the rest of the surface. If it is supposed to hang shelves and other objects on the wall, then glue is applied over the entire surface.
- Pads are laid on the floor to provide clearance.
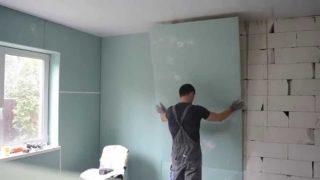
- Attach sheet to the wall and fixed in an upright position.
After the glue has dried, proceed to surface finishing.
Installation on walls with moderate irregularities
- Mount electrical wiring. If the unevenness allows, then you can do without the strobes in the wall.
- They clean and prime the walls.
- Marking and placing beacons are carried out.
- The sheet is cut taking into account the thermal gaps between the gypsum board, the floor and the ceiling.
- The glue is applied to the sheet in slides, with the expectation that they are 2-3 cm higher than the lighthouses. The step of placing the glue is 25-30 cm over the entire surface.
- Apply the sheet to the wall, fix it until it dries.
This is followed by finishing.
Decorating uneven walls
But even in this case there is way to glue drywall:
- Prepare the wall - clean it, primer it.
- GKL strips are cut with a width of about 10 cm.
- The strips are beacons, they are glued to the wall with the required amount of glue. In this case, the mixture should not be diluted to a too liquid consistency. The spacing is 60 cm.
- By adjusting the amount of glue, pressing the strips, they achieve an even plane over the entire surface of the wall.
- Wait until the glue completely hardens under the beacons, this may take up to 3-4 days, depending on the thickness of the layer.
- If necessary, a heater is placed between the beacons.
- Using an adhesive, the sheets are glued to the strip beacons.
This method will not work if you need to hang objects weighing more than 5-10 kg on the wall.
Finishing work is being completed.

