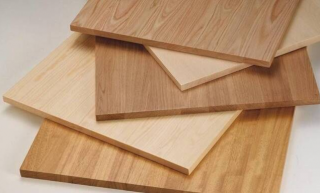
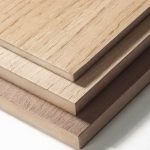
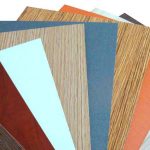
For the decoration of buildings, the production of furniture, door cladding, more and more often they use not wood, but wood-based materials. The best option among them is MDF panels. They are strong, lightweight, more resistant to moisture than wood and are very beautiful. Another plus is the ability to fix material to surfaces in different ways.
Description of MDF panels
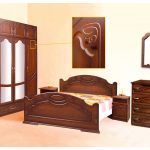
Solid MDF has an uninteresting small texture. Therefore, the material for decoration or for the manufacture of furniture pasted over with foil or veneer... The latter accurately conveys the pattern and color scheme of a particular wood species. This explains such a widespread use of boards: they are much cheaper than wood, especially expensive hardwoods, lighter, but at the same time, they are difficult to distinguish from natural wood by their appearance.
Panel sizes vary widely. However, their thickness does not exceed 5 cm.
Varieties
MDF is classified according to a variety of criteria, both aesthetic and custom.
By size There are 3 types of products:
- rack panels - in appearance they resemble a narrow lining and are fixed end-to-end or with a gap;
- tiled - resemble a square, less often rectangular tile of relatively small size;
- sheet panels - large slabs, at least 1 m in length.
By the way of processing the front there are 3 types of surfaces.
- Painted - the lath or slab is painted with a compound with good hiding power. The material looks more like plastic plates than wood. The paint protects against moisture and steam, but does not reduce wear or resistance to mechanical damage.
- Laminated - under pressure and at high temperatures, a PVC film is glued to the surface of the board. It can have a different texture, be matte or glossy. The film is difficult to scratch. However, there is a risk of delamination due to the constant high temperature - next to a gas stove, for example.
- Veneered - veneer is glued to the surface of the material - a thin wood cut. MDF accurately reproduces the appearance of wood. Veneer is not too resistant to wear, but this material is very beautiful.
Product design largely determines the field of application. Smooth glossy panels are preferred in the kitchen, where the finish has to be cleaned frequently. And the patterned relief structure looks interesting in the living room.
Scope of application
MDF is used in almost all finishing works:
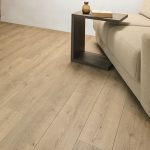
- production of flooring;
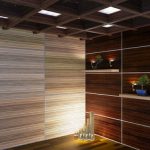
- wall cladding in residential or business premises;
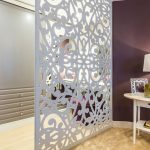
- construction of arches of rectilinear and curved partitions and other interior elements;
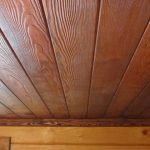
- ceiling decoration - the coffered one is especially effective;
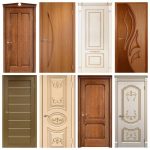
- production of doors and window sills;
- production of furniture of any type.
MDF is used in car building, when arranging trams, buses and trains, as packaging for some elite goods. The cases of some devices and even musical instruments are made from MDF.
Preparing for installation
Fastening of MDF panels is carried out In 2 main ways.
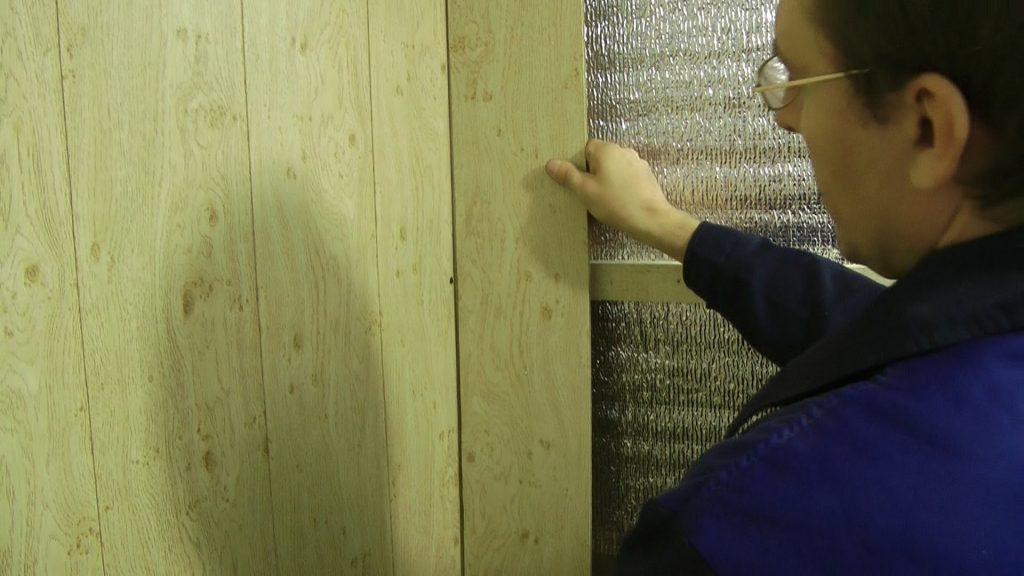
On the crate - a frame made of metal or wooden slats is preliminarily fixed to the wall or ceiling. The material is fixed on the crate. This method is very convenient: in case of damage, the plate can be easily removed, replaced, an air gap remains under the panels, which excludes the accumulation of condensate. In the resulting plane, you can hide communications.
On the wall - panels are glued or fixed directly to the wall or ceiling. Installation is extremely simple and does not require any special skills. Minus: it is impossible to dismantle the slabs without damage, so the repairability of the finish is low.
Depending on the method chosen, different tools and additional materials are required.
Tools and consumables
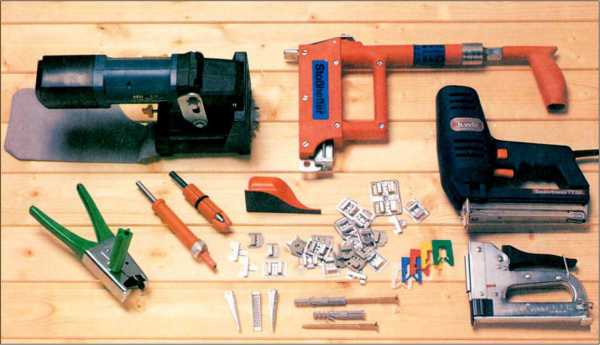
When working, MDF boards must be cut, bent, assembled exactly according to the level. For this with any installation method you will need the following:
- plumb line, tape measure, square;
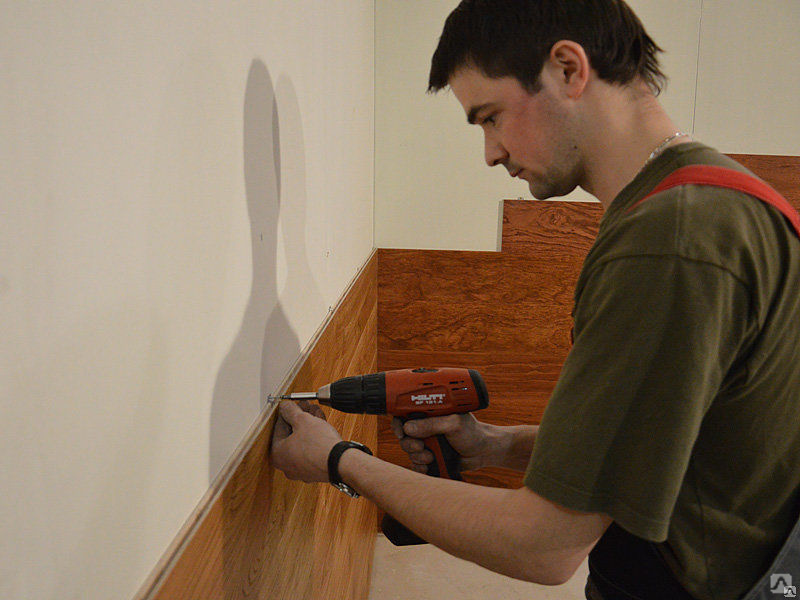
- an electric drill with a set of drills, since holes need to be drilled for fasteners;
- hand saw, jigsaw, possibly a hacksaw for wood;
- hammer or staple gun;
- selected fasteners - self-tapping screws, clamps, etc.
- wooden or plastic wedges for joint correction.
Glue may be required instead of fasteners.
Fasteners
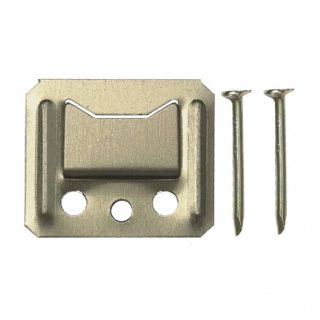
It is better to take galvanized fasteners for MDF panels. It is not susceptible to rust, lasts longer and does not affect the appearance of MDF. The list includes:
- nails with plastic sockets or dowels;
- self-tapping screws for fastening the outer panels;
- kleimers - in this way they fix the MDF to the crate, since the kleimer does not damage the panels;
- metal staples and nails that are easy to hide when joining trim.
Mounting plates on kleimers is more profitable, since in this case the finish can be dismantled and the damaged element can be replaced.
Glue
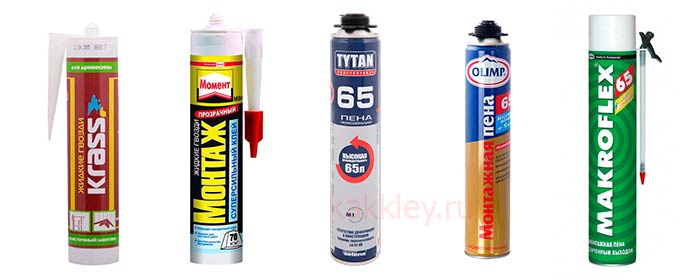
Not every glue is used for MDF panels. The composition must provide good adhesion to the base material - brick, concrete, stone, quickly set, be resistant to moisture and salts.
Most often used:
- universal compounds for working with stone, metal, glass and wood;
- assembly adhesives from the Liquid Nails series;
- "Moment" - mounting option;
- mounting foam - used for sealing, but it is convenient to put panels on it in bathrooms and toilets where a moisture-resistant composition is required.
Beginners are advised to use Liquid Nails, as these mixes are easier to handle and can be applied in thick layers to even out the base surface.
Substrate preparation and marking
The preparation of the wall is performed if the panels will be glued to the wall. If the installation is carried out on a frame, the state of the base does not matter.
Walls and ceilings are cleaned of the previous finishing material, mold or mildew is removed, if found. If there are dents or cracks, they are covered with plaster.Then the surface is treated with primers with an antiseptic effect.
Fastening MDF panels with your own hands
All fixation options are feasible at home. There is a fundamental difference between installation on a frame and directly on a wall. However, nuances arise when fixing with different fasteners - hardware, clamps.
On a wooden crate
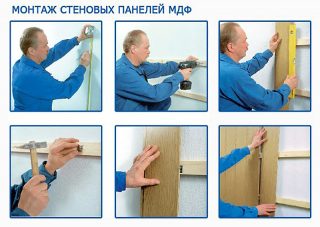
You can assemble the skin horizontally or vertically. This is important because the panels are laid perpendicular to the battens, so that vertical racks must be installed under horizontal slabs, and vice versa under vertical ones.
- Installation starts from any angle. At the first panel, cut off the comb with a jigsaw or a hacksaw. The markup is done in advance.
- The panel is pressed against the corner post with an indent of 1 cm. The MDF is screwed onto the crate with screws or nails.
- Clips are installed in the grooves of the panel with a step equal to the distance between the horizontal elements of the frame. The kleimer sits tightly on the ledge, and is fastened to the crate with nails or staples. In order not to accidentally damage the surface of the thin panel, do this. When the nail is driven in half, the head is picked up with pliers and hit with a hammer not on the head, but on the tool.
- The next panel is inserted with the comb into the groove. On its opposite side, kleimers are placed on the groove and through them they are fastened to the crate.
- The operations are repeated until they fill the entire space from corner to corner.
- The last panel will most likely need to be trimmed to the width. It is attached from the outside to the corner post with hardware.
Self-tapping screws are taken with a length equal to the thickness of the bar or slightly less.
On a metal crate
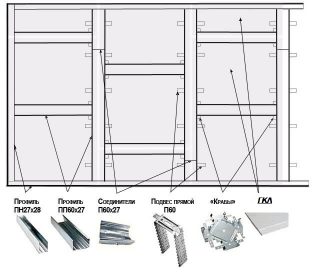
Wooden frames are poorly resistant to moisture and steam. Therefore, in the kitchen or in the bathroom, the crate is often assembled from a metal profile and corners. Installation is carried out using the same technology, but has some features.
- Regardless of the direction of laying, the frame contains not only extreme corner posts, but also a lower and upper guide. The panel is not attached to them.
- It is better to drill holes for fasteners, and then fix them through the cleats.
- The length of the screws is minimal, but it is better to choose a larger hat.
Fasteners are used only galvanized.
For glue and liquid nails without lathing
Adhesive method is allowed only with perfect evenness of the walls. MDF panels are thin enough to mask only small dents. The installation technology is somewhat dependent on the adhesive composition.
On glue
- Prepare glue if necessary. The composition is applied to the back of the plate in dots the size of a pea.
- Immediately press the panel against the wall. If this is the first experience, then it is better to mark the wall first, taking into account, for example, that you need to step back 5–6 cm from the floor and from the ceiling.
- The panel is tapped with a mallet so that it “sits down” tightly, and no voids appear under it.
- Then the slab is separated from the wall. Adhesive for MDF polymerizes on contact with air.
- After 3-5 minutes, the plate is repeatedly pressed to the surface and tapped again. You do not need to press hard, the glue is already activated.
- The next panel is inserted into the groove of the previous one and glued to the wall in the same way.
The position of the first panel is determined using a level and a plumb line. The rest of the elements are aligned relative to the first, therefore, when skewed, the deviation from the vertical or horizontal increases.
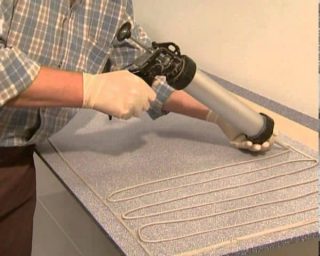
Installation on "Liquid nails" is carried out using the same technology... It is more convenient to work with this composition, since it is supplied under some pressure. The mixture is applied not pointwise, but in a winding strip. It is better to lay the slab not immediately, but when the glue dries a little.

