PVC panels are well suited for finishing rooms with humid air: kitchens, bathrooms, heated balconies. They are easy to clean and do not lose their performance from contact with water. To get a flat wall or ceiling surface, you can fix the plastic panels to drywall.
Fastening plastic panels to drywall
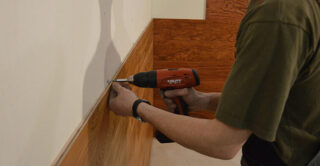
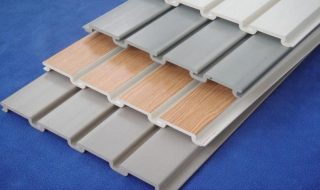
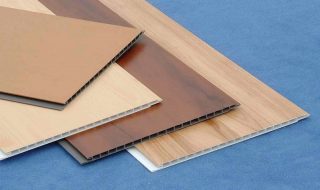
The panel consists of made of two layers of plastic and ribs connecting themproviding the structure with rigidity. It is easy to install on the wall and replace if necessary. Low price, unpretentiousness, low weight and a wide variety of colors make these products popular for the decoration of non-residential premises in apartments and private houses.
Products may have chamfers (in this case, when installing, a relief plane with seams is obtained) or be flatforming a smooth surface. Their bottom layer has protrusions designed to be fixed to the crate with self-tapping screws or a stapler.
If the frame is wooden, any of the mounting options can be used. Only self-tapping screws are suitable for working with a metal profile.
You can fix PVC panels to drywall as a temporary replacement for ceramics or as a final coating... They are usually not used for cladding living rooms. Products will help to mask defects or irregularities on the plasterboard wall. Since such a base does not withstand heavy cladding (porcelain stoneware and other options having a mass of 15-20 kg per 1 m2 or more), their ease also speaks in favor of installing the panels... It is possible to decorate with PVC plates not only premises in a residential building, but also ancillary buildings.
Installation methods
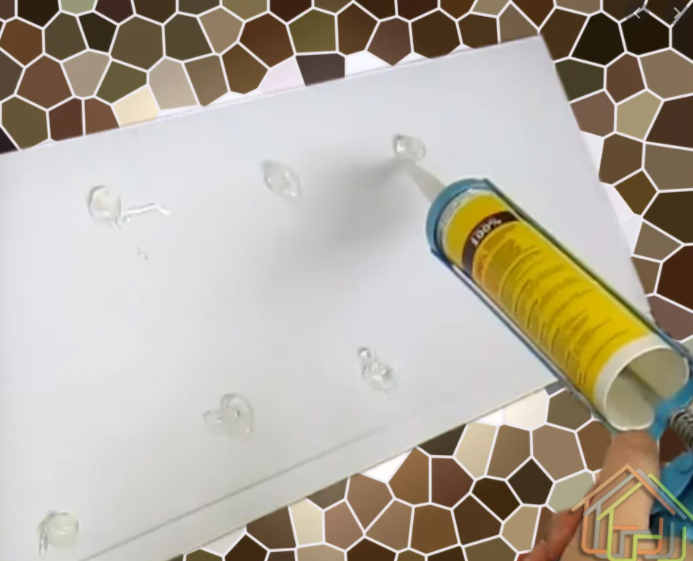
There are several ways to fix PVC panels to drywall. The easiest one is to use adhesive composition. Best fit polymer products and liquid nails.
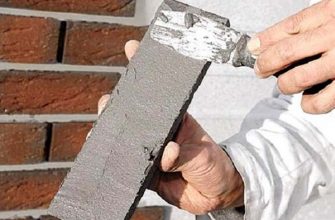
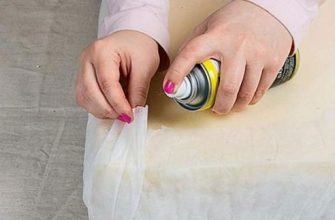
Before gluing the products, walls must be cleaned of dust, dirt and old coating... Then the cracks are closed and apply a primer. The latter can be made from simple wallpaper glue, diluted in half with water. Apply such a composition foam roller... After the primer has dried, you can work with PVC adhesive, following the manufacturer's instructions.
The composition used must be suitable for the operating conditions (resistance to moisture, if necessary - to cold or temperature fluctuations).
In the central part, the panel can be attached to the wall with a self-tapping screw - then the fixation will be more reliable. For a more accurate appearance and masking the curvature of the joints, it is recommended to install it indoors flexible corners. On the inner surface, the glue is applied pointwise along the entire perimeter, as well as several times along an imaginary line dividing the panel vertically into two equal parts.
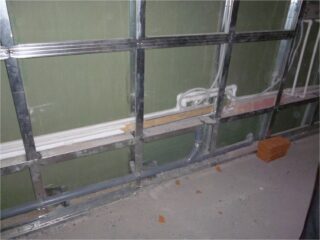
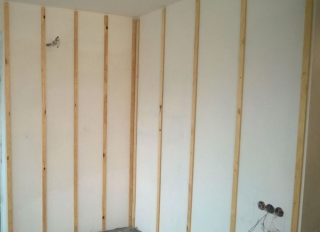
If the walls need leveling, it is recommended to install PVC on frame made of metal profiles... Also, this method is chosen when they want to hide wires under the cladding and install built-in lamps. If such goals are not worth it, but there is a desire for the panels to be easy to dismantle, if necessary, mount on thin wooden slats... They are easier to install than a metal frame.
The battens for the lathing should have the same width, the optimal distance between them is 0.4-0.5 m... The dimensions of the beams are selected depending on whether the installation of insulation is planned.
For fastening use self-tapping screwssuitable for the material of the battens, as well as staples. The length of the screws is chosen depending on the thickness of the strip.
Wooden crate is not recommended for use in rooms with humid air, as its elements can swell, causing the staples to fall out of the bars.
The frame is created so that the panels are located at right angles to it. For example, if the products are intended for vertical installation, the rails are installed horizontally.
Frame mounting instructions
Work process:
- From the walls remove dust, dirt and old coatings, if necessary, close up the cracks. Primer is not required when installing panels on a batten.
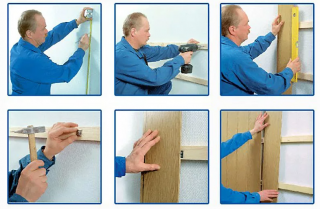
- They mark the frameusing a level and a pencil. Holes are drilled along the lines at a distance of 0.4-0.5 m from each other and installation and fixing of battens... The lowest rail should be located 0.5 m from the floor... If it is decided to make the crate of metal, it is better to choose galvanized profiles with perforation - they are convenient, reliable and already have holes for fasteners. Insulation (for example, mineral wool) can be installed between the frame elements.
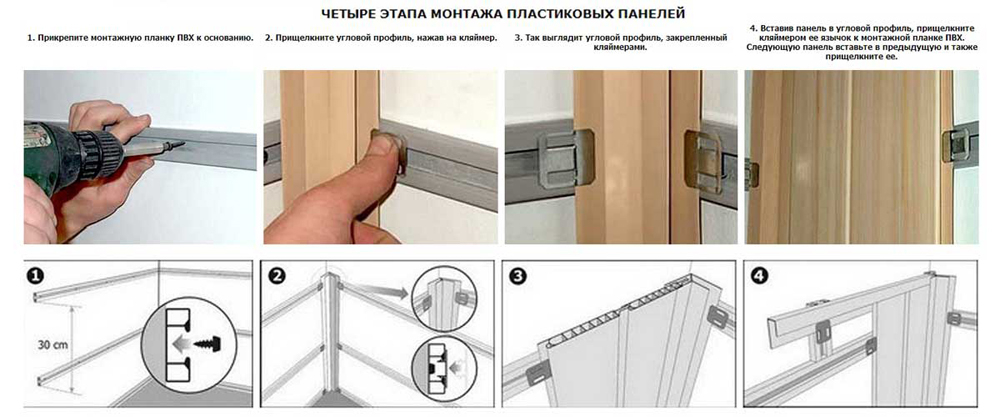
- It is better to start installation from the corner of the room., as far as possible from the entrance (this is the most noticeable area, it is there that cropping is especially striking if they are not masked by furniture). Above and below are fastened horizontal starting profile. Corner is mounted vertically (internal or external). Such details mask the sections of the products and help them securely fix.
- Begin to mount the first panel. It should be cut about 5 mm below the required dimensions (allowance for possible expansion due to temperature rise). It is inserted first into the horizontal profiles at the top and bottom, and then into the side bar. Then the product is attached to each frame element along the outer edge. For fixing, you can use a screwdriver or a construction stapler. The maximum distance from the open edge is 1 cm. From the inside, the self-tapping screws are screwed into the lower parts of the groove so that they do not create obstacles for the future entrance of the adjacent panel.
- Subsequent elements are attached in the same way. The panel is inserted into the groove of the previous, lightly press and level. Then fixation is made from the inside.
- The hardest moment is installation of the last panel... It is cut by 5 mm less than the required dimensions, inserted first into the corner strip, and then fixed in the groove of the previous product. This method will help to achieve a flat cladding surface and prevent deformation of the guides.


