Installation of drywall - a set of measures for arranging the frame, fixing the gypsum board and finishing when erecting internal partitions or wall cladding. Compliance with the technology allows you to carry out work quickly with a minimum amount of waste and to end up with a durable building structure.
Advantages and disadvantages of plasterboard wall decoration
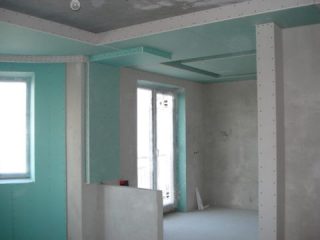
The versatility of the gypsum board and the existence of products for different operating conditions makes the material popular in various fields.
Drywall use for the manufacture of:
- interior partitions;
- wall cladding when they need to be leveled or insulated;
- fire screens;
- cases of home furnishings - shelves, electric fireplaces, TV stands, aquariums, etc .;
- suspended single and multi-level ceilings;
- openings and arches.
In practice, they use 2 wall cladding technologies: wireframe and frameless. The choice is made based on specific tasks and operating conditions.
Frameless cladding
The cladding option is suitable to compensate for small deviations walls in a horizontal and vertical plane.
For work no need to drill walls, purchase and install frame parts.
With frameless drywall installation saves space in the room, since the installation of the frame is excluded. At the same time, it is impossible to install insulation between the wall and the gypsum board or lay communications (pipes, electrical wiring).
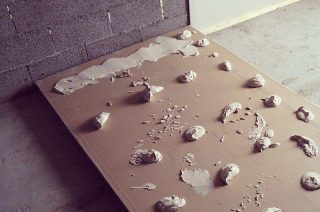
Installation technology consists of several operations:
- As far as possible, level the surface of the wall, removing the influx of mortar.
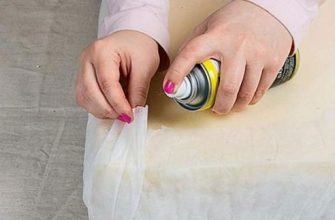
- Cover the base and back of the sheet with a primer.
- Mix the purchased mixture according to the manufacturer's recommendations.
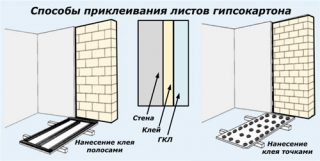
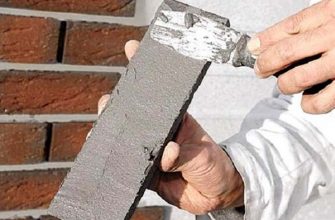
- Apply glue in a thin layer on the gypsum board or spread it in dots over the surface if the irregularities are large.
- Apply the sheet to the wall and fix it until the adhesive dries.
After setting the solution, carry out rough and fine finishing surface.
Frame installation of gypsum board
List of required instruments:
- hammer drill or drill with impact function;
- grinder or scissors for metal for cutting a profile;
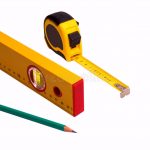
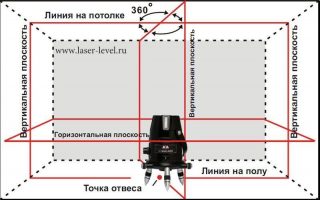
- level, tape measure, pencil;
- screwdriver with a set of bits;
- riveter, if the frame is assembled on such hardware;
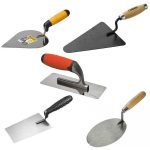
- spatulas;
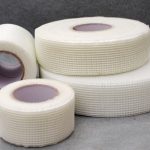
- sandpaper and serpyanka tape;
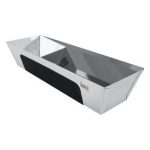
- container for mixing the solution.
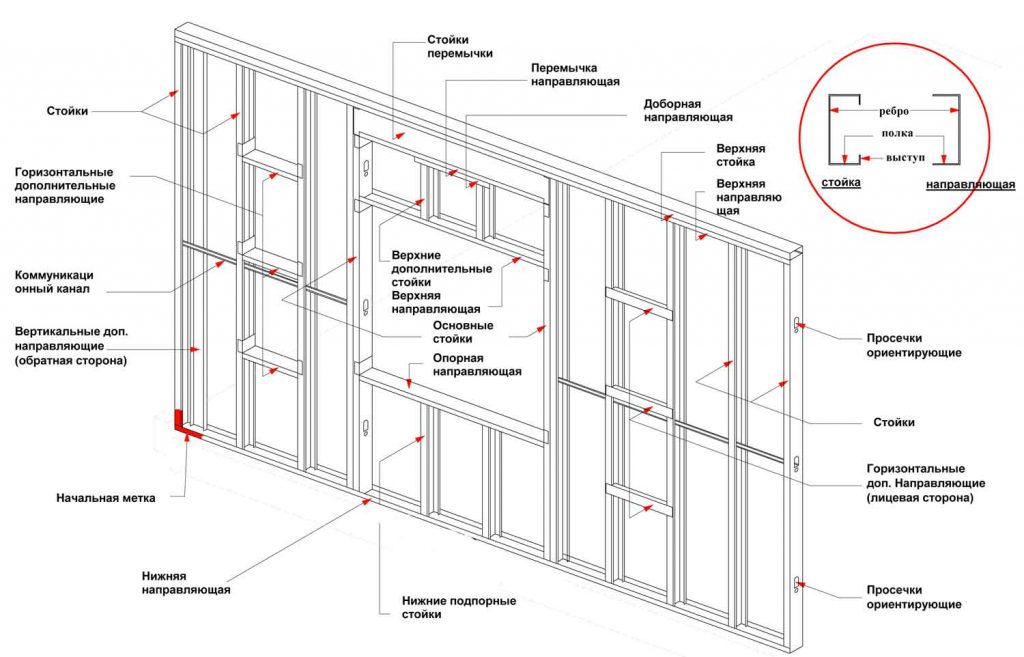
The frame is made of mounting profiles: ceiling, rack, guides. Additionally, you will need one-level connectors - "crabs" and hangers.
They take on different types for work self-tapping screws:
- Galvanized without drill at the end for connecting metal parts of the frame, 19x3 mm in size. To pre-drill holes for this fastener, you will need a drill 0.3 mm smaller than the diameter of the self-tapping screw.
- Galvanized with drill bit 3x12 mm.
- Oxidized (black) fine pitchif the frame is made of a galvanized profile or with a large one for wooden bases. The length of the threaded rod should be 2 times the thickness of the drywall - this is convenient when working, allows you to hold the fasteners with your hands.
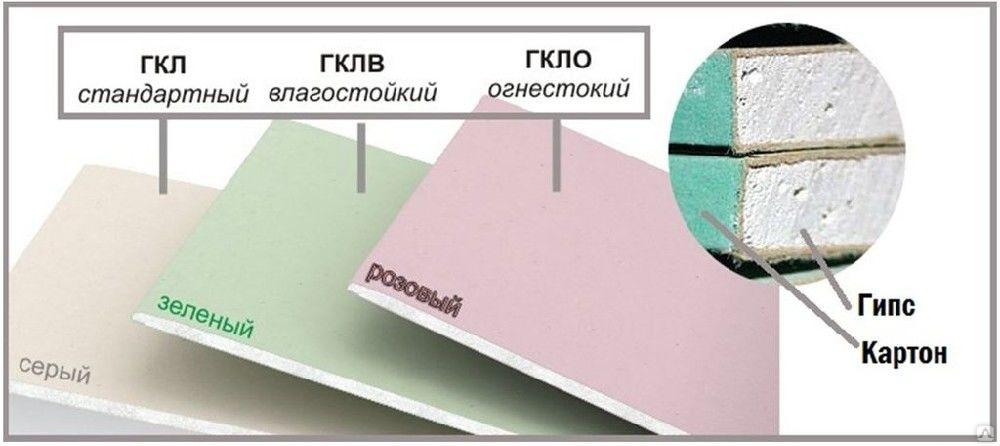
Depending on the place of installation, purchase one type of drywall:
- GKL - standard material of structures used under normal conditions with normal air humidity;
- GKLV - moisture resistant option for bathrooms;
- GKLO - fire-resistant, withstand elevated temperatures: used for fireproof partitions or for walls of electric fireplaces.
Frame mounting instructions
The work is performed in stages:
- make markup;
- carry out the installation of a profile for drywall;
- cut out sheets;
- carry out the installation of drywall to the wall;
- make a rough finish.
Finishing work is carried out after all installation work completed indoors, this avoids contamination of the walls with dust and dirt.
It is better to consider the installation rules using an example. cladding of a vertical wall.
Markup
Before the start of the marking in the retail network, they clarify what size drywall is available for sale. The vast majority of products are 1200 mm wide. The length of the sheets can be 2000, 2500 or 2700 mm.
The location of the racks and cross members of the frame depends on the exact dimensions.
Given that the sheets set vertically, a distance of 600 mm is measured between the posts... The distance between the vertical guides (through one) will be 1200 mm. This will allow the edges of adjacent sheets to be screwed to them.
Horizontal planks needs to be mounted with a step of 500 mm - this will help to avoid deformations of the drywall.
The marks are applied with a permanent marker.
Frame installation
The period of use of the gypsum board depends on the quality of the installation and the strength of the frame.
Installation sequence frame:
- Profiles PN 27x28 are fixed on the ceiling and floor. Use dowel-nails for concrete bases or self-tapping screws for wooden floors and ceilings. Fixing step 50-60 cm.
- Along vertical marks against the wall mount metal hangers... Suspensions are attached to a brick wall using dowels-nails, to wooden ones - with self-tapping screws.
- Measured and cut to the required size rack profiles.
- Insert racks into mounting partsfixed to the ceiling and floor.
- Check the distance between the racks and verticality installation. Particular attention is paid to the distance between the elements to which the edges of the sheet will be attached. With insufficient experience or lack of confidence in your skills, you can put the sheet to the racks and check the correctness on it.
- Pull the threads between the opposite walls and check that all the racks are in the same plane.
- The vertical parts are screwed to the ceiling and floor profile. Fix the products to the suspensions.
- Crossbars are cut from profile 60/27. You can fix vertical and horizontal parts with "crabs" or by making cuts, for example, as in the figure.
Re check the strength frame, if necessary, install additional supports.
Cut sheets
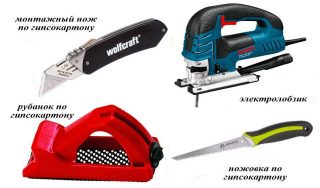
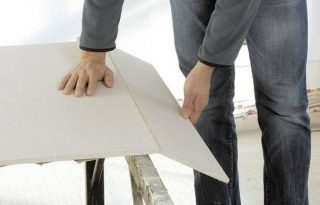
The sheet is laid on a horizontal surface, mark out... By placing a guide bar, for example a profile, a long ruler, the rule make an incision one side with a knife and carefully break off the sheet.
Cutting the second outer layer of cardboard, cut the pieces of the sheet.
Through holes it is more convenient to do on fixed gypsum boards.
Fastening sheets
Before installing the sheets, it is necessary to determine which side to mount the drywall.
Front side covered with stronger paper, has better adhesion, which is important for finishing.
Definewhich side of the drywall is the front, not difficult:
- the marking is applied to the back surface;
- on the front side there are grooves along the long edge, they are needed for reliable sealing of seams;
- face paper is generally lighter in color.
Fastening drywall to the frame is performed self-tapping screws... They retreat from the edge by no less than 10-15 mm. The fixing step is 20-25 cm.
1. The plasterboard should not lean on the floor. The gap between the floor and the bottom edge is at least 10 mm, up to the ceiling 5 mm. The gaps protect the drywall from thermal expansion damage.
2. It is impossible to fasten the sheet to the upper and lower profiles - it is also protection against self-tapping screws being pulled out during temperature fluctuations.
Before tightening the screws, adjust the "ratchet" of the screwdriver. The head of the self-tapping screw must fit into the body of the gypsum board.
After the installation is completed, the finished walls are roughly finished.

