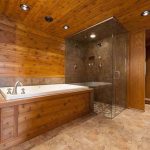
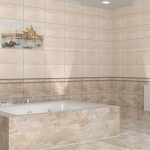
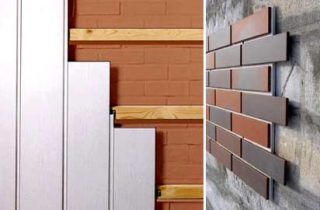
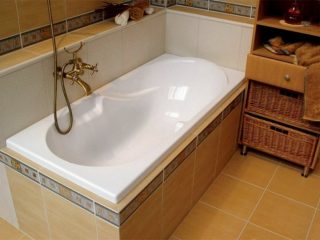
Plastic is suitable for finishing bathrooms, as it is moisture resistant, there are many options for decorative painting. You can do the work yourself. Installation of PVC panels in the bathroom on a frame allows you to hide communications without embedding them in the wall, so there is no need to redo the water supply and sewage pipes. The material is placed on the ceiling, walls, and a decorative screen under the bathroom is made of it.
- Types of plastic panels
- PVC material selection parameters
- Installation methods for wall panels
- Do-it-yourself installation of plastic panels on the crate
- Set of tools
- Calculation of materials
- Sequence of work
- Bath bottom screen
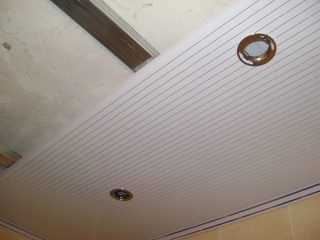
- Plastic on the ceiling
- Methods for attaching to the crate
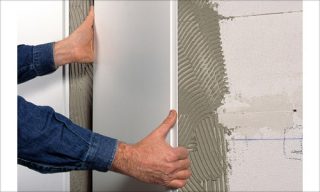
- Bathtub decoration with PVC panels frameless method
Types of plastic panels
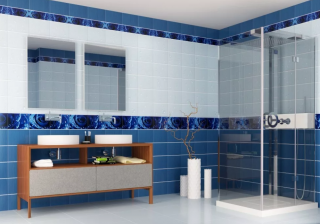
Plastic is distinguished by shape, color, width of panels. there is suture and seamless option. In the first case, the side faces are made in such a way that, after installation on a plane, longitudinal recessed strips with a width of 6 - 8 mm are obtained. The surface looks corrugated. Seamless plastic forms a flat and smooth surface.
Produce different types of PVC panels:
- Lining. The most common option for decorating a bathroom. It is a longitudinal stripes, within which the transverse membranes form a honeycomb structure. On the surface, a pattern is applied to the texture of wood, stone, leather in different shades.
- PVC Sheets... Presented in various combinations, the most popular with a pattern resembling a tile. They sell lacquered and laminated elements. The dimensions of the sheets are 95 - 250 cm long, 50 x 120 cm wide, there are square panels.
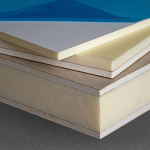
- Sandwich panels they are rarely installed in apartments, they are more often used in private houses for additional wall insulation, since there is an insulating layer inside the product, finished with PVC coating on both sides.
Plastic strips have large selection of colors, patterns and textures. Width panels can be selected in the range from 10 to 50 cm... Standard lining length 6 meters, therefore, when cutting, there is a minimum amount of waste. A newly built house can shrink, therefore plastic is considered as a temporary decoration, which is replaced with expensive tiles after 2 to 3 years.
It is necessary to provide for the mounting points of the boiler, cabinets and in these places install an additional mounting profile, otherwise the dowels will fall into the void.
PVC material selection parameters
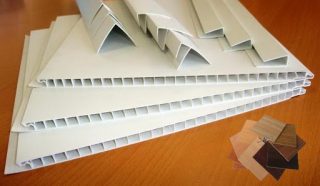
There is a lot of humidity in the bathroom, drops fall on the walls, which leave a hard residue on the surface, therefore pay attention to the quality of plastic.
Consider the nuances:
- number of stiffeners in the structure of the panel - the more there are, the stronger the panel will be;
- membranes should not be crumpled and deformed, but stripes should not have dents, changes in thickness;
- on a surface picture looks the same, evenly painted over;
- there should be no harsh chemical smell, which will erode for a long time after sheathing the bathroom with plastic panels;
- on the side faces coordinate straightness, they should not be bent;
- samples check docking, this is done on a horizontal plane in order to see the quality of the connection (the presence of gaps);
- it is better to take the middle width strips (20 - 30 cm), this way there will be less waste, and the installation time will not increase.
They choose products from well-known manufacturers who have been producing PVC panels for a long time.
Installation methods for wall panels
When choosing a method take into account factors:
- Humidity of the walls. The plastic is moisture resistant, but it does not allow steam to pass through. Mold forms underneath if the walls are saturated with moisture from the foundation.
- The presence of communications. If there is no desire to gouge walls, redo pipe lines, it is better to do on profiles to hide all this. The frame ceiling makes it possible to mount spotlights, and with the glue method, you will have to drill the floor slab.
- Curvature of the walls. There are options when leveling surfaces will require a thick layer of plaster, which increases the cost of work, increases the cost of finishing.
With the glue method, it is not required to purchase slats, but a plaster mixture is needed to level the wall, therefore, the costs are compared and a decision is made.
Do-it-yourself installation of plastic panels on the crate
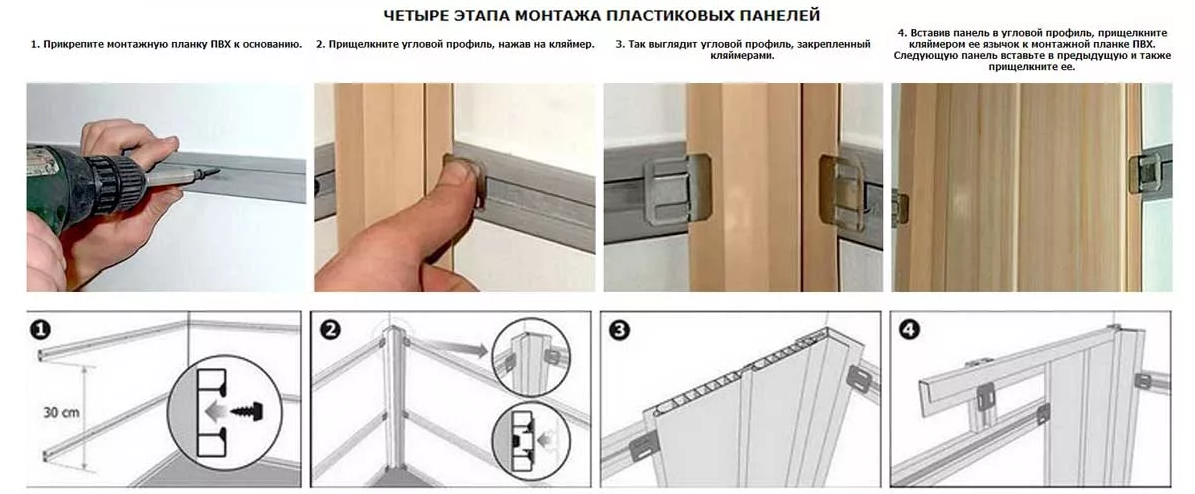
Plastic strips are usually placed vertically, so the profile is placed horizontally (and vice versa). Step between slats at the bottom they make 30 cm, and at the top it can be increased to 40 - 45 cm.
Cladding profile:
- CD-60 - galvanized guides for plastic fastening;
- UD-25 - strips for fixing the starting elements, outer corners, strengthening the perimeter;
- Staple ES (suspension), the length is chosen depending on the curvature of the walls - 90, 120, 150 mm folded.
Wooden slats are impregnated with linseed oil for 3 times. If this is not done, they will tend to deformation from moisture, they can pull plastic along with them.
Brackets to the wall fix dowels diameter 6 - 8 mm, length 45 - 50 mm. The profiles are held together self-tapping screw "flea", they also fix the finish to the base. Reiki fasten self-tapping screws for wood.
Bottom profile set 2 cm above the floor, and upper fixed under the ceiling. Around the protruding sewer outlets, ventilation ducts, a frame is made from a profile along the perimeter.
Set of tools
The markings are made with a tape measure; for convenience, its length should not be less than three meters. The horizontal attachment lines are marked on the wall using a construction bubble level, you can use a laser tool.
Other tools for installing plastic:
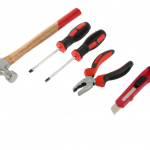
- electrical tools: drill, hammer drill, screwdriver, grinder;
- hammer, construction knife, metal saw (with fine teeth);
- Phillips and flat screwdrivers, pencil;
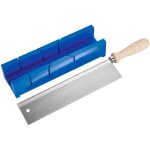
- sealant gun, miter box;
- cord or thread for the convenience of setting the rails.
Calculation of materials
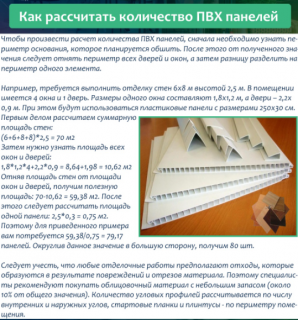
In addition to PVC material, they calculate additional elements, fasteners, sealant.
Galvanized profiles are counted through the selected interval, do not forget additional places of reinforcement, then all sizes are multiplied by the number of elements of the same type. They consider cutting on the basis that the CD profile is sold at 3 and 4 m, and the UD - at 3 m. The staples are placed every 70 cm along the length of the rail, necessarily at the edges, the number of suspensions and dowels depends on this. Flea beetles are counted in 50 pieces. on the square of the wall.
Sequence of work
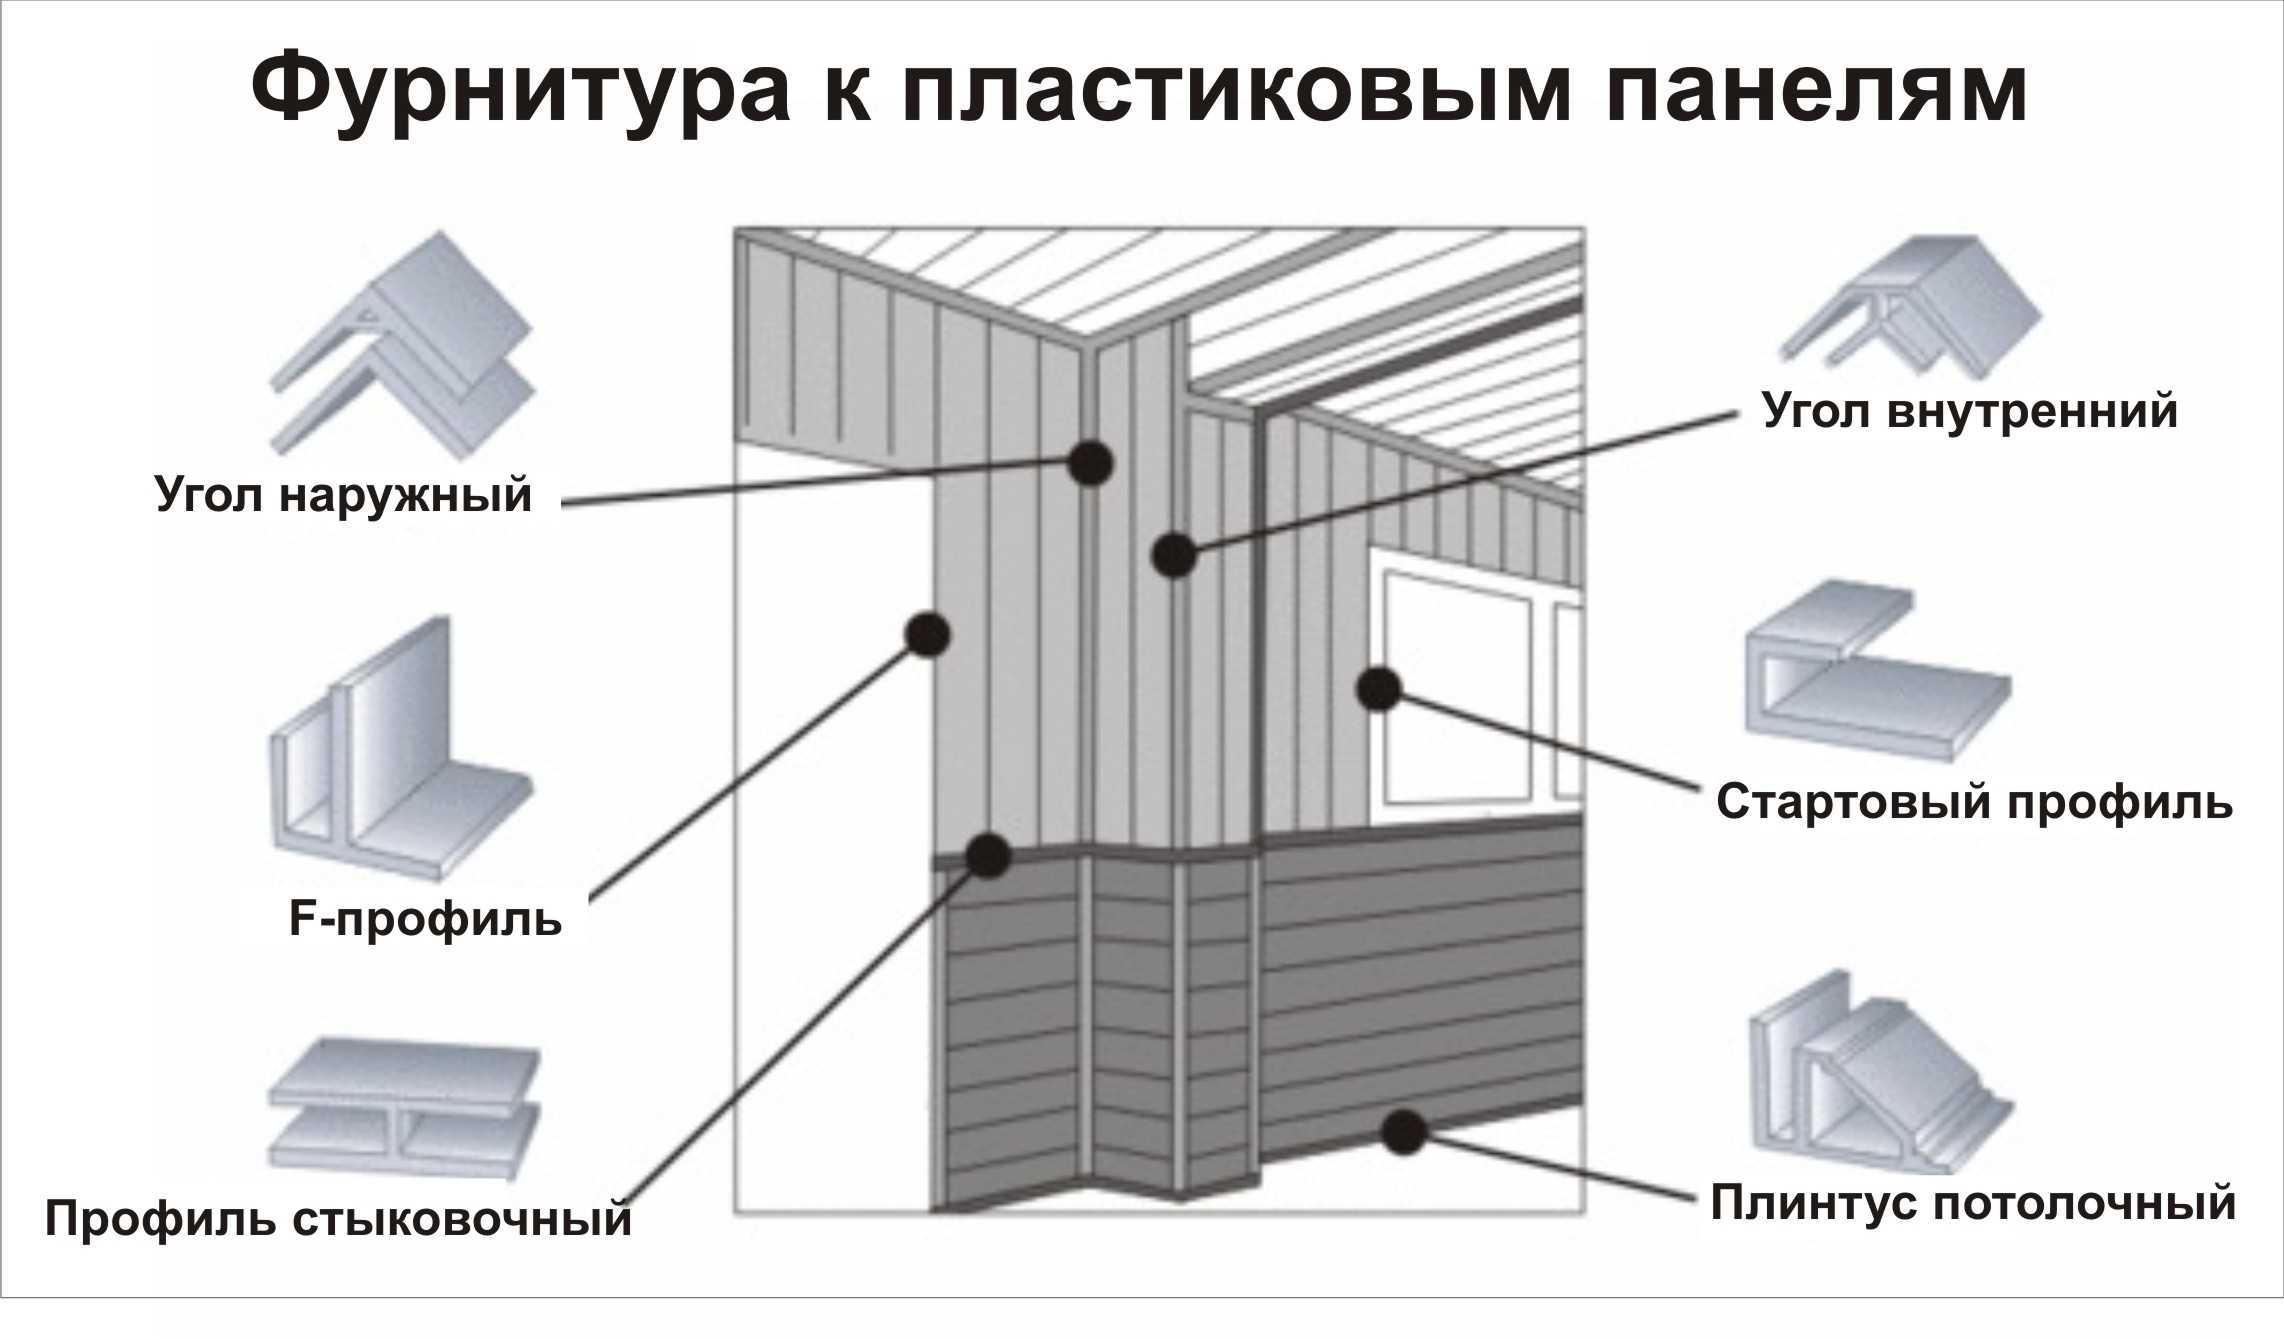
A correctly positioned frame allows you to cut several strips of plastic at the same time. If there are panels on the face protective film, it is not removed prior to installation. Before mounting the material add additional elements. It can be a starting plate, corners, profile F. They have longitudinal niches into which the ends of PVC elements are inserted. The start must be provided along the perimeter of the protruding parts on the wall. The ends of the additional strips are cut at an angle of 45 ° using a miter box.
Sequence of processes:
- ends of the first strip get started, check the verticality, fix with self-tapping screws in the shelf;
- the second is inserted into the first, squeeze a little, but not so that the second strip bends; if cheap plastic is purchased, then a 1 mm gap will still remain;
- subsequent panels are fixed in the same way, the last strip is cut to the width, it is the most difficult to fasten it.
A straight screwdriver is needed to bring the last piece to the finish. She gently pry the shelf of the finish, taking it away to install the strip.
Another mounting option provides for fixing the panels without starting, corners. All decorative elements are installed after installing the plastic.
Bath bottom screen
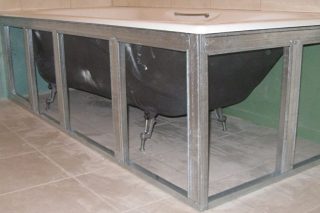
On the floor and under the rim of the bathtub, profiles UD-UD-25, the top bar must be secured to a nearby wall, forming a rectangular screen. The CD profile is brought into the start, fixed with self-tapping screws. Usually the screen under the bathroom has stationary and movable parts... For the moving sash, the runners are screwed with self-tapping screws at the bottom, this can be the same UD profile.
Sequence of work:
- cut into strips by the height of the gap between the start and the finish minus 1 cm for free wheeling, while distinguishing between stationary elements and parts for the movable part;
- gaining a plane by the type of fastening the strips to the wall, without pinching, so that each panel is in a free state.
Some users leave a niche as an open opening. Such a lightweight version does not require runners to move the makeshift door.
Plastic on the ceiling
Step by step process:
- for fixing the luminaires install additional slats, they are attached to the ceiling;
- along the perimeter of the walls fix the UD profile, on which the starting strip of their PVC is mounted;
- plastic cut in size between the inner surfaces of the start minus 1.5 cm, so that it is convenient to insert;
- stripes are gaining in order, fasten the "flea" self-tapping screws into the shelf.

Methods for attaching to the crate
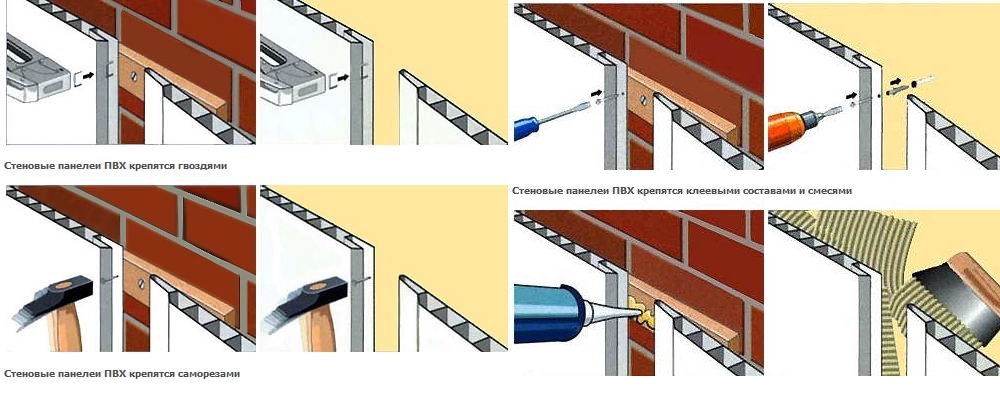
Usually, plastic panels are fixed to the slats with self-tapping screws, but this is not the only way. They have been putting plastic in the bathroom for a long time, so they worked out different fixing options.
For fastening to a rail, in addition to self-tapping screws or screws, use:
- staples, for this you need a stapler (for wooden slats);
- glue (liquid Nails).
Fastening with staples is quite consistent with the quality of fastening with self-tapping screws. Need to take staples no less than size No. 8to ensure reliability. The working plane of the stapler is placed parallel to the plane of the river so that the spikes enter perpendicularly.
As part of liquid nails there should be no components that destroy PVC... The seller will tell you the type of glue for plastic.
Bathtub decoration with PVC panels frameless method
This kind of work is difficult to do, but it is ideal if plastic is viewed as temporary finishing at the time of shrinkage of the house... After removing the PVC panels, a flat plane will remain, which will no longer need to be plastered under the tile laying.

