Arrangement of partitions with tongue-and-groove slabs has been practiced in construction since the 70s. 20th century. However, blocks have gained wide popularity relatively recently. Today, every apartment owner can make redevelopment with his own hands. However, before installing the tongue-and-groove plates (GWP), it is recommended to calculate the amount of material and get acquainted with the features of the technology.
- Feature of installation of gypsum tongue-and-groove plates
- Calculation of GWP blocks for wall arrangement
- Installation technology of partitions made of tongue-and-groove plates
- Tools and materials
- Preparation
- GWP laying order
- Laying out corners
- Door opening installation
- Adjoining walls and ceilings
- Arrangement of noise insulation
Feature of installation of gypsum tongue-and-groove plates
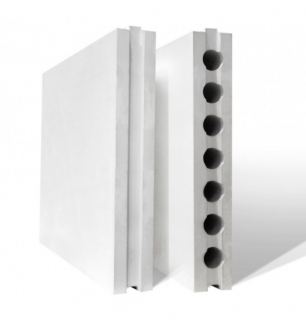
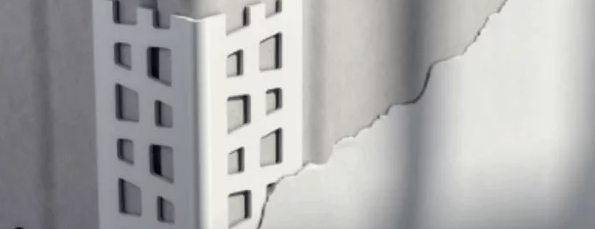
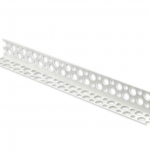
The partition consists of from outside and inside cornersthat are subject to static and dynamic loads. In addition, finishing requirements are imposed on them. Therefore protruding fragments are recommended cover with perforated profiles... These elements even out the corners and provide protection against chipping.
When installing GWP, elements with dimensions 30x30 mm. Installation carried out using a spatula according to the scheme:
- apply a layer of putty on the protruding fragments of the doorway;
- press the corner into the mixture until it stops;
- apply a second layer of mortar;
- level the surface.
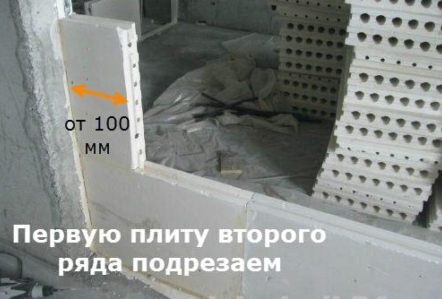
When the construction of partitions occurs from several walls in the form of a broken structure, not only glue is used for joining, but also tongue-and-groove plates directly. Install blocks perpendicular to each other with a preliminary trimming the bottom panel... In this case, it is necessary to achieve a tight fit of adjacent rows.
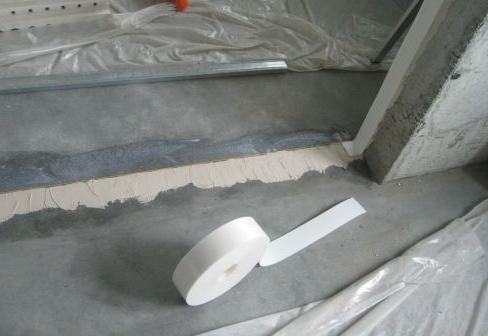
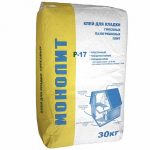
The arrangement of the partition occurs, as a rule, on a concrete base... As a mount, you can use only adhesive composition... This is due to the fact that the tool is designed for a strong connection of different types of surfaces.
Calculation of GWP blocks for wall arrangement
Before installing GWP, it is necessary to carry out calculation of the required number of plates based on the area of the wall. The following example will be used for calculations - wall S = 30 m², block sizes 625x250x100 mm.
The area of one slab can be found by multiplying the length and height parameters - 625х250 = 156 250 mm²... The result should be converted into square meters - 0.156 m²... Next, you need to divide the wall area by the block area - 30 / 0.156 = 192.3 pcs. Round up to a multiple. Thus, for the construction of the partition you will need 193 blocks.
It is necessary to make calculations taking into account the trimming in the place of the doorway, for which it is recommended to lay 10% of the margin.
Installation technology of partitions made of tongue-and-groove plates
When installing the plates, you must monitor the level humidity (up to 60%) and temperature (not lower than + 5 ° С).
Tools and materials
Before installation, prepare the following materials:
- GWP plates;
- gypsum-based glue;
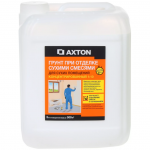
- primer mixture;
- fastening system of the material to the walls and floor;
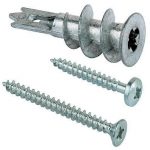
- screws and dowels.
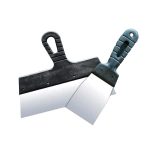
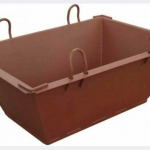
The work will involve a screwdriver, a hacksaw, a construction mixer, a narrow and wide spatula. Additionally, prepare a container for diluting the glue. Surface inspection is carried out using a laser or water level.
Preparation
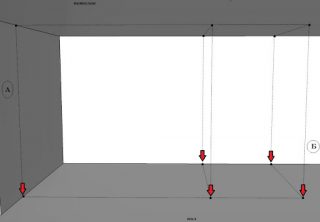
The surface of blocks and bases must be level both vertically and horizontally. The check is carried out by the building level.Distortions are leveled with concrete or cement-sand mixtures.
After hardening the floor is dust-free and primed a means of deep penetration. Further, it is applied markup, according to the drawings, indicating the location of the doorways. The laser axial plotter transfers the lines from the project to the walls and ceiling.
The construction edging will help to make the markings ideally. It is recommended to work with a partner.
GWP laying order
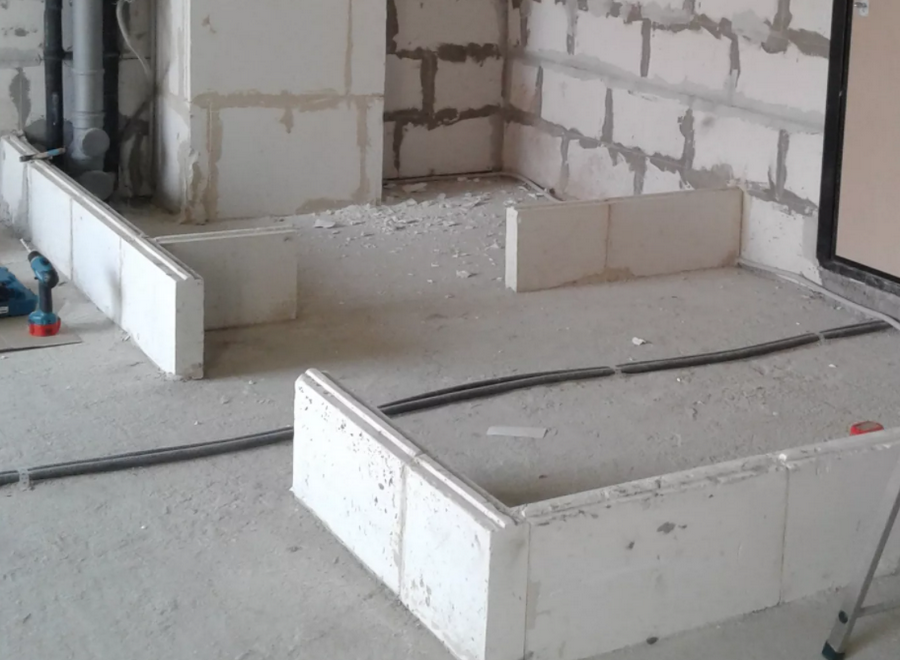
Gypsum blocks need to be mounted groove up or down... The first option is considered more correct, since the solution is evenly distributed over the surface when the elements come into contact. Before installing the first row, you must cut the bottom ridge a hacksaw with a large tooth.
Next, follow the sequential stacking scheme of the GWP:
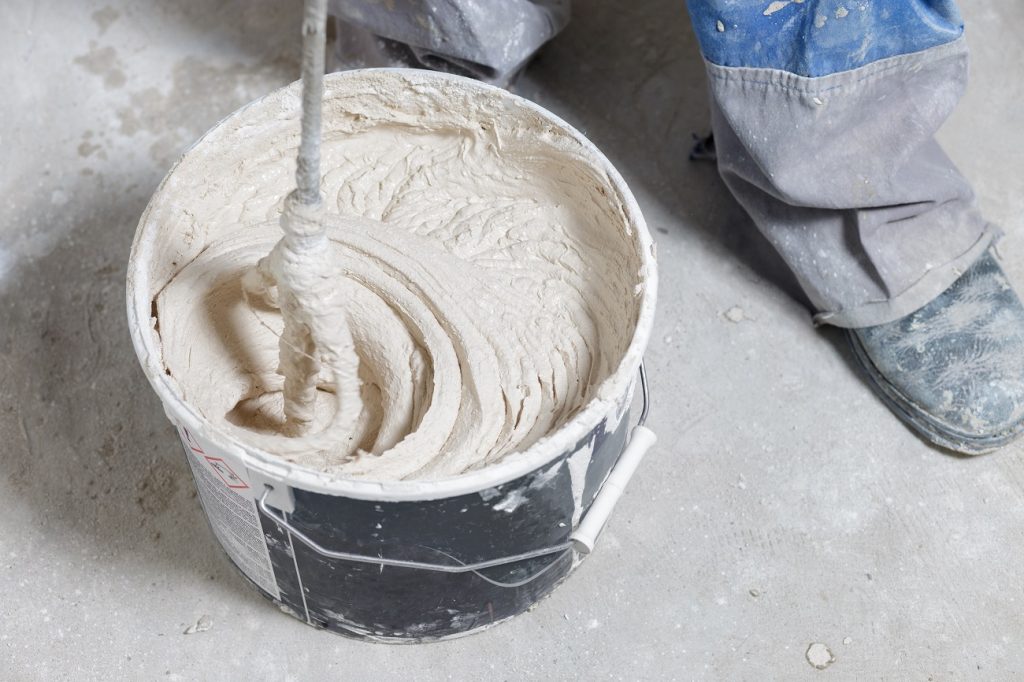
- Mix a small batch of glue. Pay attention to the pot life indicated by the manufacturer on the packaging.
- Apply the adhesive solution to the floor and wall according to the markings.
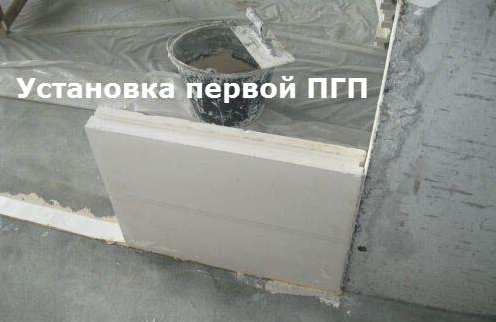
- Install the first GWP unit. Attach a building level on top and tap the plane with a mallet, aligning the horizontal line. After each laying of the tongue-and-groove block, check the marking with the rule to control the vertical.
- Remove excess mortar immediately, since after hardening it is difficult to remove.
- Repeat the operation for the rest of the elements of the first row. Control the correspondence of dimensions, the ratio of vertical and horizontal, using a level or rule.

Laying out corners
Compliance with the dressing at the corners and at the points of intersection of the walls is an important aspect of the work. If the slab has a groove and a ridge along the entire length, trimming is carried out at the joints, since otherwise the ridge will not enter the groove. Considering the pot life of the adhesive, fit the parts to dry first. After checking, fill the groove with mortar and mount the element. Remove excess mixture immediately.
Door opening installation
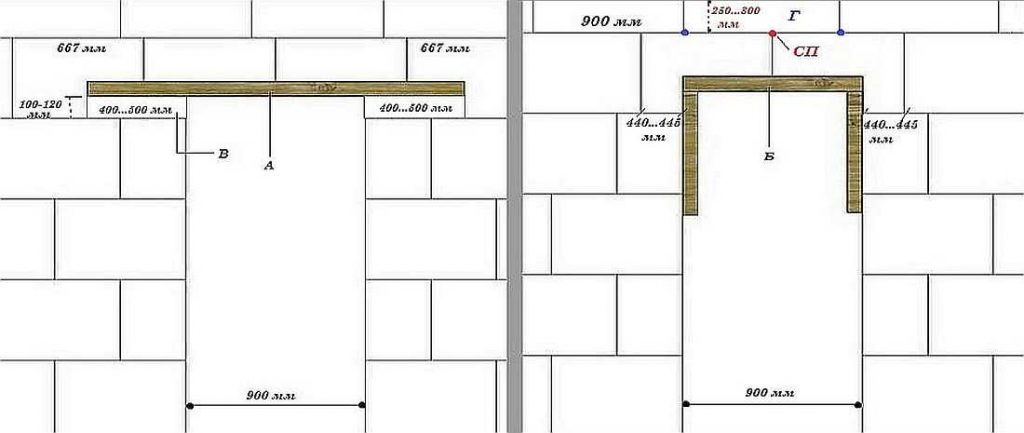
Arrangement of a doorway width up to 900 mm allowed to conduct without additional construction of supporting structures... However, the order should be strictly observed so that space or unnecessary blocks do not form between the canvas of the future door. Therefore, it is so important to develop a project with drawings.
The procedure for erecting a doorway in the partitions of their GWP:
- Draw a future passage on a piece of paper. Place the vertical seam in the middle of the span. Then finish the rest of the elements, keeping the seam breakdown at least 1 cm.
- During the construction phase of the wall, screw temporary wooden lintel or install backups. Remove these parts after the glue has hardened.
- If the span is wide more than 900 mm, then without fail a jumper made of wood, metal or channel is installed... Support should not reach 150 mm... In this case, the top of the doorway may not coincide with the horizontal seam of the partition. For this work, it is enough to cut a jumper in the groove at the required level.

Adjoining walls and ceilings
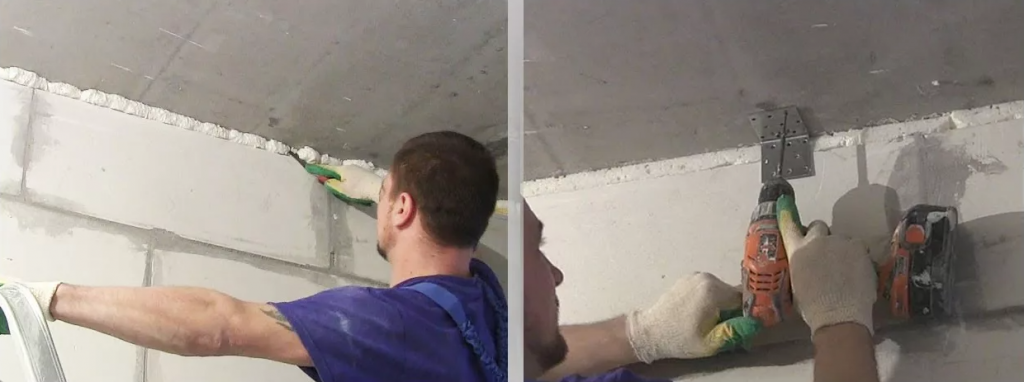
If you plan to use stretch ceiling, gaps are sealed with polyurethane foam... For suspended structures with an even abutment, gypsum plaster is required. The work is carried out in several approaches in compliance with the manufacturer's recommendations regarding the layer thickness.
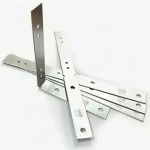
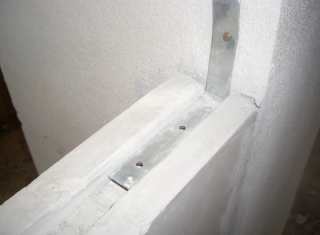
Fix the GWP blocks to the ceiling with mounting brackets, otherwise the upper tier will be unstable.
Arrangement of noise insulation
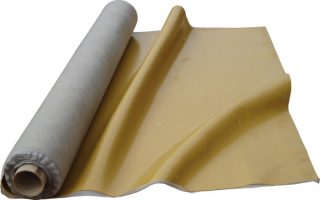
Standard sound insulation parameters tongue-and-groove block thick 80 mm make up 43 dBA... This is enough to create comfort in the room. but on practice manufacturer's declared coefficient turns out to be lower... To increase the level of noise insulation of interior partitions, it is necessary to install additional materials.
For this are used special membranes with high sound insulation properties. You can glue them on the walls. For maximum effect, it is best to mount the material on both sides. Then the noise insulation parameter will be +30 dBu.
If the area of the room allows, it is recommended to make a double partition from the tongue-and-groove, and between the walls to fix the heat insulator penoplex or mineral wool. This GWP masonry technology allows you to reliably protect the room from the penetration of sounds.

