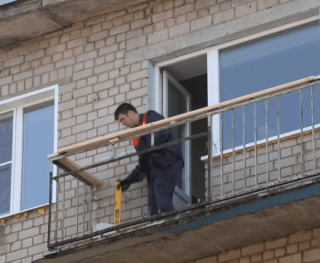
By default, balconies and loggias are often finished very simply. As a rule, such a light and unprotected metal fence quickly rusts and loses its appearance. In addition, the through fence does not protect against wind and rain. It is uncomfortable to be on such a site. Finishing the balcony with siding will solve this problem.
- Why sheathe a balcony with siding
- Which siding to choose for cladding
- Advantages and disadvantages of siding
- Preparation for work
- Preparation stages
- How to sheathe a balcony with siding outside
- Installation of the lathing
- Sheathing corners
- Installing the starting belt
- Installation of siding strips
- Interior decoration
- Installation of siding vertically
- Helpful hints
- Common mistakes
Why sheathe a balcony with siding
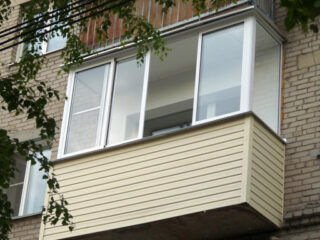
Spacious balconies owners of small apartments are often viewed as additional living space... However, an area open to all winds is not suitable for this. To close up the walls and glaze the balcony is a very common solution.
Siding performs the following function:
- protects the site from wind and partly from rain;
- prevents the ingress and accumulation of debris on the balcony;
- a solid fence is more comfortable from a psychological point of view;
- prevents heat loss, which is very good on cool evenings;
- finishing gives the balcony structure an attractive look.
The combination of panel cladding, insulation and glazing allows you to turn a spacious loggia into an additional room. But even without insulation, here you can organize a comfortable summer office or a gym.
Which siding to choose for cladding
There is no special siding for the exterior of the loggia or balcony in the house.... For cladding, any option is allowed.
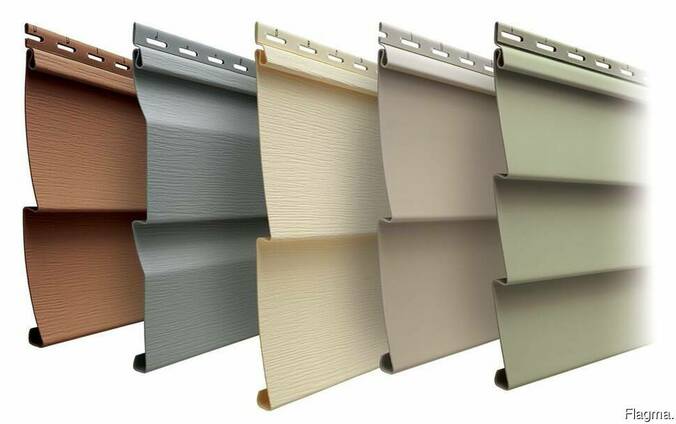
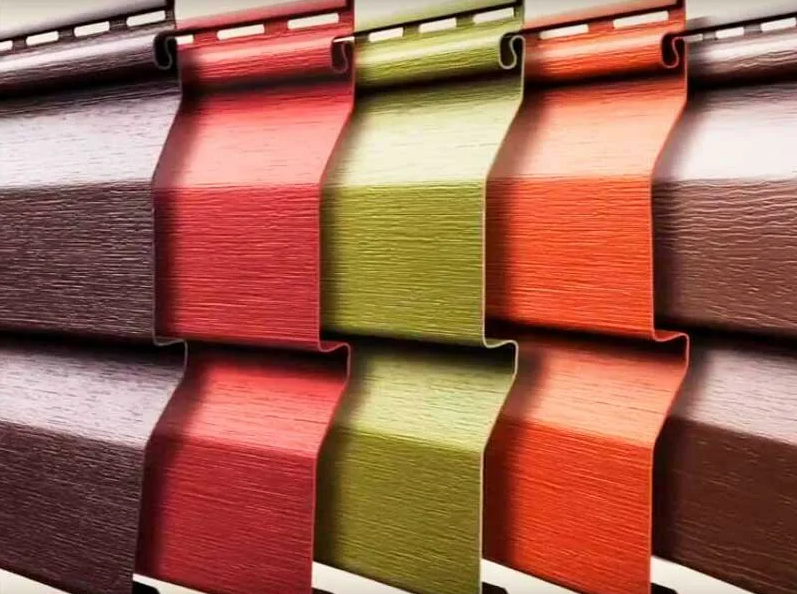
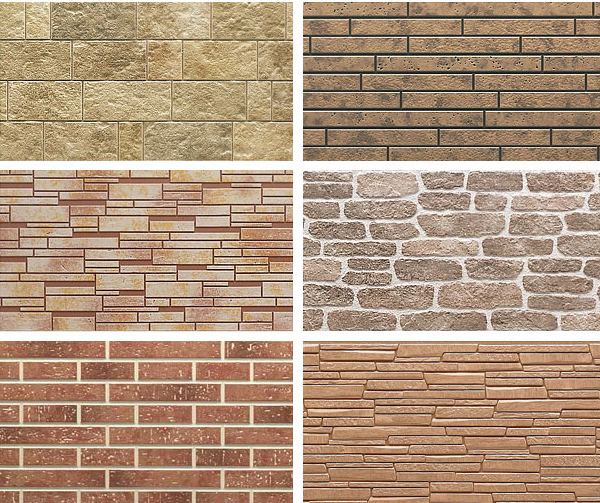
- Vinyl - the most popular due to its low cost. Lamellas are made of plastic with a thickness of no more than 3 mm. They are very lightweight, easy to install, do not lend themselves to any kind of corrosion. PVC panels are painted in a variety of colors and can imitate natural materials such as stone, ash, bleached oak, shingles, leather. The color and texture are reproduced. Vinyl siding is produced in the form of lamellas and panels for facade cladding. The first ones look like boards and more often imitate lining. The area of the panels is much larger, which makes installation quicker. As a rule, vinyl facade siding is stronger and lasts longer.
- Metal - for a balcony it is better to take aluminum lamellas, since they are much lighter than steel ones. This finish does not rust, does not rot, practically does not deform over time. Aluminum is usually not painted, its own silvery color and the shine of the metal is very pleasant. However, non-ferrous metal siding is also produced, as well as imitating wood. The plus of aluminum lamellas is absolute incombustibility and durability. The lower resistance to mechanical damage compared to steel when sheathing the loggia does not matter: after all, the structure is located at a high height.
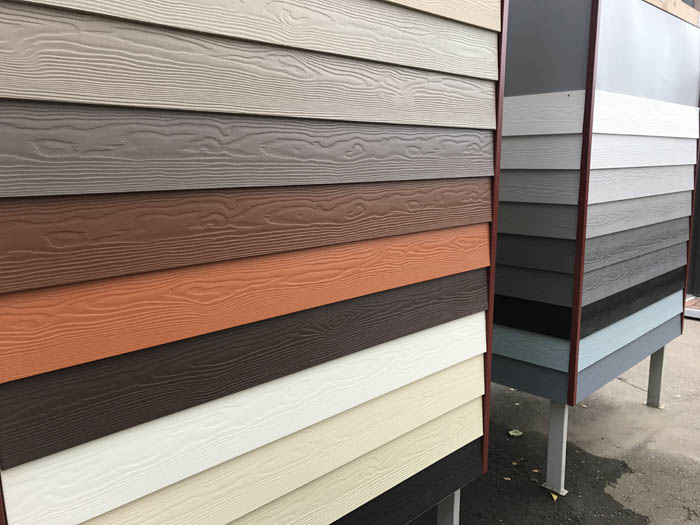
- Fiber cement - it is used less often, since the weight of the lamellas is noticeably larger, it is more difficult to install it. However, fiber cement is distinguished by its durability: it does not burn, is not afraid of water, does not grow moldy and does not rust. Cons: a small selection of colors.
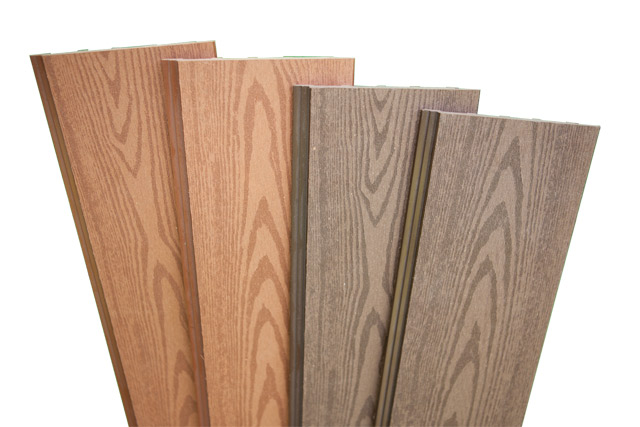
- Wooden siding - lamellas are made of wood-based materials with the addition of synthetic resins. Such material, unlike the lining, is not afraid of water and snow. The cladding mimics wood as closely as possible and has good heat and sound insulation properties.The lifespan of wood siding is less than vinyl and metal siding.
Not so long ago, ceramic siding appeared on the market - a variant of ceramic cladding. For loggias, it is rarely used due to the high price, large mass and complexity of installation.
Advantages and disadvantages of siding
The balcony structure is not designed for an additional heavy load, so the lightest materials are chosen for decoration. Siding - wood, plastic, even fiber cement, is perfect for this.
No special tools are needed for siding. You can even attach the material to an old cast-iron railing.
Preparation for work
For cladding a balcony railing, you will need the most common tools and materials:
- siding - vinyl, metal, wood;
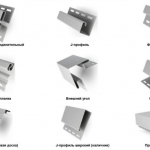
- additional materials - corners, starting and finishing strip, connecting profile, if necessary;
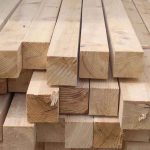
- wooden beam with a cross section of 40 * 40 mm for lathing;
- drill or puncher for drilling holes for fasteners;
- drill bits - a metal brush is very necessary, since it is most convenient for it to clean surfaces;
- screwdriver - or the corresponding drill bit;
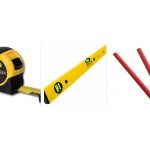
- tape measure, building level, pencil;
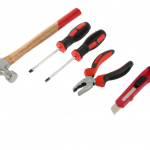
- screwdriver, hammer, assembly knife;
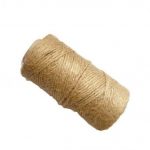
- twine or fishing line;
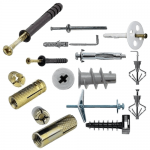
- self-tapping screws, brackets, anchors.
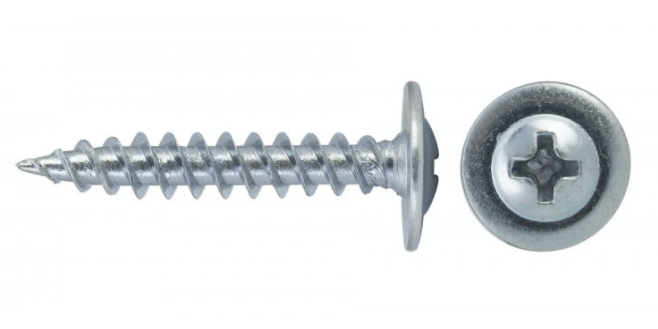
For attaching vinyl or acrylic siding, it is recommended to take special fasteners - self-tapping screws with press washers.
Preparation stages
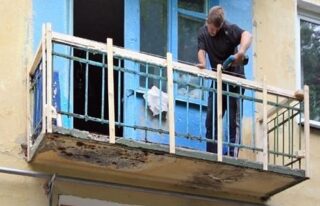
- Remove the railings and old claddingif there is one. The holders of the cladding are cut off with a grinder flush with the rods. Cracked joints are boiled.
- Knock down the cement along the edge of the balcony lattice to the concrete... To prevent pieces from falling on the lower balconies or on the road, troughs or trays are hung on the grate. It is recommended to carry out work at a time of day when there are no people under the windows of the building. It is advisable to enclose the area at the bottom with a barrier or posts with tape.
- From a metal lattice brush off rust. The fence is primed and painted.
- Check horizontality the edges of the balcony platform along the entire perimeter. To do this, use a level. All dents and crevices are sealed with cement to obtain an even surface.

For the lower belt, take only a well-dried tree, twice impregnated with drying oil and fungicides. Plywood or other chip material will not work.
How to sheathe a balcony with siding outside
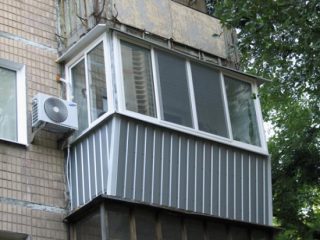
You can make do-it-yourself siding cladding on the balcony using different methods. The material is used for external and internal decoration, the technology is somewhat different.
Installation of the lathing
The height of the frame depends on the height of the railing and the size of the lamellas. Siding must not be cut lengthwise, therefore, the top chord can only include an integer number of slats. The height of the existing balcony lattice is measured, divided by the resulting width of the lamellas, the width of the board under the platband is added (at least 20 mm) and rounded off. The lathing for the sheathing should be exactly this height.
Frame made of boards 6-10 cm wide fastened through the existing holes - from the railing. Self-tapping screws with a length of ¾ of the thickness of the upper bar are used.
Horizontal bar installed at the level of the former railing or slightly higher.
If the edge of the upper siding plank is 1–1.5 cm above the level of the railing or does not reach it, another beam of the required height is placed down on the edge of the balcony platform or the installed lower belt. Then the entire structure is mounted.
Sheathing corners
Nests are made at the outer corners. They can simply be made up of two pieces of a window sill 10–12 cm wide and secured with a notch upwards.
A more reliable option is solid nests. To do this, take a fragment 20-24 cm long from the side of the wide shelf and cut a V-shaped groove to the narrow shelf at a right angle. Then the workpiece is heated with a soldering iron and bent at 90 degrees. In order not to overheat the part, they are heated through a fluoroplastic film.
Installing the starting belt
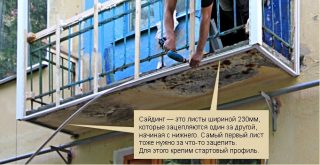
Fragments of the starting belt are suspended on 3-4 such lines, inserted into the staples at the level of the lower belt. Attach the bar to the bar with self-tapping screws, using a screwdriver or drill. It is better to hang the tool on a loop of braid and fix it on your wrist so as not to drop the drill down.
After installing the jacks and the starter belt, paint over the rest of the lower belt twice. The second time is painted after the first layer has completely dried.
Installation of siding strips
Finishing the loggia from the outside with siding is performed from insuranceth. You have to bend far enough, and it becomes more and more difficult to work through the bars.
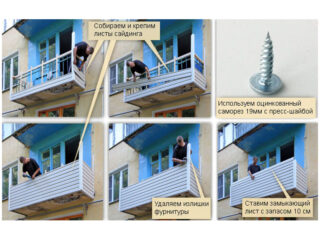
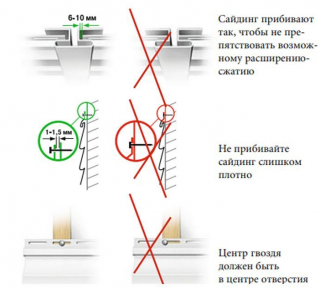
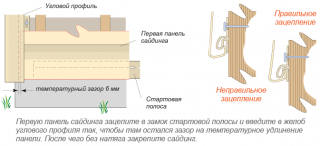
- Put on the lower beam from the outside starter bar lock down... Fastened with screws or nails. The hardware is installed exactly in the center of the oval hole and screwed in with a screwdriver. Then the screw is turned out ¼ of a turn and loosened. This provides a technological gap between the siding and the nail head.
- The cladding lamella is lowered and snapped into the groove. Mark the attachment points on the bars of the lattice or vertical elements of the frame. Then the lamella is removed, and holes for the screws are drilled according to the marks. It is easier to do this in planks, so the vertical wooden lathing makes the work much easier.
- Siding strip is inserted into the corners and groove of the starter bar and fasten with screws in the same way. First screw it in until the end, and then unscrew it ¼ turn.
- In the same way, each subsequent lamella is tried on and installed. Upper bar should be accommodated flush with the upper edge of the frame.
The sides are also closed up.
Interior decoration
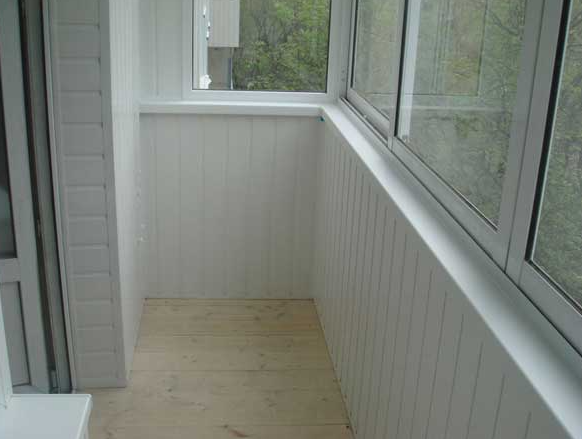
Wood and vinyl siding is often used for interior cladding of balconies... The technology is no different from the usual one, but it is easier to do the job.
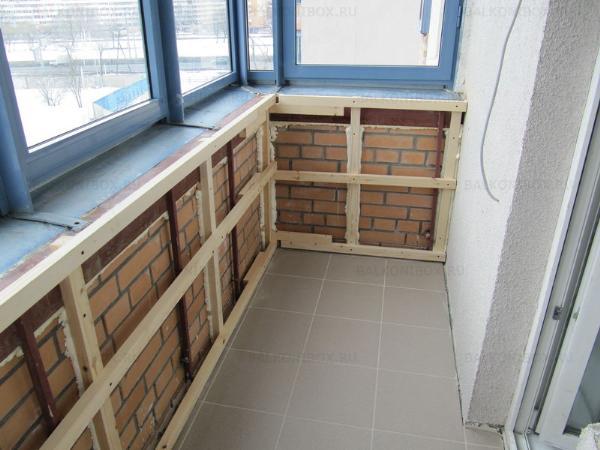
The lathing made of wood is attached from the inside to the bars of the fence... A starting bar is attached at the bottom, and a finishing bar at the top.
Fix to the lower bar starting bar, then the corners are mounted. The lamellas are installed in the groove of the strip and fixed to the crate with self-tapping screws. If the loggia is not insulated, the fasteners are performed according to the same rules.
The difference lies in the possibility insulate the balcony... In this case, the crate is made more massive, using slats of sufficient height so that a layer of insulation can be inserted between the bars.The insulation needs to be waterproofed, and then the siding will have to be attached to the counter-lattice.
Installation of siding vertically
- the crate should consist of horizontal bars;
- the latter are attached to the railing, so you need to drill holes for them in advance;
- the first lamella is inserted into the groove of the corner and into the starting plate and fixed with screws on the crate.

Helpful hints
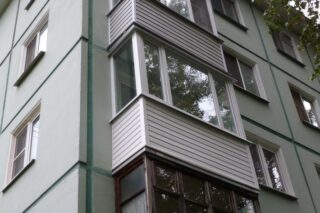
When doing plating with your own hands, it is useful to listen to builders' recommendations.
- Before installing the slats, you need to hold it on the balcony or loggia for up to 12 hours. The panels must be acclimatized.
- Measurements should be made as accurately as possible.... The calculation is simple: calculate the area of the sides in square meters, divided by the area of the lamellas. Better to increase it by 5-10%.
- If in the region strong winds, the fastening step is reduced to 5–10 cm.
- Recommended first finish the side surfaces. It is easier to work with short lamellas and there is an opportunity to “fill your hand”.
- The lamellas do not tighten during installation. The material must be fastened loosely so that it can change in volume when the temperature changes.
- Works are performed with insurance. A climbing belt is well suited for this.
You can decorate the balcony yourself on the 2nd and 3rd floor. Only an experienced craftsman can install siding at 4 and higher.
Common mistakes
Although the instructions for the material describe in detail all the nuances of the installation, newbies often make mistakes.
- Install siding, toscrewing the self-tapping screw... In this case, when warming, the material expands, and the self-tapping screw does not allow it to move. As a result, the skin breaks.
- The same picture is observed when installing a nail not in the center of the hole, but in its edge. The lamellas also increase in length, so that the head of the hardware will injure the material.
- Failure to comply with the gaps between corner elements and siding, starting strip and siding or any other additional element also leads to deformation of the skin.
- Often a beginner makes a gap, but not enough, because it does not take into account the current air temperature. However, the size of the gap during installation at +30 and at + 5 ° C is different.
Sheathing a balcony or loggia with siding is a practical and beautiful solution. The material protects well from wind and rain, looks beautiful, is easy to install. You can handle the work yourself.

