Thanks to the design features, the greenhouse allows you to get early cucumbers and greens without additional heating. The most popular models are open-top polycarbonate greenhouses.
Feature of convertible polycarbonate greenhouse
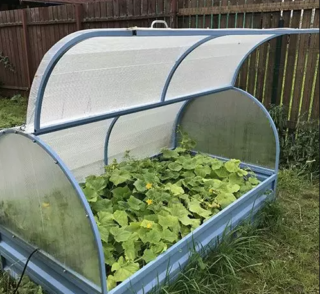
The main difference between a greenhouse and a greenhouse is the size... The greenhouse structure is at least human-sized. Quite a lot of crops are grown here, breaking up the beds, like in a vegetable garden, and equipped with an irrigation system. Heating and lighting are installed in year-round greenhouses.
Greenhouse - construction much more simple and much smaller... Standard length and in width does not exceed 1.5 m. A larger greenhouse can be up to 4 m long and 2-3 m wide. Height constructions does not exceed 1.23 m... It is designed for growing seedlings of one type. Sometimes this design is used to breed flowers.
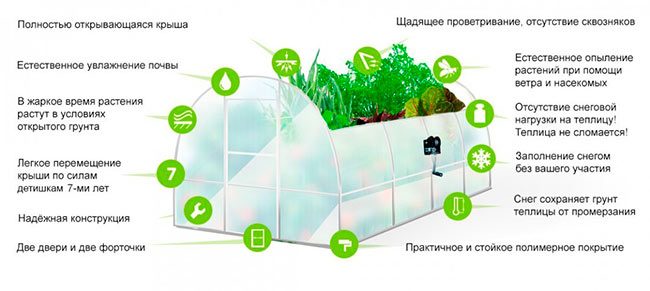
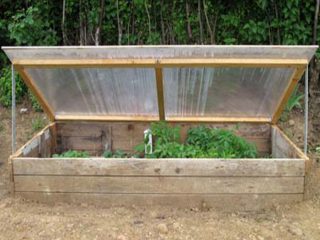
The greenhouse is essentially 1 bed covered with a transparent box. Plants are accessed through the roof. Small structures are equipped with 1 flap, larger ones with two. When crops need to be watered, pinched, fed or simply ventilated, it is enough to raise or fold the sash to the required height.
This model does everything function greenhouses:
- provides free passage of sunlight;
- maintains a constant, higher temperature, since polycarbonate does not let heat back into the air;
- allows you to increase the level of carbon dioxide inside the greenhouse, which contributes to the rapid growth of plants;
- the sliding top provides ease of maintenance: just flip the lid to gain access to the plants;
- the design facilitates the organization of ventilation.
A polycarbonate greenhouse can be placed not at ground level, but higher - on a stone pedestal, just on supports. You don't have to bend over to care for your seedlings.
Varieties of designs
Sliding-top greenhouses come in a fairly wide range. However, all models can be divided into 3 types.
- Belgian greenhouse - resembles a rectangular box with a sloping gable lid. For larger sizes, it is equipped with two flaps. A prerequisite: the slope must have a sufficient slope so that water or even snow does not linger on it.
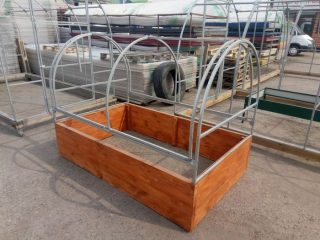
- Arched - water and snow do not remain on the semicircular structure. Sash from one or two sides, opens downwards. With a small size, it is quite convenient.
- Arched "Butterfly" - the sashes are lifted up and not folded back. This design is more profitable with a large greenhouse.
Other modifications are also being built with their own hands, for example, a structure with a folding upper sash. This option is used in dry areas where there is no need to worry about stagnant moisture.
Seat selection
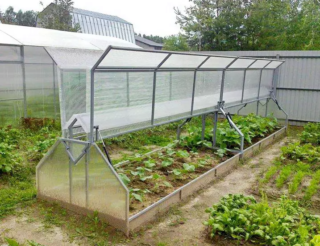
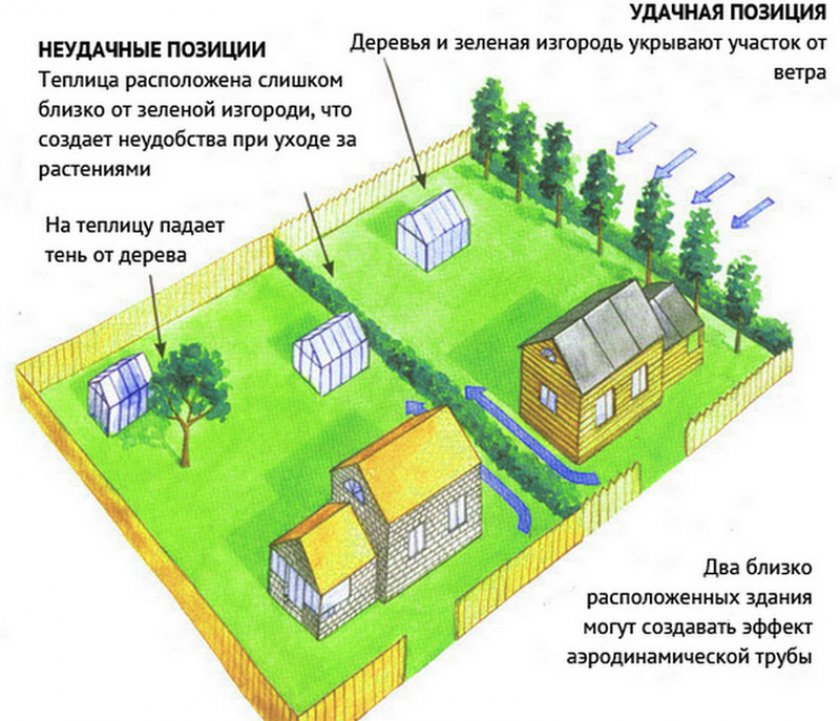
Due to its small size, there are no problems with the placement of the greenhouse. However, some conditions need to be done.
- The greenhouse should orient east or south... Thus, the plants are provided with the maximum amount of sunlight.
- The greenhouse must stand in an open, well-lit area... The distance to bushes should be at least 1 m, to trees - at least 2-3 m. Otherwise, the shadows from tall plants will block the light.
- It is better to place the structure on a hill all other things being equal. Excess moisture for seedlings is destructive.
- It is better to install the greenhouse so that from the north it protected from the wind any block: fence, wall of a house or garage.
There should be free access to the greenhouse.
Greenhouse foundation
Step-by-step instruction:
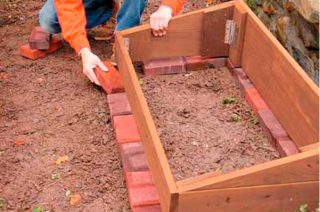
- Markings are made around the perimeter of the greenhouse and a small trench is dug.
- 1/3 fill it with sand.
- Install boards or bricks.
- Cover the site with gravel or earth.
- The frame is fastened to the foundation with metal pins, pre-buried 50 cm into the ground. They ensure the stability of the greenhouse.
It is better to add a layer of fertile soil later, when the entire structure is assembled.
Materials and tools
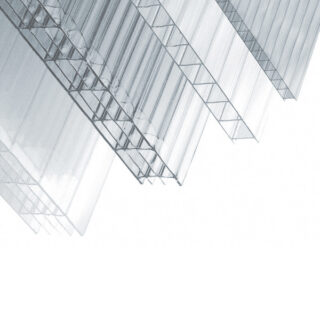
The material for the greenhouse is most often cellular polycarbonate... It is lighter than monolithic, just as well transmits sunlight and retains heat. Its mechanical strength is somewhat lower, but this parameter can be ignored when constructing greenhouses.
You need to choose the material transparent and colorless... Ordinary polycarbonate is not too resistant to ultraviolet radiation - it turns yellow over time and passes light worse, so you need to choose a material with protective film.
For the frame, use wooden beam or metal profile... The first is more convenient when building a Belgian structure and small greenhouses. For arched and large modules with a length of up to 4 m, it is better to take a metal profile with a section of 20 * 20 mm. Aluminum is preferable, as it is lighter, resistant to corrosion and much easier to bend.
Of the tools you need:
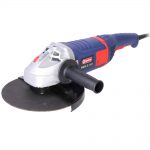
- grinder or hacksaw;
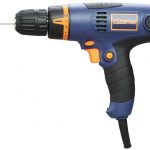
- drill or screwdriver;
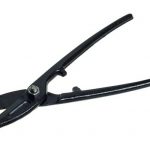
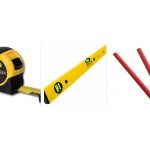
- tape measure, metal scissors, building level;
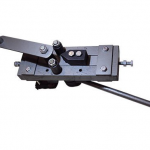
- screwdrivers, wrench and profile bending devices.
Work should be done in protective clothing and gloves. If you need to drill or cut a lot of metal, you need to use glasses.
Installation of a greenhouse with an open top
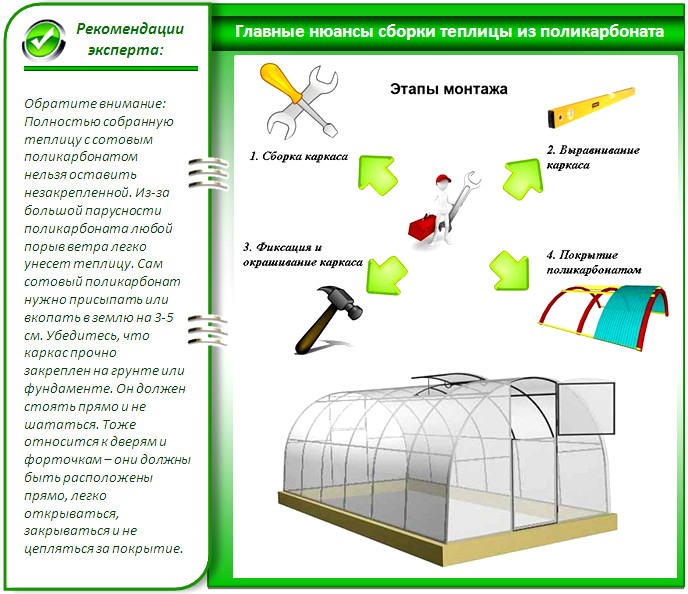
Greenhouses made of polycarbonate with a reclining or opening top are quite easy to assemble. To successfully complete construction, you need to accurately follow the drawing and act according to the scheme.
The product frame can be assembled before and after the foundation. If the greenhouse is large - up to 4 m, - the frame is already assembled on the foundation.
- Cut the metal profile by lenght, bend pipes for sliding doors and upper body.
- Collect the bottom... It usually has a rectangular outline. It is preferable to weld pipes, however, bolted fasteners are also allowed. For the latter, you first need to drill holes.
- Weld the sash... Then the hinge mechanism is assembled following the diagram. Fasten the sashes and check how freely they move. This is the most important stage of construction.
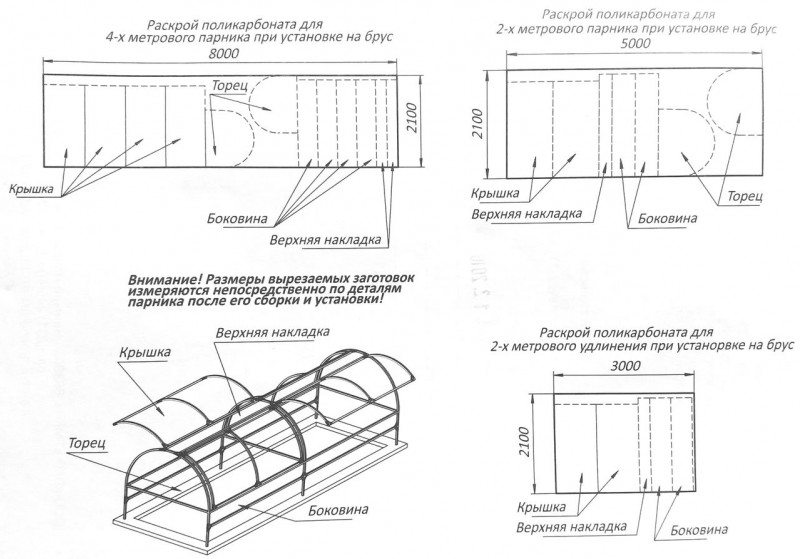
- Sheathing with polycarbonate begins from the ends. Cut out a blank from the sheet with a knife, glue the upper edge with a solid tape, and the lower one with a perforated one. It is not necessary to dock the sheets here, so the material is attached directly to the profile with roofing nails with rubber gaskets.
- It is likely that several sheets will be needed to cover the body and sash. Connect them together using a special profile. Simple docking does not provide the proper degree of tightness. Through the profile, polycarbonate is attached to the frame. Fasteners - self-tapping screws with press washers.
The design is supplemented with a handle for opening, an automatic device for fixing the lids in the unfolded state.

