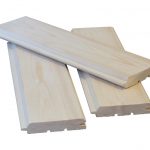
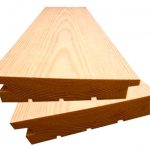
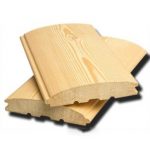
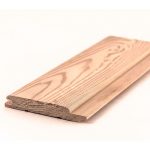
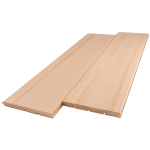
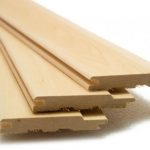
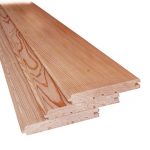
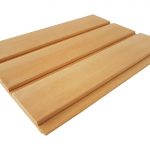
Lining is a popular finishing material. The cost depends on many factors. Planks of good, beautiful wood are much higher. However, the lining can be made by yourself.
- Definition and varieties of lining
- Scope of application
- Popular sizes
- Industrial production
- Features of homemade lining
- What determines the quality
- Material selection
- Wood species
- Set of tools and equipment
- Material preparation
- Sawing the board
- Jointing boards
- Manufacturing of lining
- Using a router
- With the help of a circular
- What to do with the remains of the board
Definition and varieties of lining
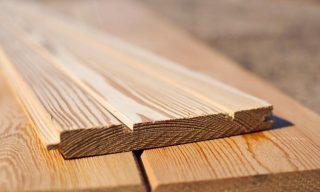
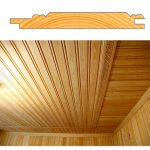
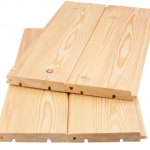
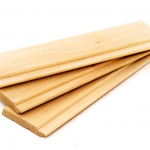
Lining - finishing board. Initially, it did not differ in anything from the usual one, except for a small thickness. Later, grooves and protrusions were cut in the lateral sides, so that during installation the material formed a smoother and more durable surface.
Distinguish the usual lining and euro lining. The first option is more often made of wood with humidity up to 25%, which leads to drying and warping of the material. The spikes and grooves are not too pronounced, so that under load the boards diverge. Euro lining is made from dry wood - no more than 15%, its dimensions are more accurate, and the spikes and grooves are larger. In addition, there are ventilation grooves on the inside of the lamellas, which reduces the risk of condensation.
Lining is produced different configuration... On the front side, chamfers are selected - rounded or angular, which gives the lamellas a more interesting look. The following profiles are distinguished:
- softline - wood is selected near the thorn, the chamfer has a rounded shape, which helps to drain water and condensation;
- calm - has a large thickness - up to 25 mm, wood is not removed near the thorn, but the upper part of the profile has rounded corners;
- landhouse - the front side is milled, here it forms several protrusions and recesses so that the assembled finish forms a certain pattern;
- block house - the entire front part is evenly rounded and imitates a rounded log;
- American or ship lining - cut at an angle on the front side.
They also produce double-sided lining. Both sides are obverse. The material is used to assemble thin interior partitions.
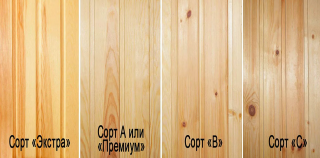
The characteristics and appearance of the lining depend on the grade of the tree used... On this basis, the following classes are distinguished.
- Extra - or knotless. Cracks, chips, stains or resin pockets on the front are excluded. Allowed 1 healthy light knot per 1 running meter.
- Class A - 2-3 healthy knots are allowed per 1 running meter, as well as microcracks and small uneven ones. Some manufacturers putty such defects. The number of boards made from the core of the trunk does not exceed 30% of the total volume.
- Class B - 2 falling knots and cracks with a length of 30 mm are allowed on the front side per 1 running meter. Resin pockets are also acceptable. If the material is made of conifers, there may be areas with traces of damage by insects, but not more than 10% of the volume.
- Class C - allows a very large number of defects, except for rot, mold, chips deeper than half the thickness. Fallen knots, through cracks, resinousness can be found here.
Lamellas are also classified by wood species.
Scope of application
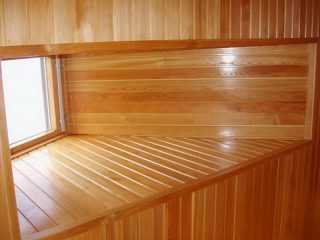
The lining was originally developed for vehicle finishing.However, its convenience, attractiveness and ease of installation have provided wider application. Lamellas are used:
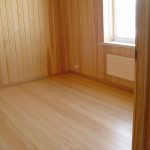
- for wall cladding and even the ceiling in residential premises and some office buildings, where such decoration is allowed;
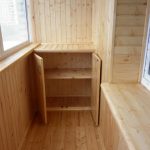
- for cladding of balconies and loggiaswhere the choice of materials is limited;
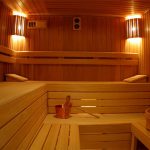
- for finishes of a sauna, a bathhouse, a dressing room and other premises in the bath complex;
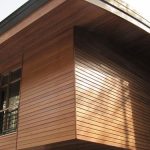
- for facade cladding buildings;
- for cladding of basements, garages, workshops;
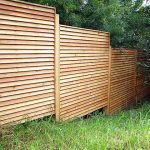
- lining is often taken and for the construction of fences and beautiful fences.
The material is not used in a very traditional way. The facades of cabinets, slatted or blind doors, thin interior partitions, decorative screens and so on are made from the lining.
Popular sizes
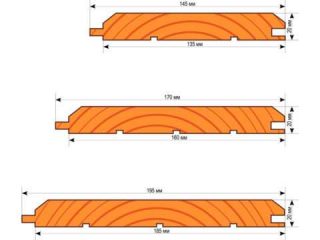
Typical dimensions:
- width - 80, 100, 110, 120, 150 mm;
- thickness - 12.5, 13, 16, 19, 25 mm.

Industrial production
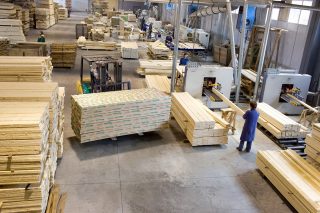
The lamella production technology includes several stages... Since we are talking about large batches, they use powerful professional equipment.
- First, they make edged board.
- Then the slats dry up outdoors or in a cell. The moisture content of quality material does not exceed 12-15%.
- Planks shave off from the front and give the desired shape.
- The machine is used to expose the material folding and tongue-and-groove, forming not only spikes and grooves on the sides, but also a specific profile of the lining: lanhudahus, calm, American.
- Material cleanse from dirt and dust... The boards are routinely tested and sorted by quality and grade.
The equipment used for cutting and shaping the lamellas is powerful but not complicated. At home, you can perform the same work on a milling machine, slightly modifying it.
Features of homemade lining
Do-it-yourself lining is made exactly from the tree that the consumer requires. You can independently choose not only the color and pattern, but even such an arrangement of knots and specks to emphasize the peculiarity of the material.
What determines the quality
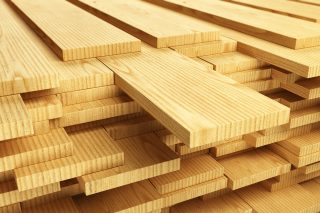
Quality DIY material is determined by the following factors.
- For lining you need to take good edged board... Otherwise, it will be very difficult to adjust the thickness of the product.
- Material defects - knots, pockets, cracks - make work very difficult... It is necessary to plan the cutting so that defects do not end up in the processing areas.
- Planks with rot, black knots, very crooked can not be bought, at home, such damage cannot be dealt with.
- Everything instrumentsused in the work should be in perfect condition.
- During operation, you should keep the machine clean... Fine wood dust and shavings are periodically blown off, the circular saw is cooled. Otherwise, the cuts and cuts are less straight.
- Dry board preferred... It cuts better and does not shrink. Lamellas made of wood of natural moisture have inaccurate dimensions, and after installation, finishing may lead.
The quality of the cladding is influenced by selected profile. Cutting the ventilation grooves makes it much easier to remove moisture. This finish will last much longer.
Material selection
- Grade - the higher the class of the board, the higher the quality of the lamellas. Knots, pockets, cracks spoil the appearance and significantly reduce its strength, resistance to moisture and wear. You should immediately discard off-grade material.
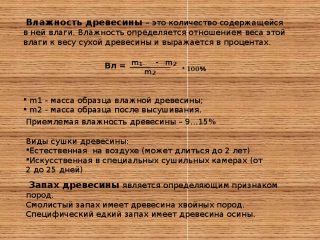
- Humidity - dry wood with a moisture content of 12-15% is preferable. If the indicator is higher, you will have to include drying in the process of making the lining.
- Board sizes are limited... A home machine can handle material no more than 2 cm thick and no more than 10 cm wide.
It is important to choose the type of wood, since its characteristics determine the purpose of the sheathing.
Wood species
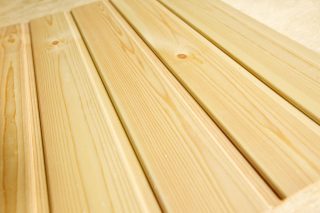
Lining is made of coniferous and deciduous species.
- Pine - the most common material, as it is cheap, affordable and allows you to pick up a large amount of first-class material. Pine wood is quite resistant to rot, as it contains a large amount of resins. Nevertheless, it needs to be protected from moisture, and it does not tolerate steam very well. Pine lamellas are more often used for external cladding. In this case, the lining should be painted, primed, varnished.
- Larch - a more expensive material, but with a very high resistance to the action of water. Such lamellas do not need protection and serve for decades, therefore, they are also usually used for facade cladding. Larch contains more knots and pockets, but such defects have little effect on its quality.
- Cedar - an expensive option. Cedar wood is very beautiful, hard, durable, water and steam resistant. Possesses medicinal properties. They are used for finishing living rooms and is especially recommended for covering baths or saunas.
- Oak - an elite first-class option. The wood is hard, very durable, extraordinarily beautiful and durable. However, it is difficult to make oak lining yourself.
- Linden - a great option for a bath and a nursery. The tree is light, silky to the touch, smells wonderful. Linden is resistant to steam and does not conduct heat well, so it does not overheat even in a Finnish sauna.
- Alder - also recommended for covering saunas and steam rooms. It conducts heat poorly, does not accumulate moisture, and has very good sound insulation properties. In appearance it is inferior to linden. In addition, alder is not as durable.
- Birch - beautiful wood, but prone to warping and cracking. It is very difficult to work with birch on a home machine.
You can also use other species: cherry, poplar, ash. It is not recommended to take the wood of fruit trees: it is too soft and quickly deteriorates.
Set of tools and equipment
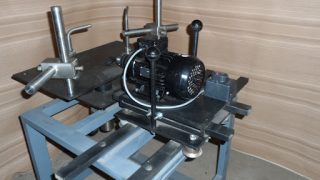
To make lamellas with your own hands, you need make a machine or modify a milling cutter... For this you need the following materials and tools.
- Corner and square tubes for table and frame. The table is made narrow and long, but massive to reduce vibration.
- Iron sheet for the countertop - it is bolted on. 2 holes are made in the table top, in which the rolling rollers are located. They are placed so as not to rise above the level of the table top.The shaft is connected to the motor shaft by a belt drive.
- The knife shaft is preferable ready-made industrial. Choose a model with stepped pulleys so that the speed can be adjusted.
- Pinch rollers - can be made from any type of device, for example, removed from a washing machine.
- Asynchronous motor with a capacity of 2–5 kW.
- Grinder, welding machine for cutting and welding machine.
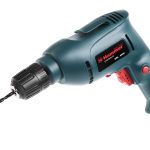
- Drill with a set of drills.
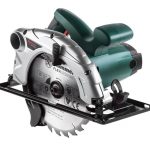
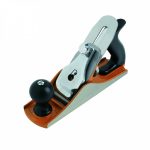
- Circular saw, plane.
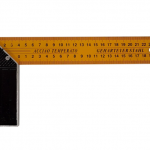
- Ruler and special square with marks.
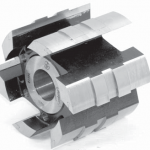
- A set of cutters for the manufacture of lining.
You may need carpentry tools, varnish or paint brushes to finish the board.
Material preparation
The procedure for manufacturing the lining is as follows:
- preparation and sawing of boards;
- surface jointing;
- formation of profile elements.
Preliminary activities simple:
- choose a consumable material, making sure that the thickness of the edged board does not exceed 2 cm, and the width is 10 cm;
- sort the boards and immediately get rid of material with rot spots or fallen out knots;
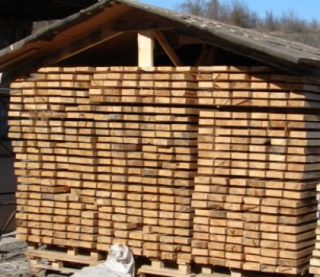
- a storage area is being prepared - usually a shed, where the boards are laid with wooden spacers.
It is also advisable to lay the workpieces in one place to make it easier to transfer them to the machine.
Sawing the board
- Turn on the device. The board to be cut is brought in end-to-end between the guide rollers.
- To prevent accidental movements, stops are used.
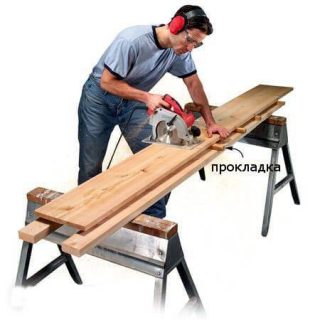
- Saw the boards into the required number of lamellas.
- Stack the prepared material in stacks.
Do not remove the protective devices such as the wedge and the guard from the saw. They prevent the back removal of the wooden die.
Jointing boards
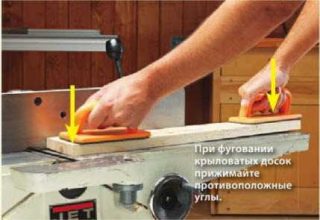
- For work, replace the circular saw with cylindrical shafts.
- The board is driven in one direction on each side.
- The amount of pressure is adjusted using the pressure devices.
- The number of passes on each side must be the same for all workpieces.
Manufacturing of lining
The profile of the product is made up of grooves and protrusions on the sides of the board, ventilation grooves on the inside and profile elements on the outside - rounded cuts, sampling of wood, etc.
Cutting is carried out using cutters or a circular saw.
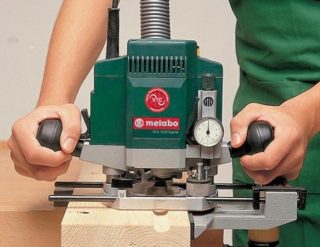
Using a router
- Work begins with the setting: they adjust the position of the board in relation to the limiter, fix it with pressure rollers from the inside.
- Expose the cutter in height. It is important to ensure that both cutters are at the same height.
- The workpiece is led along the cutter, cutting a groove on one side of the board. Then the cutter is changed and a protrusion of the same shape and size is formed on the other side.
In no case should you hold the board by hand while working.
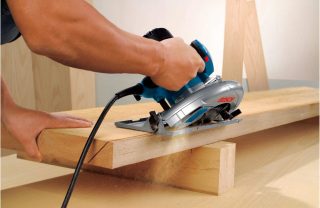
With the help of a circular
- Adjust the position of the disc so that mirrored samples can be taken on both sides of the board. With a board thickness of 20 mm, the disc exit is 10 mm, and the distance to the ruler also reaches 10 mm.
- The first pass is performed flat. The workpiece is pressed against the side stop and a half-thickness groove is cut.
- Then the board is placed on the edge and the same operation is repeated.
- The same actions are performed on the other side of the end.
The front part of the board is not processed. On the circular, only a fairly rough lining is made.
What to do with the remains of the board
After the manufacture of the lining, not only wood dust and shavings remain, but also trimming of boards of various types and sizes. Using the same machine and hand tools, of which you can do a lot of useful things:
- thin small slats are used to seal the seats of chairs, garden furniture, children's swings;
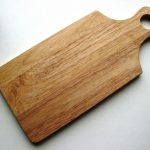
- kitchen chopping boards and wooden "napkins" are made from small planks,
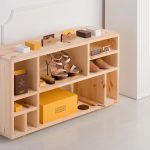
- large fragments are suitable for the manufacture of shelves and boxes;
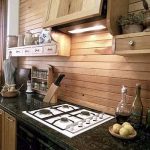
- beautiful pieces of wood can even be used for decorative wall cladding, such as a backsplash.

