Small portable stoves are an excellent solution for heating garages, greenhouses in summer cottages, ancillary buildings where people are not constantly. It is important to correctly build a chimney for a stove, creating conditions under which combustion products are completely removed from the room. The chimney can be installed on your own by making a structure from inexpensive materials.
Features of the operation of a solid fuel furnace
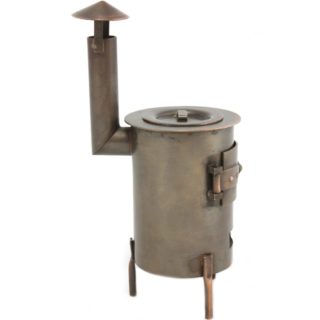
The stove-stove is not suitable for heating living quarters as the main source of heat due to the increased fuel consumption, the need for constant monitoring of the functioning and the addition of a new portion of firewood.
The main purpose of the device is to heat small rooms when there is a person watching the work.
The principle of operation of any stove is based on the combustion of solid fuel and the transfer of heat into the room.
Combustion products are poisonous, carbon monoxide poisoning is deadly. The stove and chimney are heated to high temperatures, which can cause burns or fires.
When operating the oven, the following conditions must be observed:
- high-quality ventilation of the room and the flow of fresh air to maintain fuel combustion;
- sealed pipe preventing the leakage of poisonous gases;
- Avoiding items made of combustible materials near the stove and chimney:
- reliable thermal insulation of building structures.
All these conditions must be met in the design and manufacture of the chimney.
Chimney laying methods
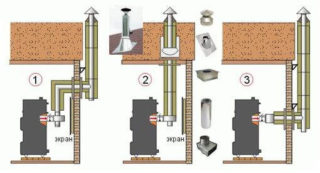
Often, stove stoves are installed outdoors and used for cooking, steaming feed for farm animals, and heating water. In this case, a pipe section of a suitable diameter is used for the chimney. It is important to choose a channel higher than human height - the smoke will not irritate the mucous membranes, and the thrust will be enough to maintain the fire and remove the combustion products.
Chimneys for stoves in garages and baths are organized according to other schemes:
- The channel is vertically led out through the ceiling. Most of the chimney is located indoors and gives off heat, thereby increasing energy efficiency. At the same time, the method makes increased demands on the thermal insulation of the transition points through building structures to prevent fires. To protect against leaks in rain and snow, you will need to make roof waterproofing.
- The chimney is led out with a horizontal elbow through the wall in the immediate vicinity of the stove, and the main pipe runs vertically through the building. A small section of the pipe inside the room gives off little heat, but is the most fireproof.
- The best option is the outlet of the chimney through the wall at a distance of about half a meter from the ceiling. In this case, the channel heats up the room, but there is no need to make a hole in the ceiling and roof, which reduces the money and time spent on manufacturing.
The rules for arranging chimneys prohibit the use of horizontal sections with a length of more than one meter for the removal of combustion products. A deviation from the vertical plane by an angle of no more than 30 degrees is allowed.
Requirements are taken into account when choosing a place for installing a stove in the room. In addition, it is forbidden to arrange more than 3 turns of the channel along the entire length.
Materials for making
For the manufacture of chimneys for stationary furnaces used for the main heating of buildings, SNiP 41-01-2003 allows the use of refractory bricks, heat-resistant concrete and sandwich panels made of stainless steel.
For a potbelly stove, these requirements are excessive, the price of materials will many times exceed the cost of the furnace itself. In addition, one of the main advantages of a potbelly stove will be lost - the heat transfer from the chimney surface.
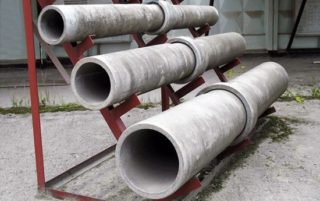
In practice, metal or asbestos-cement pipes are used. Metal ducts warm up quickly, but hot surfaces can cause burns. It is advisable to install a screen or enclosure.
The pipes are positioned in such a way that there is a distance of at least 250 mm to the combustible surface of the walls. If necessary, heat-reflecting screens are made or heat-insulating materials are laid. For pipes, use stainless steel or alloy metal with a thickness of at least 0.6 mm. The wall thickness of a ferrous metal duct may not be less than 3 mm.
Asbestos cement can withstand temperatures no higher than 250 aboutC, and when heated above this limit, it collapses, sometimes with an explosion. Asbestos-cement pipes are used to make a channel at a distance of at least 1 m from the furnace outlet. For connection, use metal adapters of a suitable diameter.
Recently, the industry has been offering products for chimneys from ceramics, glass, heat-resistant polymers. The cost of finished products is high, such exotic is used extremely rarely to connect a potbelly stove.
Installation sequence
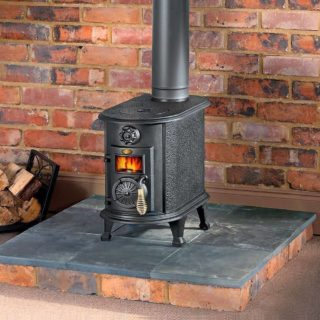
The installation sequence is approximately the same for any chimney installation option.
Seat selection
The place for the stove is chosen, taking into account the configuration of the future chimney - the minimum length is horizontal sections and no more than 3 turns.
Compliance with simple conditions will provide the necessary traction in any weather.
Taking into account the method of laying pipes, which will require making a hole in the wall or partial disassembly of the ceiling and roof.
It is allowed to connect one stove to one chimney - this also affects the choice of location. In large rooms, the middle of the room and the wall are chosen, where it is easier to make a hole for the chimney.
According to the rules, the surface of the walls and ceiling should not be heated above 45 aboutC. Choose a suitable distance to the enclosing structures or provide a margin for laying a thermal insulator.
Measurements and calculation of chimney parameters
On factory stoves, the manufacturer makes the required diameter of the outlet for the combustion products. Based on it, pipes of suitable sizes are selected.
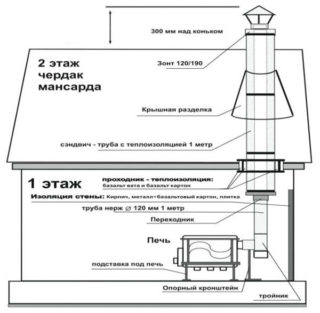
If the stove is homemade, the pipe diameter is easy to calculate: internal D of the pipe in mm = the volume of the combustion chamber in liters x 1.27. Example: the volume of the stove is 50 liters. 50x1.27 = 135. The inner diameter of the pipe must be at least 135 mm.
According to the measurements, the required number of elbows, turns, tees is determined and acquired. The top of the pipe is protected by a cap or deflector to prevent precipitation from entering.
When calculating, it is taken into account that the pipe should protrude beyond the edge of the ridge by at least 50 cm, and for flat roofs it is necessary to indent more than 1.5 m from the coating.
For a bath, you can purchase or make your own heat exchanger for water, which is placed on top of the pipe.
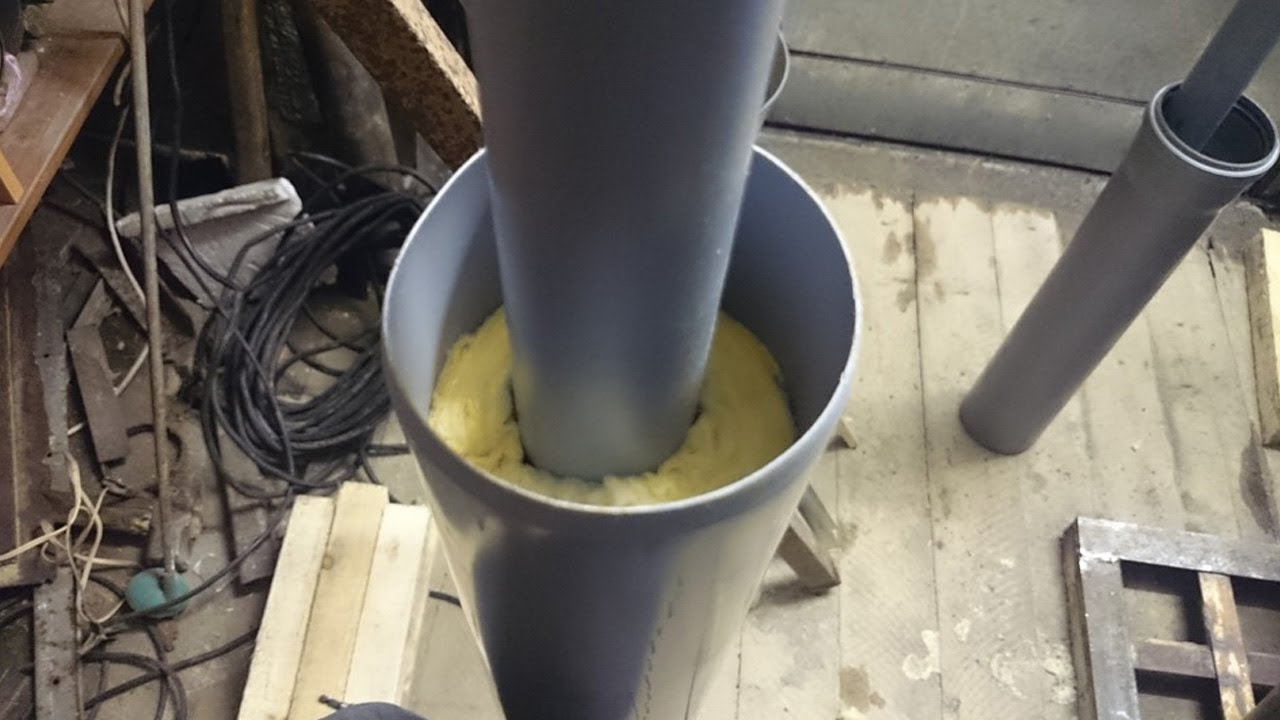
Passages through walls or ceilings are protected with an asbestos cord or material.
Assembly of parts
Pipe installation work begins from a stove.
Sequencing:
- The first elbow is put on the furnace branch pipe and fixed with clamps. For reliability, additional fastening to the wall is made.
- After measuring, a technological hole is made in the wall or ceiling, with a diameter 40 mm wider than the pipe.
- Knees and turns of the required size are selected and mounted.
- In the places of passage through building structures, they arrange home-made or install purchased cuttings.
- The pipes are fixed to the walls in 1 meter increments.
The knees are mounted using the "smoke" method - the bell of the next part is put on the narrowing of the previous one. In this case, the smoke is easily removed to the atmosphere.
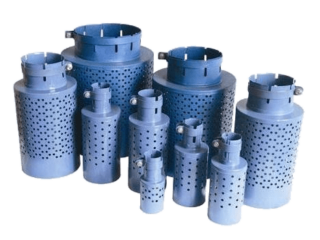
For reliability and additional protection against leaks of combustion products, the joints of the elbows and bends are treated with a heat-resistant sealant.
Thick-walled pipes are connected by welding.
The end of the pipe is protected with a cap or spark arrestor.
Trial furnace
After all the parts are assembled, the first heating is carried out. At the stage, the places of smoke leaks are identified, which are eliminated. With insufficient draft, the chimney pipe is lengthened - it is made higher.
The last stage of installation is heat and waterproofing of walls, ceilings and roofs.
Maintenance of construction
At each firebox, smoke leaks are identified and, if necessary, eliminated, which may occur when joints are depressurized or when a pipe burns out.
Inspection is carried out at the very beginning of the firebox - cold smoke is painted white and is clearly visible. As the furnace and channel warms up, the combustion products become colorless and difficult to distinguish.
It is strictly forbidden to operate an oven with a detected leak. Especially in garages - carbon monoxide is heavier than air and accumulates in inspection pits. The impact on the body occurs imperceptibly and is often the cause of severe poisoning.
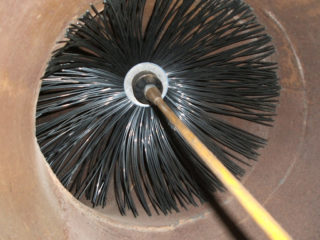
If the draft has deteriorated, the cause is carbon deposits on the inner walls. Carbon deposits most often accumulate in winter, when condensation forms inside the pipes.
The chimney is cleaned as necessary:
- mechanically - with brushes;
- burning special smoke bombs from carbon deposits.
The reason for the decrease in draft in winter and with rare fireboxes may be an ice plug in the area of the chimney head, which must be removed. It is easier to do this by heating the oven until the ice is completely melted.
It is not difficult to make and install a chimney for a stove-stove on your own. The manufacturer offers ready-made components for any ovens. For experienced craftsmen, it is not difficult to make a chimney from a metal pipe, which will save money. The correct gas exhaust channel will allow you to quickly warm up the room and will not cause accidents.

