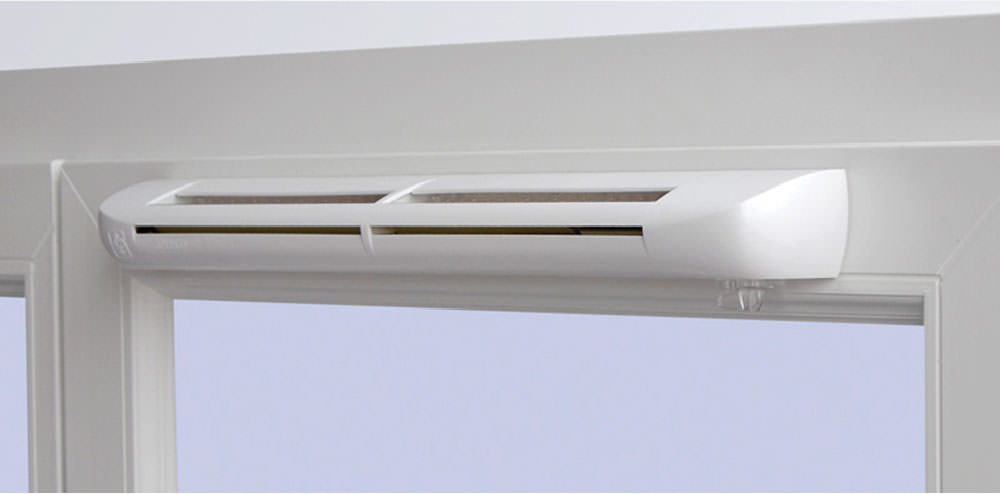
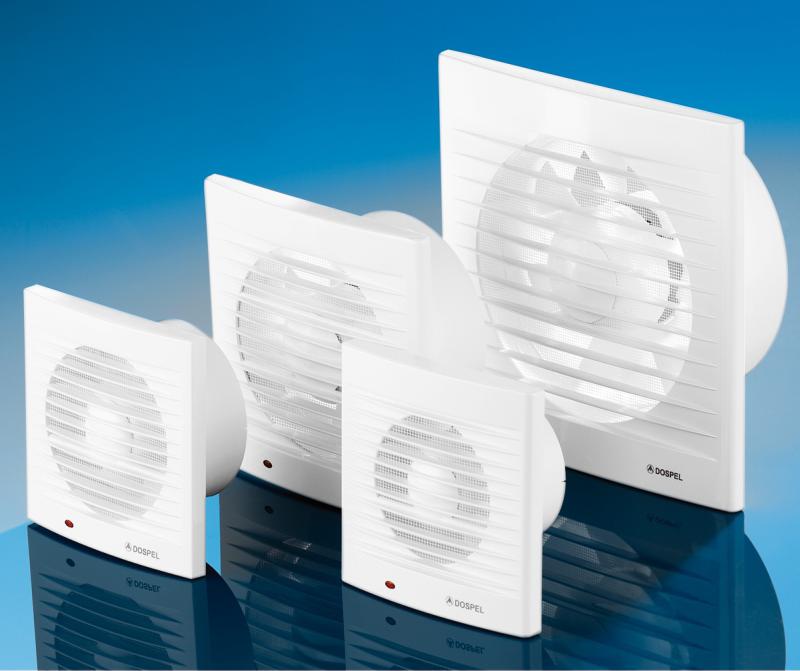
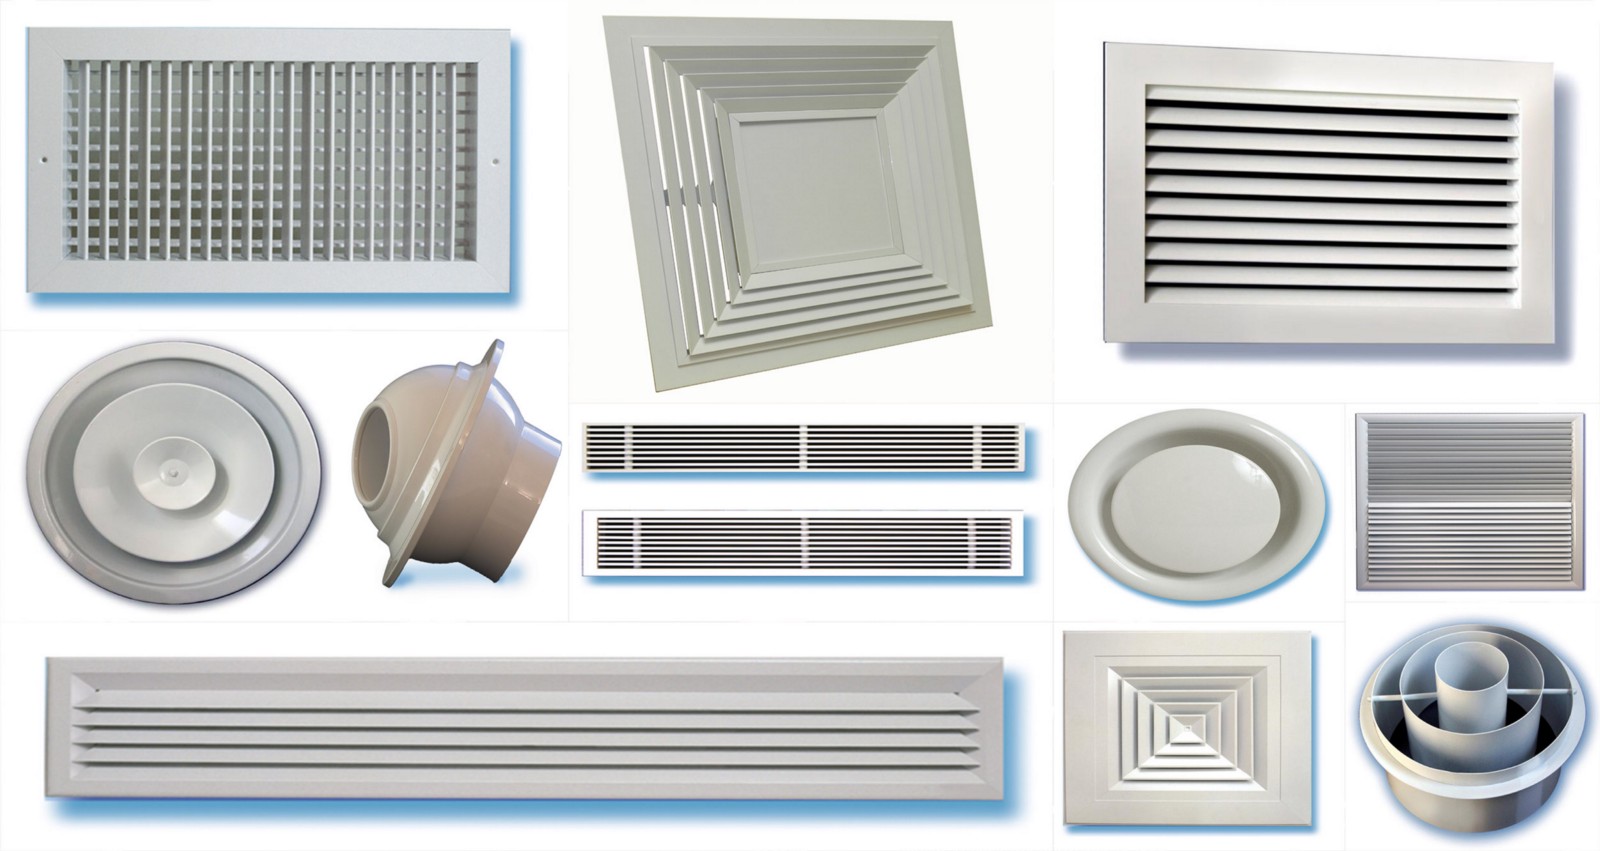
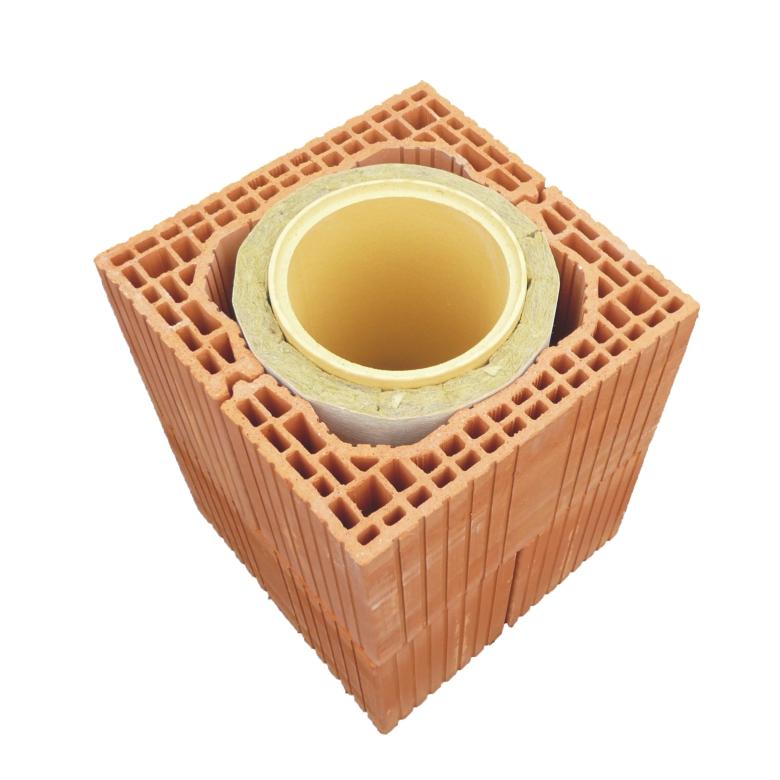
It is not so rare to hear that apartment owners in large cities lack clean indoor air. Kitchen smells and vapors, condensation on windows and metal objects can make the home microclimate completely uncomfortable for permanent living. Lack of ventilation must be corrected. This can be achieved by installing a supply valve in the wall. With its help, an additional supply of fresh air will be provided to the room. Most often, installation is carried out in the kitchen space. After installation, it becomes almost impossible to form mold or fungi of various origins, and the increased humidity in the room no longer entails any negative consequences.
Internal structure
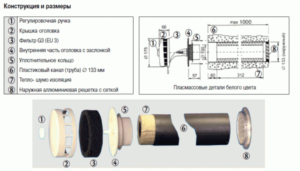
You can find many models of supply valves in the modern construction market. However, the device they all have in common.
Components:
- Air duct. Through this pipe, air masses enter the room from the outside. Most often, there are air ducts made of plastic.
- Ventilation grill (can be seen from the outside of the wall). It prevents various debris from entering the room.
- Noise insulating composition.
- Ring and flap with sealing function. They are located on the inside wall of the house. These parts are able to resist strong gusts of wind.
- A filter in which the supply air is purified.
- Ventilation adjustment knob.
Installation of the supply and exhaust valve can be performed independently and at any stage of construction or repair. No electricity connection required.
The principle of operation of the installation
With the help of such a device, it is possible to forcibly create the movement of air masses in the room.
Through the lattice, air flows move along the main pipe of the structure. Further, the material for sound insulation is overcome. Already at this stage, the air is purified from heavy mechanical impurities. Further, there is a decrease in the speed of the air flow, at the same time, its rough cleaning is carried out. Air enters the room from here through special openings.
Using a special button, it is possible to control the air circulation, the flow rate can be adjusted. This does not create drafts. Excessive moisture and street noises remain outside the apartment.
Pros and cons of wall ventilation
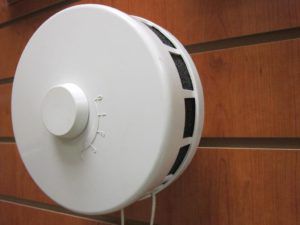
Installation of such a design will be useful to everyone. There are several good reasons for this:
- reduction of wear and tear of window fittings (it is not so often necessary to open and close windows in the house);
- much less noise gets into the apartment from the street;
- there is a possibility of self-adjustment of the ventilation capacity;
- in the cold season, sharp jumps in temperature are leveled;
- the design can be easily disguised, but even when open, it does not spoil the overall interior at all;
- inexpensive cost.
As elsewhere, there are negative aspects in the installation of supply valves:
- you will have to make a hole in the wall. If the structure is dismantled in the future, the through hole will not go anywhere.
- every mistake made during installation entails the onset of negative consequences.For example, freezing is possible in winter.
- in many regions of the country in winter it is simply not possible to use this installation. Otherwise, the air in the room will become very cold.
Basic rules for choosing a design
When choosing a supply ventilation valve, it is important to pay attention to the temperature range at which it can function properly. All sizes and dimensions also need to be given due attention. The wall in the house should be less than the length of the main pipe. The size of the inner cover is selected based on the capabilities of the internal structure of the house.
In a cold climate and low heating power, a large installation will allow such volumes of air to pass through, which simply will not be able to warm up. If too little air is supplied, then several structures may need to be installed.
There is a high probability of provoking drafts if the supply valves are installed in walls opposite to each other.
Possible costs
The prices for the mechanism and installation of ventilation can vary significantly. A domestic installation costs, as a rule, one and a half to three thousand rubles. The cost can be doubled when it comes to imported construction. For installation work, you can invite an experienced builder with your tool. All the work will take him no more than an hour. But the waste will also increase.
To obtain benefits and savings, many undertake to do this work on their own.
The main stages of installation of the structure
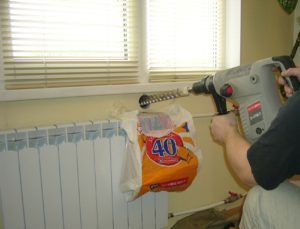
First of all, you need to decide on the location of the installation work. Despite the fact that the interior appearance of the dwelling does not deteriorate with the installation of the structure, it is still recommended to mount it under the windowsill. The explanation for this is simple - air from the street enters the heating pipes, and spreads around the room already in a heated state. However, the final choice still remains with the owner of the premises.
- On the selected section of the wall, it is necessary to drill a hole, which must be through.
- The main pipe is installed in this hole together with the outer grille.
- The space around the hose is filled with insulation.
- Then you need to assemble the valve. This will require the schema provided by each manufacturer.
- The cover together with the adjustment knob are mounted at the final stage of work.
After completing all these simple steps, you can start using the ventilation structure.
There is another popular method. The hole is drilled behind the heating pipes. In this case, several points become winning at once. The supply device is reliably masked. The incoming air begins to spread throughout the room only after it goes around the heating radiator. That is, there is movement of air at room temperature. This means that one should not be afraid of even a very strong cold snap. Air masses entering the house are cleaned, refreshed and filled with warmth.
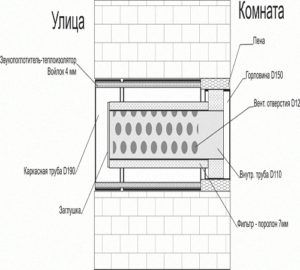
Collecting and installing such a structure is not such a difficult task. Any person can handle this. One of the most important conditions is to carefully read the attached instructions from the manufacturer.
Tools required for installation:
- puncher. It is imperative to have a drill bit of the required size;
- a set of drills capable of drilling brick and concrete panels;
- screwdrivers;
- the design itself.
The scope of application of such structures is diverse. They can be installed in apartments and houses of the private sector, office buildings and large factory premises. Hospitals, schools, kindergartens are places where a large number of people accumulate, which means that the need for additional air in the room arises constantly. Such an installation will not be superfluous anywhere.

