The increased level of humidity in an apartment and a house has a negative effect on both human health and the building itself, slowly eroding its walls.
In a house with a lot of vapors, there is no feeling of comfort, which is typical in a house with a good microclimate. This is what houses should have a dehumidifier.
Factory-made models of such household equipment are not cheap at all, so it is worth making an air dryer with your own hands, which will be much cheaper.
Types of dehumidifiers

All modern models of household air dryers are divided into several types, depending on the process on the basis of which their work is based. The most common are three types.
Refrigerated or refrigerated dryers are the most popular type of such equipment. The principle of their operation is based on moisture condensation, which is carried out by cooling compressed air in a heat exchanger. For this, a special refrigerant is used - most often freon. The moisture released from the compressed air is automatically removed by a condensate drain.
Adsorption type dehumidifiers. Typically, these devices are used when it is required to quickly reduce the moisture content of compressed or conventional air. The principle of operation of household and industrial equipment of this type is based on the use of a certain substance - an adsorber, characterized by increased absorbency.
Membrane dryers are designed to remove moisture from a small volume of compressed air. The principle of operation of membrane devices, as the name implies, is to remove water molecules during the passage of compressed air through the membranes. Among the advantages are the absence of the use of electrical energy, compactness, no condensate drains are required. Disadvantage - up to 20% of compressed air losses occur.
DIY desiccant dryer
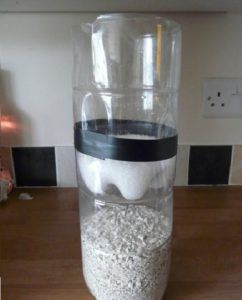
The simplest type of homemade homemade appliance for removing excess moisture from the air is an adsorption device. To independently assemble such a device for your apartment, you need to do the following:
- Prepare plastic bottles with a capacity of 2 liters - 2 pieces.
- Many small holes are made in the bottom of one of them. This can be done with a very hot knitting needle.
- The perforated bottle is cut in two.
- Small holes are made in the cork of the same bottle.
- In the part with holes, the second half is inserted with the neck with the stopper down.
- An adsorber is poured into the resulting device.
Ideally, selikogel should be used as such a substance - a material that has remarkable adsorbing properties, which are fully restored as a result of ordinary drying in the oven of this substance.
- The bottom is cut off from the remaining bottle, a computer fan is installed at a distance of 10 cm from the bottom edge, providing air supply down the made device;
- The second bottle is put on a container with a silikogel, carefully wrapping the joints of the bottles with ordinary tape;
- To ensure the flow of air into the structure, the stopper is removed from the second bottle.
As a result of such simple actions, you get a household adsorption device that effectively removes moisture from the air mixture in the house, while working almost silently.A fan powered by a USB connector on the computer or from a normal charger will help air flow through the silikogel. After that, the dried air will go out through the holes made in the bottom of the bottle.
Homemade condensing device
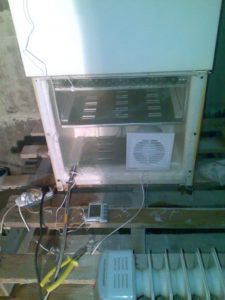
A more complex in its design and execution, a do-it-yourself dehumidifier is made at home, using an unnecessary refrigerator for this. To make such a condensing-type device, you will need to perform the following steps:
- The doors are removed from the compartments of the device. To do this, you just need to disassemble their loops.
- According to the dimensions of the removed doors, a plate with a thickness of at least 3 mm from plexiglass is measured and cut out.
- A hole is cut out from the lower edge of the plate at a distance of about 40 cm for installing the fan. The dimensions of this opening must match the moving parts of the fan being used.
- A fan is inserted into the finished hole, securely fixing its grill with self-tapping screws or other fasteners.
- At the same time, it is important to ensure that this device blows air flow into the refrigerator, thus performing the functions of a pressure unit.
- In the upper half of the glass, many holes are drilled, the area together of which is about the same as the opening for the cooler.
- The standard condensate drainage system of the device can be improved - the outer pipe is connected to the storage tank.
- Instead of the door, a plexiglass plate is installed using self-tapping screws. To achieve sealing of the joints, they are treated with silicone.
This completes the process of making a homemade condensation dehumidifier for a house or apartment. By running the installed fan and refrigerator, the air humidity in the room will soon drop by about 10%. In the case of prolonged operation of such a device, along with the humidity level, the temperature in the house will also drop.
Of course, in summer it is convenient, since along with the dehumidification of the air, it will also cool down. But in winter, such a device will create certain inconveniences.
To eliminate this disadvantage, a heater must be installed in front of the dehumidifier so that the air flow coming out of the device enters the heater. As a result, a self-made dehumidifier will perform only one function - to remove moisture from the air mixture.
Using a do-it-yourself adsorption or condensation device at home to remove water particles from the air, it should be remembered that not only too humid air is harmful, but also very dry. Therefore, in order to decide exactly whether to use such a device, it is also important to have a hygrometer.
So, when the moisture content reaches 80% or more, the device must be turned on. If this indicator has not reached this level, it is not recommended to use a dehumidifier.

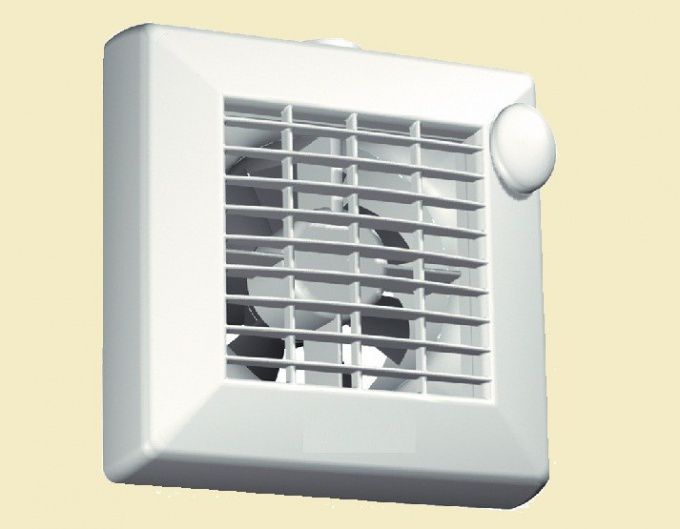
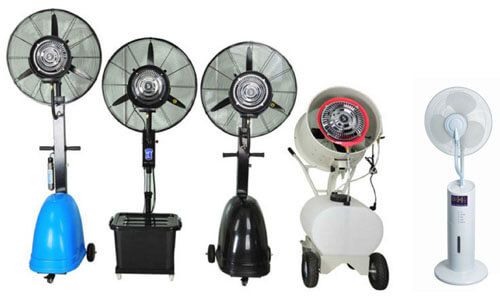

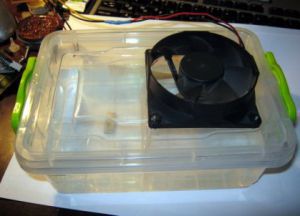
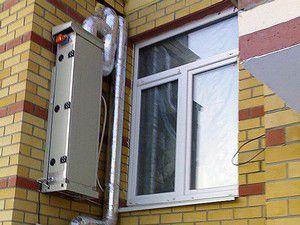
This is the third site where I read how to make an adsorption dehumidifier, everywhere the same is written and the photo is the same. But and I see such a stupid well, I just can not figure out how to assemble it! And the photo doesn't match the description! Draw a diagram of chtol or write a clearer instruction here, honestly, it's not at all clear ... what is inserted where. what is poured to the very bottom of the bottle (pictured)
Please read it carefully. Everything is clearly described there and it is indicated that Selikogel is best suited.